
Heres Some Camping Tips & Tricks at Your Fingertips
Our Kiefer Campground Blog is the information you need to make your next camping trip even more enjoyable. From RV and camping tips and tricks, to amazing campfire recipes, to advice on planning your next trip... the information below is here to help you. And please, feel free to comment and share your experiences, knowledge and favorite recipes. At Kiefer Campground, we are a family and all here to help each other enjoy the great outdoors to the fullest!

Campfire Croissant Sandwiches
These warm, flaky croissant sandwiches are perfect for a cozy campsite breakfast or lunch. They’re easy to customize with your favorite fillings and can be cooked over a campfire or grill.
Ingredients (Makes 4 sandwiches):
- 4 croissants (store-bought or homemade)
- 4 slices of ham, turkey, or bacon
- 4 slices of cheese (cheddar, Swiss, or provolone)
- 4 eggs (optional)
- 2 tbsp butter (for toasting)
- Mustard, mayonnaise, or other condiments (optional)
- Aluminum foil
Instructions:
- Prepare the Sandwiches:
- Slice the croissants in half.
- Add a slice of cheese and your choice of meat.
- If using eggs, scramble or fry them in a pan over the fire and place them inside the croissant.
- Add any condiments you like.
- Wrap for the Fire:
- Close the croissants and spread a little butter on the outside.
- Wrap each sandwich tightly in aluminum foil.
- Cooking Over the Fire:
- Place the wrapped sandwiches on a grill grate over the fire or directly on hot embers.
- Heat for 5–10 minutes, flipping occasionally, until the cheese is melted and the croissant is warm and crispy.
- Serve & Enjoy:
- Carefully unwrap the sandwiches and let them cool slightly before eating.
- Pair with campfire coffee or hot cocoa for a perfect campsite meal!
Customization Ideas:
- Sweet Version: Spread croissants with Nutella, peanut butter, or fruit preserves and add sliced bananas or strawberries before toasting.
- Savory Upgrade: Add sautéed onions, peppers, or spinach for extra flavor.
- Breakfast Boost: Swap the meat for sausage or smoked salmon.
Try these sandwiches during your next stay at Camp Lakewood Campground!
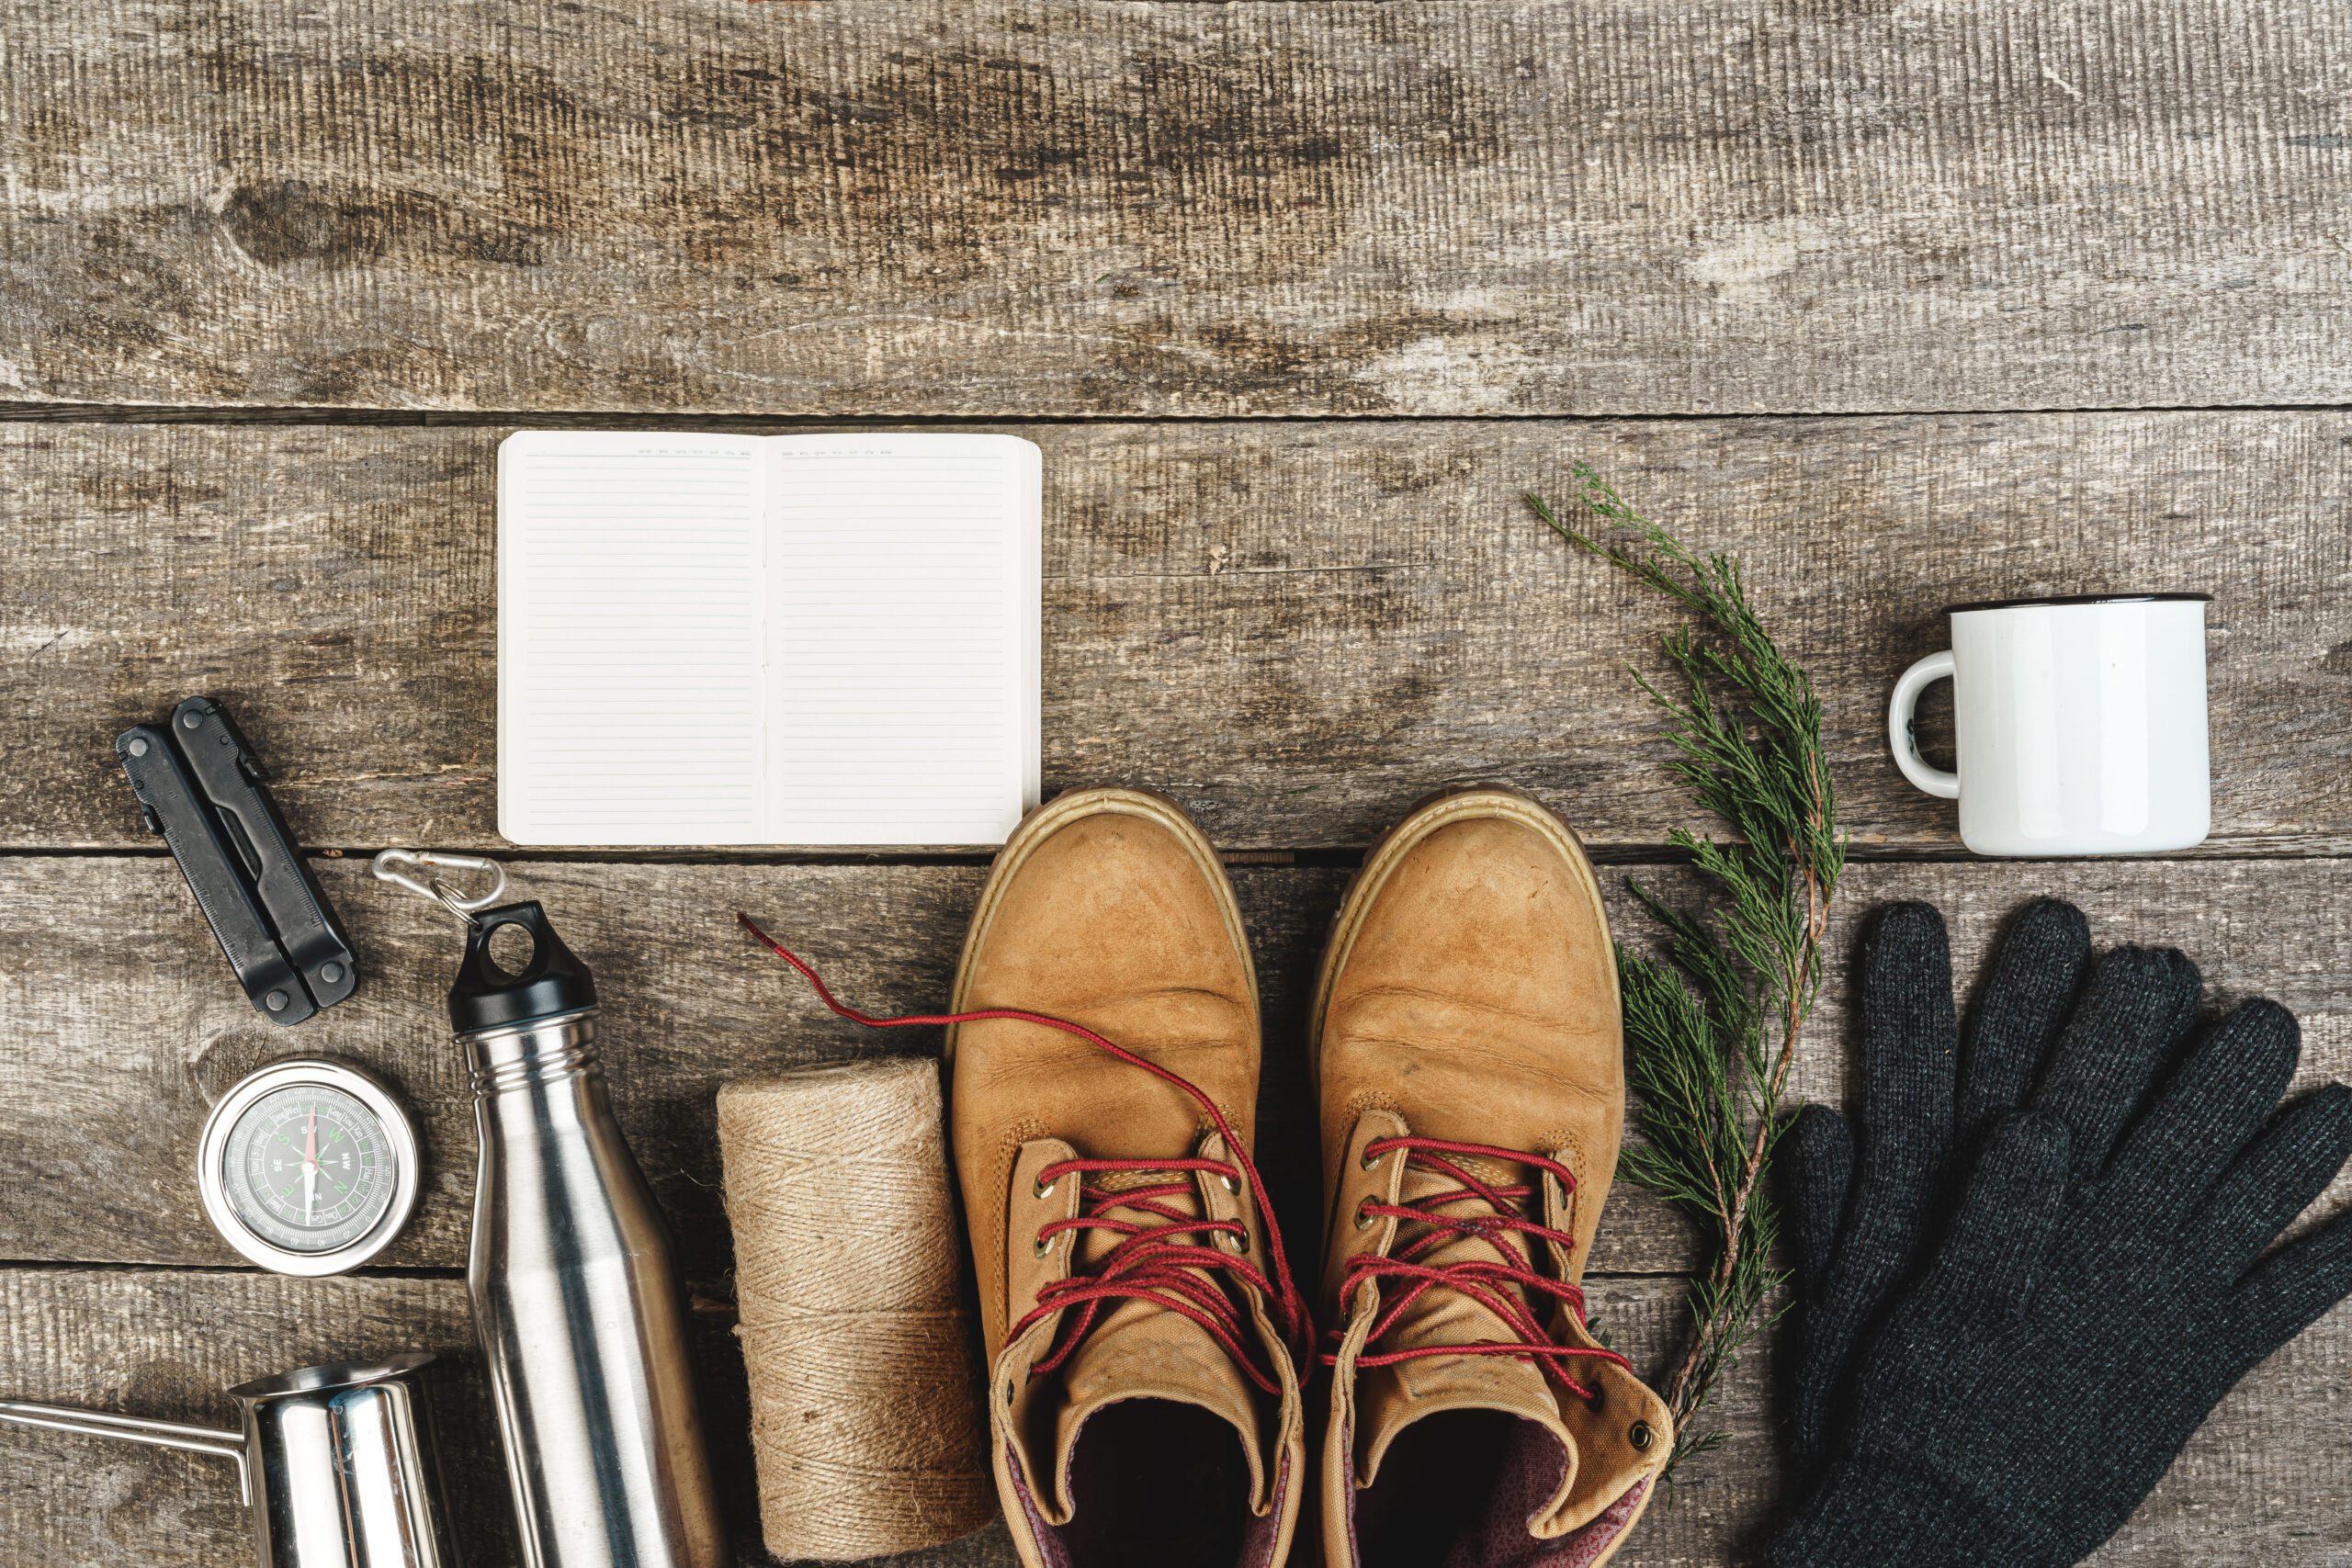
Best Gadget and Tools to Take With You While Camping in the Winter
Winter camping requires extra preparation and the right gear to stay warm, safe, and comfortable. Here are some of the best gadgets and tools to take with you:
Essential Gadgets & Tools
- Portable Power Bank – To keep your phone, GPS, and other devices charged.
- Solar Charger – A backup power source if you’re off-grid for extended periods.
- Battery-Powered Hand Warmers – Reusable and effective for keeping hands warm.
- LED Headlamp or Flashlight – Essential for hands-free lighting; go for one with a red light mode to preserve night vision.
- Multi-Tool or Camping Knife – For cutting wood, opening cans, and other survival needs.
- GPS Device – Especially useful when hiking in snowy or low-visibility conditions.
- Two-Way Radio – Great for areas with poor cell service.
- Portable Weather Radio – To stay updated on changing conditions.
- Fire Starter (Waterproof Lighter, Ferro Rod, or Matches) – Vital for warmth and cooking.
- Compact Snow Shovel – Helps with clearing snow from your campsite or digging out stuck gear.
- Insulated Water Bottle/Thermos – Prevents water from freezing and keeps beverages hot.
- Ice Spikes or Crampons – For safer hiking on icy trails.
- Sleeping Bag Liner (Heated Optional) – Adds extra warmth inside your sleeping bag.
- Portable Wood Stove or Propane Heater – Safe for outdoor use and can be lifesaving in extreme cold.
Comfort & Shelter Enhancements
- 4-Season Tent with Snow Skirt – Designed to handle heavy snow and strong winds.
- Cold-Weather Sleeping Bag (-0°F Rated) – Keeps you warm even in extreme temperatures.
- Insulated Sleeping Pad – Prevents body heat loss to the ground.
- Heat Packs (Disposable or Rechargeable) – Perfect for gloves, boots, and sleeping bags.
- Portable Camp Stove with Wind Guard – Ensures you can cook even in harsh conditions.
Safety & Emergency Gear
- First Aid Kit with Hypothermia Supplies – Includes thermal blankets and hand warmers.
- Bear Spray (if in bear country) – Some bears may still be active in winter.
- Avalanche Beacon & Probe – Essential for backcountry camping in snow-prone areas.
- Traction Chains or Tire Inflator – In case your vehicle gets stuck in the snow.
- Personal Locator Beacon (PLB) – Sends distress signals if you’re lost or in danger.
Bring some of your best gadgets next time you go camping at Camp Lakewood Campground!

Red Velvet Cookies
Enjoy these cookies as the perfect valentine’s day treat or year round! Try making this rich dessert for you and your loved ones this holiday!
Ingredients
- 1 ¼ cups all-purpose flour
- ¼ cup unsweetened cocoa powder
- 1 teaspoon baking soda
- ¼ teaspoon salt
- ½ cup unsalted butter, softened
- ¾ cup brown sugar, packed
- ¼ cup granulated sugar
- 1 large egg
- 1 teaspoon vanilla extract
- 1 tablespoon red food coloring
- ½ cup buttermilk
- 1 cup white chocolate chips (optional)
Instructions
- Preheat Oven & Prepare Baking Sheet
- Preheat your oven to 350°F (175°C).
- Line a baking sheet with parchment paper or a silicone baking mat.
- Mix Dry Ingredients
- In a bowl, whisk together the flour, cocoa powder, baking soda, and salt. Set aside.
- Cream Butter & Sugars
- In a large mixing bowl, beat the butter, brown sugar, and granulated sugar until light and fluffy.
- Add Wet Ingredients
- Mix in the egg, vanilla extract, and red food coloring until well combined.
- Combine with Dry Ingredients
- Gradually add the dry ingredients, alternating with buttermilk, mixing just until combined.
- Fold in White Chocolate Chips (Optional)
- Stir in the white chocolate chips for extra sweetness.
- Scoop & Bake
- Drop tablespoon-sized scoops of dough onto the prepared baking sheet, spacing them about 2 inches apart.
- Bake for 10-12 minutes or until the edges are set but the center is slightly soft.
- Cool & Enjoy
- Let the cookies cool on the baking sheet for 5 minutes before transferring them to a wire rack.
- Enjoy with a glass of milk!
Enjoy these cookies while celebrating Valentine’s Day at Camp Lakewood Campground!

Peppermint Mocha Truffles
Here’s a delicious recipe for Peppermint Mocha Truffles that’s perfect for the holiday season:
Ingredients
For the Truffles:
- 1 cup (6 oz) semi-sweet or dark chocolate chips
- 1/2 cup heavy cream
- 1 tbsp instant coffee granules (or espresso powder)
- 1/2 tsp peppermint extract
- Pinch of salt
For the Coating:
- 1 cup (6 oz) semi-sweet or dark chocolate chips, melted
- 1/4 cup crushed peppermint candies or candy canes
Instructions
1. Make the Ganache:
- In a small saucepan, heat the heavy cream over medium heat until it just begins to simmer. Remove from heat.
- Stir in the instant coffee granules until fully dissolved.
- Place the chocolate chips in a heatproof bowl. Pour the hot cream mixture over the chocolate. Let sit for 2-3 minutes to allow the chocolate to melt, then stir until smooth and glossy.
- Mix in the peppermint extract and a pinch of salt.
2. Chill the Ganache:
- Cover the bowl with plastic wrap and refrigerate for 1-2 hours, or until the ganache is firm enough to scoop.
3. Form the Truffles:
- Use a small spoon or melon baller to scoop out the ganache and roll it into 1-inch balls. Place them on a baking sheet lined with parchment paper.
- Chill the truffles in the refrigerator for 20-30 minutes to firm up.
4. Coat the Truffles:
- Melt the remaining chocolate chips in a microwave-safe bowl in 20-second intervals, stirring between each until smooth.
- Dip each truffle into the melted chocolate using a fork, letting the excess drip off. Place them back on the parchment-lined sheet.
- Immediately sprinkle the tops with crushed peppermint candies before the chocolate sets.
5. Let Set and Serve:
- Allow the truffles to set at room temperature or in the refrigerator until the chocolate coating is firm.
- Store in an airtight container in the refrigerator for up to 1 week.
Enjoy these rich, minty mocha truffles as a treat while staying at Camp Lakewood Campground for yourself or a festive gift for others! 🎄🍫

Types of Ticks
Ticks are small arachnids that feed on the blood of mammals, birds, and sometimes reptiles and amphibians. There are several types of ticks, each belonging to one of two main families: Ixodidae (hard ticks) and Argasidae (soft ticks). Here are some of the most common types of ticks:
Hard Ticks (Ixodidae)
- Blacklegged Tick (Ixodes scapularis)
- Also known as the deer tick.
- Found primarily in the northeastern, mid-Atlantic, southeastern, and north-central United States.
- Known for transmitting Lyme disease, anaplasmosis, babesiosis, and Powassan virus.
- Western Blacklegged Tick (Ixodes pacificus)
- Found along the Pacific coast of the United States, especially in California.
- Also a vector for Lyme disease and anaplasmosis.
- American Dog Tick (Dermacentor variabilis)
- Found in the eastern half of the United States and parts of the West Coast.
- Known for transmitting Rocky Mountain spotted fever and tularemia.
- Rocky Mountain Wood Tick (Dermacentor andersoni)
- Found in the Rocky Mountain states and southwestern Canada.
- Can transmit Rocky Mountain spotted fever, tularemia, and Colorado tick fever.
- Brown Dog Tick (Rhipicephalus sanguineus)
- Found worldwide and can thrive in homes and kennels.
- Known for transmitting canine ehrlichiosis and canine babesiosis.
- Lone Star Tick (Amblyomma americanum)
- Found in the southeastern and eastern United States.
- Known for causing southern tick-associated rash illness (STARI), ehrlichiosis, tularemia, and meat allergy due to alpha-gal syndrome.
- Gulf Coast Tick (Amblyomma maculatum)
- Found in the southeastern United States and along the Gulf Coast.
- Known for transmitting Rickettsia parkeri rickettsiosis and can cause tick paralysis.
Soft Ticks (Argasidae)
- Relapsing Fever Tick (Ornithodoros hermsi)
- Found in the western United States and Canada.
- Known for transmitting tick-borne relapsing fever.
- Fowl Tick (Argas persicus)
- Primarily affects poultry and found worldwide.
- Known to cause significant irritation and anemia in birds.
- Spinose Ear Tick (Otobius megnini)
- Found in the southwestern United States.
- Primarily affects livestock and can cause irritation and secondary infections.
Ticks can vary greatly in appearance, behavior, and the diseases they transmit. Effective tick prevention and control are essential to minimize the risks associated with tick-borne illnesses.
Always try to cover up when being in the outdoors. At Camp Lakewood Campground, we ask to be safe and take caution when hiking or camping.

Camping Mojitos Recipe
Mojitos are a great way to unwind and relax while camping. They are also refreshing too!
Mojito Ingredients:
- 10-12 fresh mint leaves, plus extra for garnish
- 1 lime, cut into wedges
- 2 tablespoons sugar (or to taste)
- Ice cubes
- 2 ounces white rum
- Club soda or sparkling water
- Optional: a splash of soda water or lemon-lime soda for added sweetness
Equipment:
- Mason jars or sturdy cups
- Muddler or the back of a spoon
- Cooler to keep ingredients cold
Instructions:
- Prepare the Mint and Lime:
- Place the mint leaves and lime wedges into the bottom of a mason jar or cup.
- Add the sugar on top.
- Muddle:
- Use a muddler or the back of a spoon to mash the mint, lime, and sugar together.
- This helps release the mint oils and lime juice, dissolving the sugar.
- Add Ice and Rum:
- Fill the jar with ice cubes.
- Pour the rum over the ice.
- Top Up:
- Add club soda or sparkling water to fill the jar.
- Stir well to combine all the ingredients.
- Garnish and Serve:
- Garnish with extra mint leaves and a lime wedge if desired.
- Serve immediately and enjoy!
Tips for Camping:
- Prep Ingredients Ahead of Time:
- Pre-squeeze lime juice and store it in a small container.
- Pre-muddle mint leaves with sugar in a jar so you just have to add the liquid ingredients later.
- Keep Ingredients Cool:
- Use a cooler with plenty of ice packs to keep your mint, lime, and club soda cold.
- Bring Essential Tools:
- Don’t forget to pack a muddler or a sturdy spoon, cups or jars, and a knife for cutting lime wedges.
- Adapt to Your Environment:
- If you’re hiking and need to pack light, consider bringing a pre-made mojito mix in a sealed bottle and just add soda and ice at the campsite.
Enjoy your camping trip with refreshing mojitos!
Enjoy this recipe for Camping Mojitos on your next camping trip to Camp Lakewood Campground!
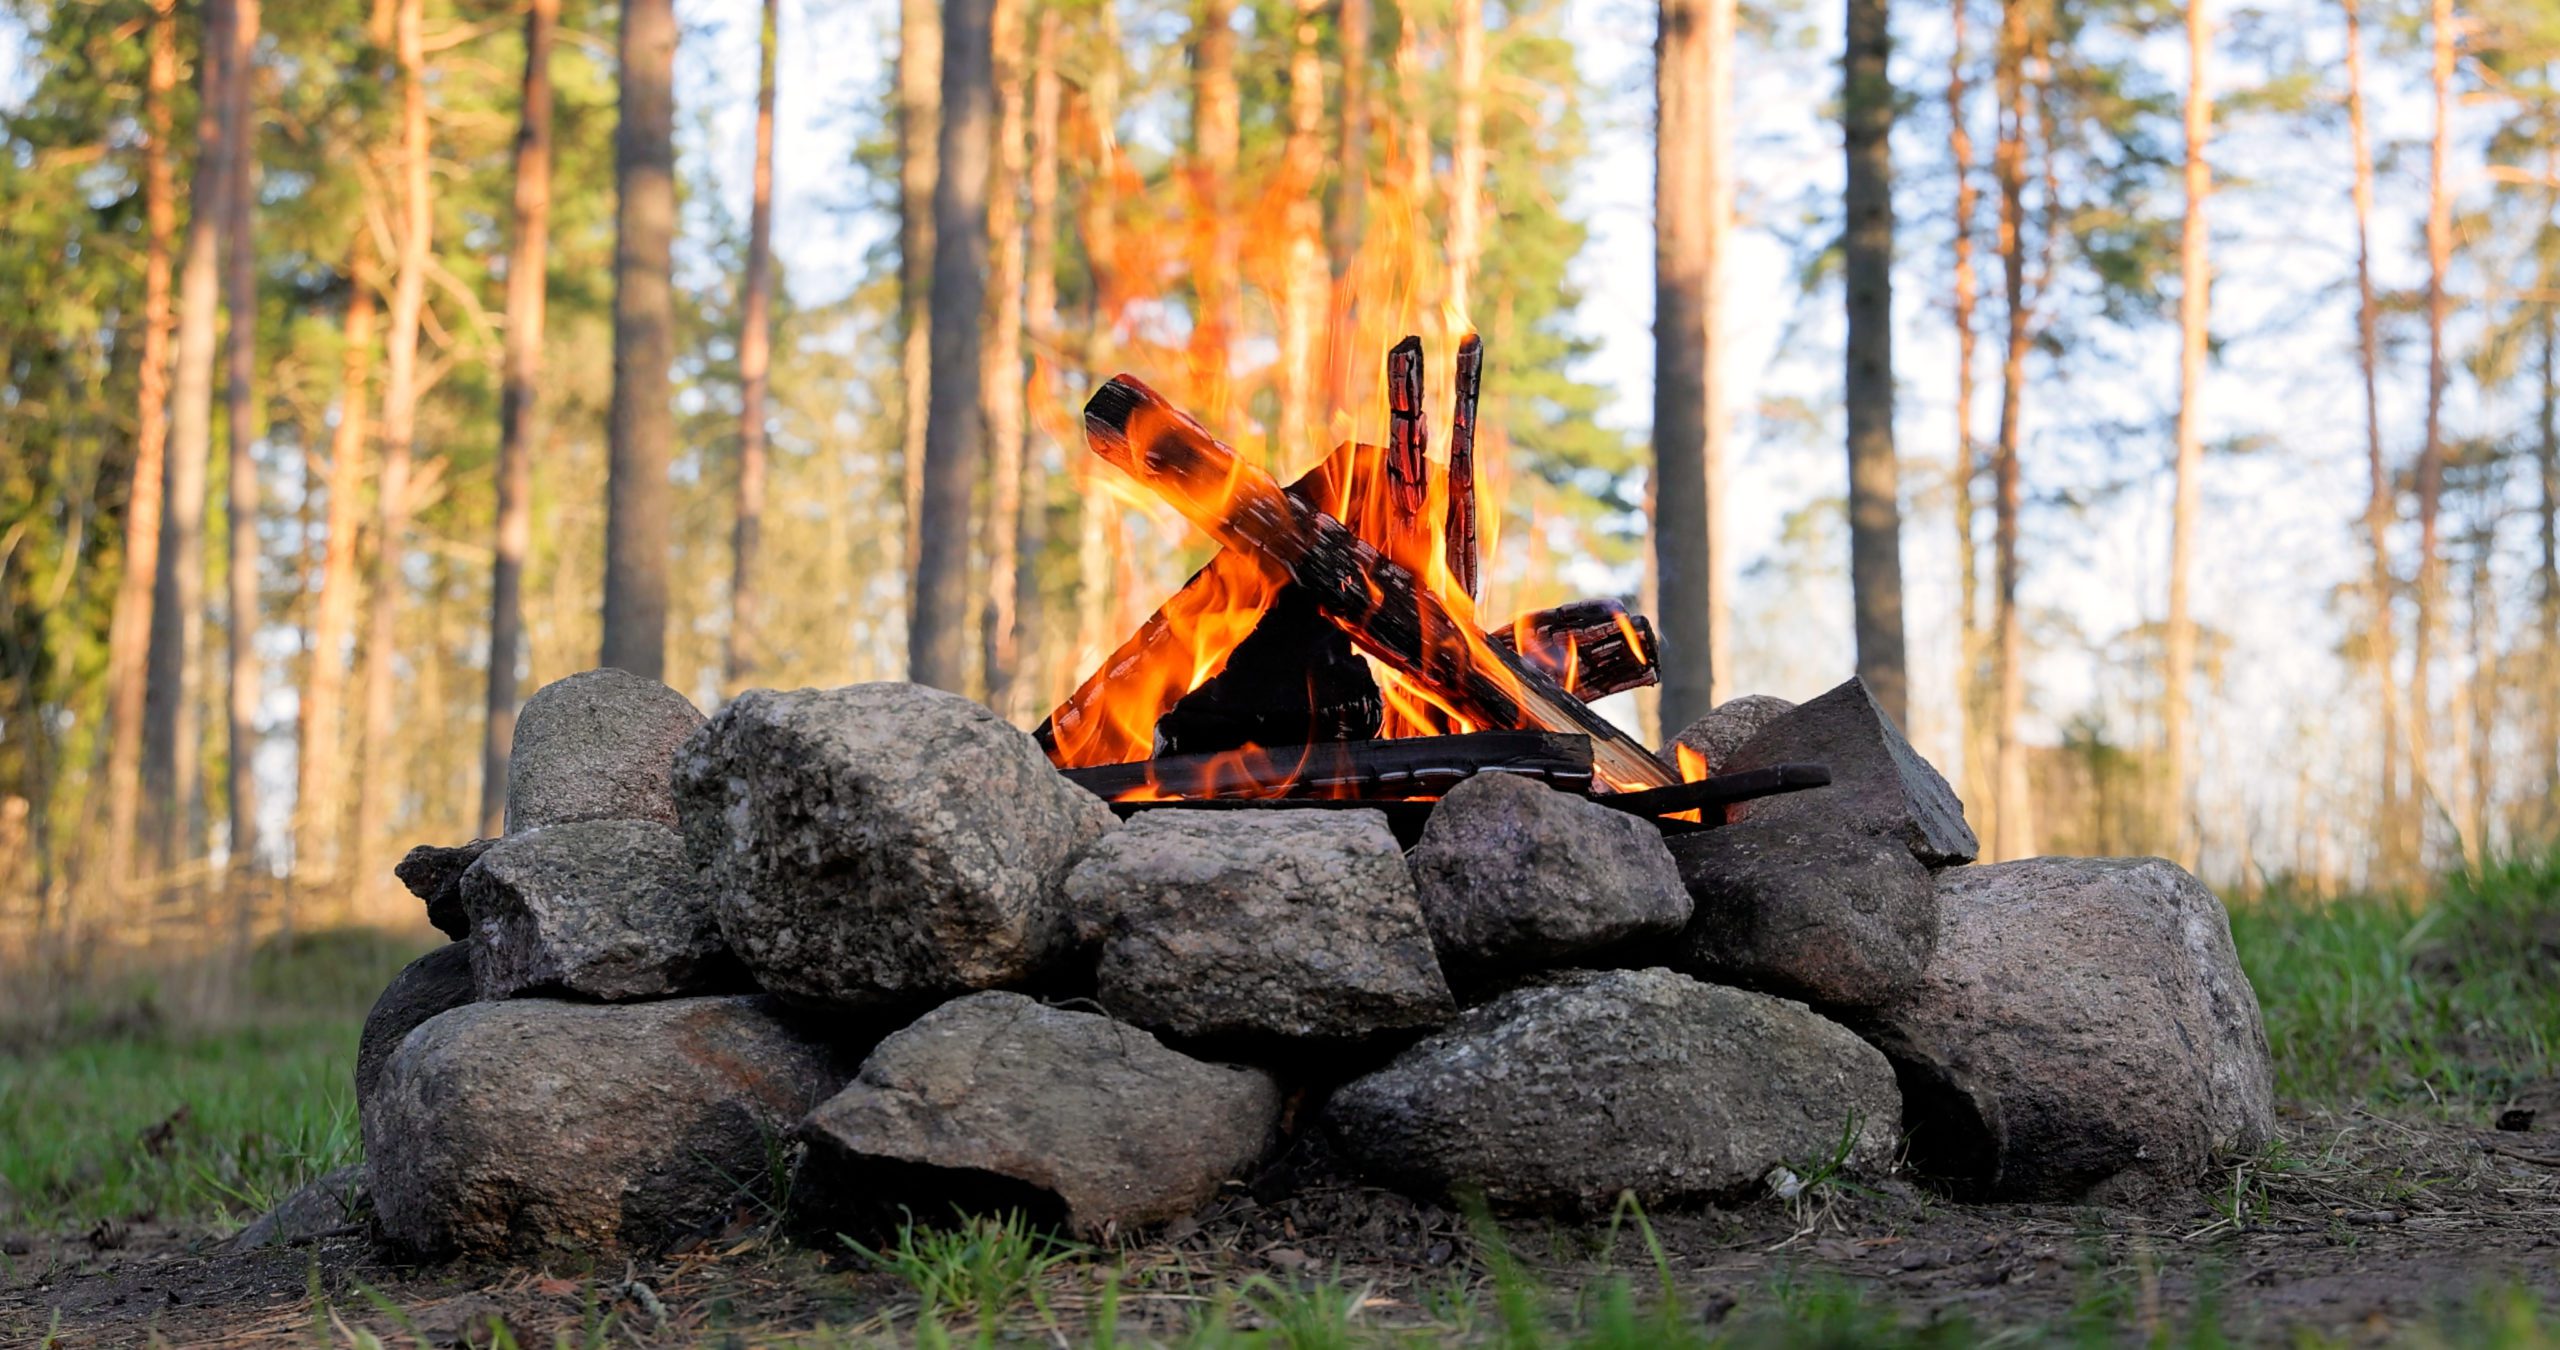
How To Put Out A Campfire
Putting out a campfire safely is crucial to prevent accidental wildfires. Here’s a step-by-step guide:
- Allow the fire to burn down: Let the fire burn down to a point where there are mostly embers and small flames.
- Douse with water: Pour water over the fire, starting from the edges and moving towards the center. Use a bucket or a hose, and make sure to saturate all the embers thoroughly.
- Stir and mix: Use a shovel or stick to stir the embers and ash thoroughly. This helps to cool down any remaining hot spots and ensures that all parts of the fire are extinguished.
- Repeat if necessary: Continue adding water and stirring until you’re sure the fire is completely out. It’s better to use too much water than too little to ensure the fire is fully extinguished.
- Feel for heat: Use the back of your hand to feel for any remaining heat above or around the fire pit. If you feel heat, continue adding water and stirring until the area is cool to the touch.
- Dispose of ashes: Once the fire is completely out and the ashes are cool, dispose of them properly. Scatter the ashes in a wide area away from the campsite, or pack them out if required.
- Check for local regulations: Some areas have specific guidelines for extinguishing campfires, so make sure to follow any rules or regulations provided by local authorities or land management agencies.
Remember, never leave a campfire unattended, and always make sure it’s completely extinguished before leaving the site.
At Camp Lakewood Campground, We ask you to be safe and cautious when handling fire.
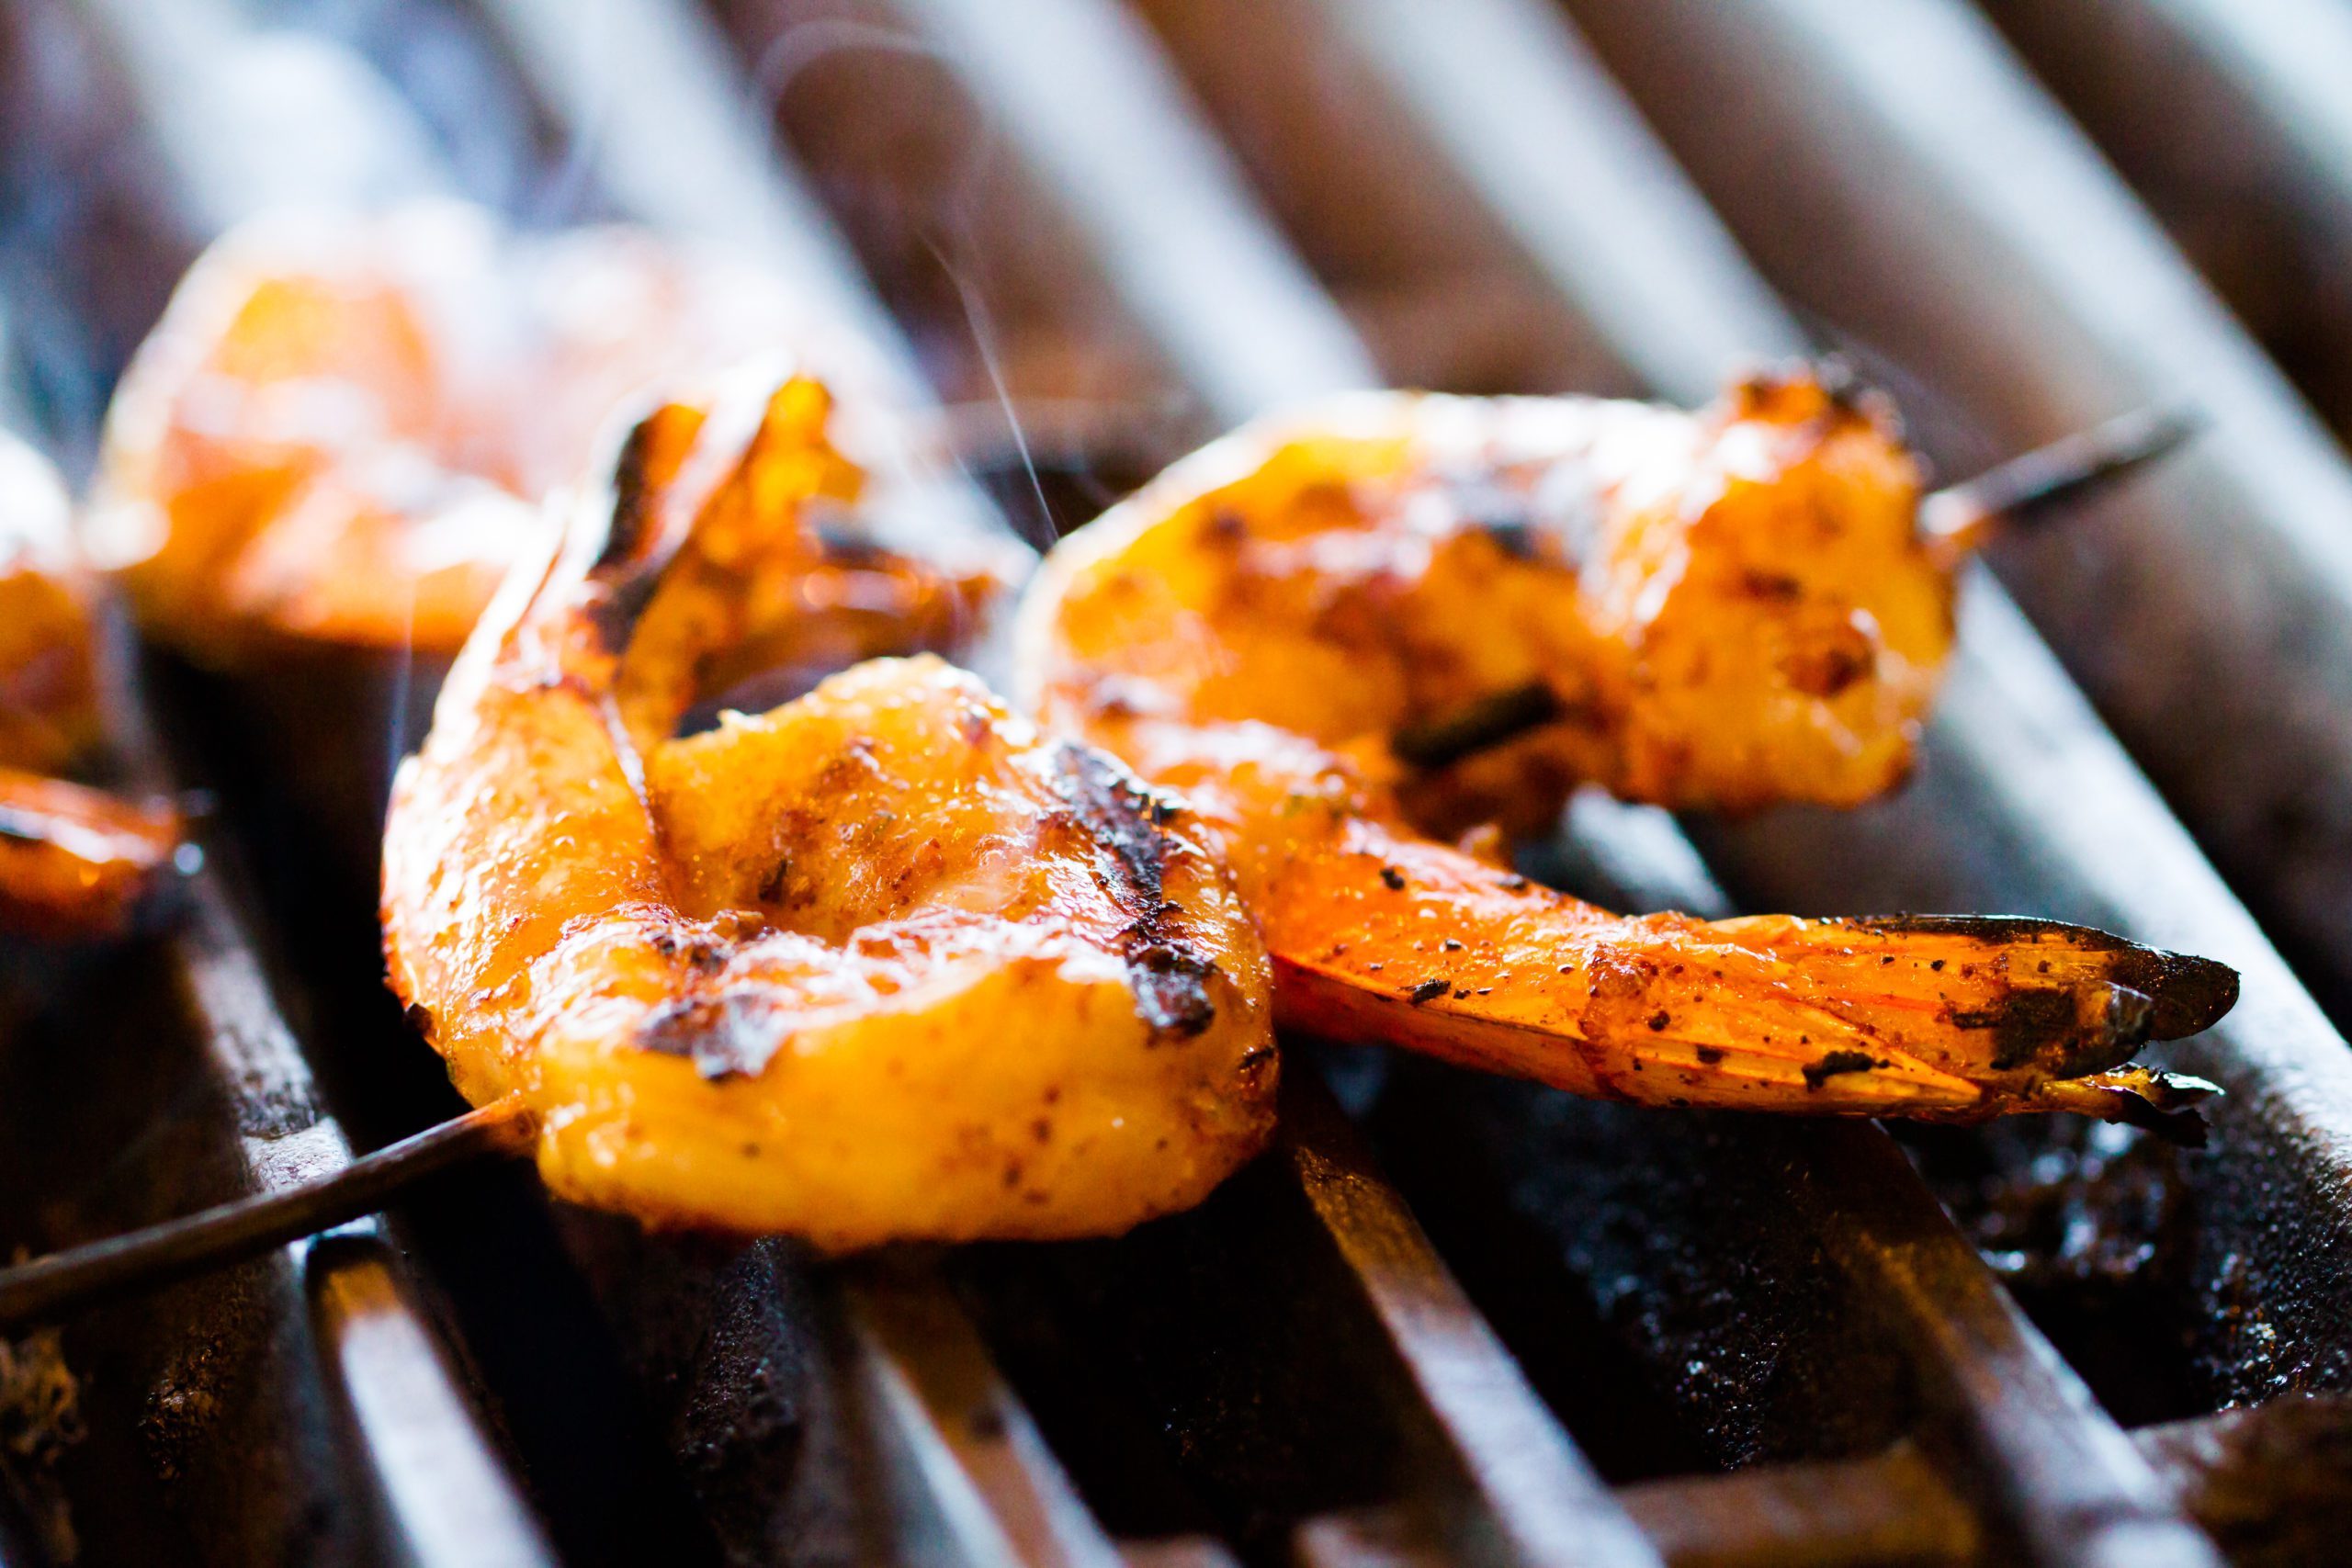
Grilled Jerk Shrimp
Grilled jerk shrimp is an amazing dish packed with flavor! Here’s a simple recipe to make it:
Grilled Jerk Shrimp Ingredients:
- 1 pound large shrimp, peeled and deveined
- 2 tablespoons olive oil
- 2 tablespoons jerk seasoning (store-bought or homemade)
- 2 cloves garlic, minced
- 1 tablespoon fresh lime juice
- Salt and pepper to taste
- Lime wedges, for serving
- Chopped fresh cilantro or parsley, for garnish (optional)
Instructions For Cooking
- Prepare the shrimp: In a large bowl, toss the shrimp with olive oil, jerk seasoning, minced garlic, lime juice, salt, and pepper. Make sure the shrimp are evenly coated with the seasoning mixture. Let them marinate for about 15-30 minutes in the refrigerator.
- Preheat the grill: Preheat your grill to medium-high heat. Make sure the grates are clean and lightly oiled to prevent sticking.
- Skewer the shrimp: Thread the marinated shrimp onto skewers, making sure to leave a little space between each shrimp.
- Grill the shrimp: Place the shrimp skewers on the preheated grill. Cook for 2-3 minutes on each side, or until the shrimp are pink and opaque, and have nice grill marks.
- Serve: Once cooked, remove the shrimp skewers from the grill and transfer them to a serving platter. Squeeze fresh lime juice over the shrimp and garnish with chopped cilantro or parsley, if desired. Serve immediately with extra lime wedges on the side.
Enjoy your delicious grilled jerk shrimp as a flavorful appetizer or main dish!
Try this amazing dish on your next camping trip to Camp Lakewood Campground!
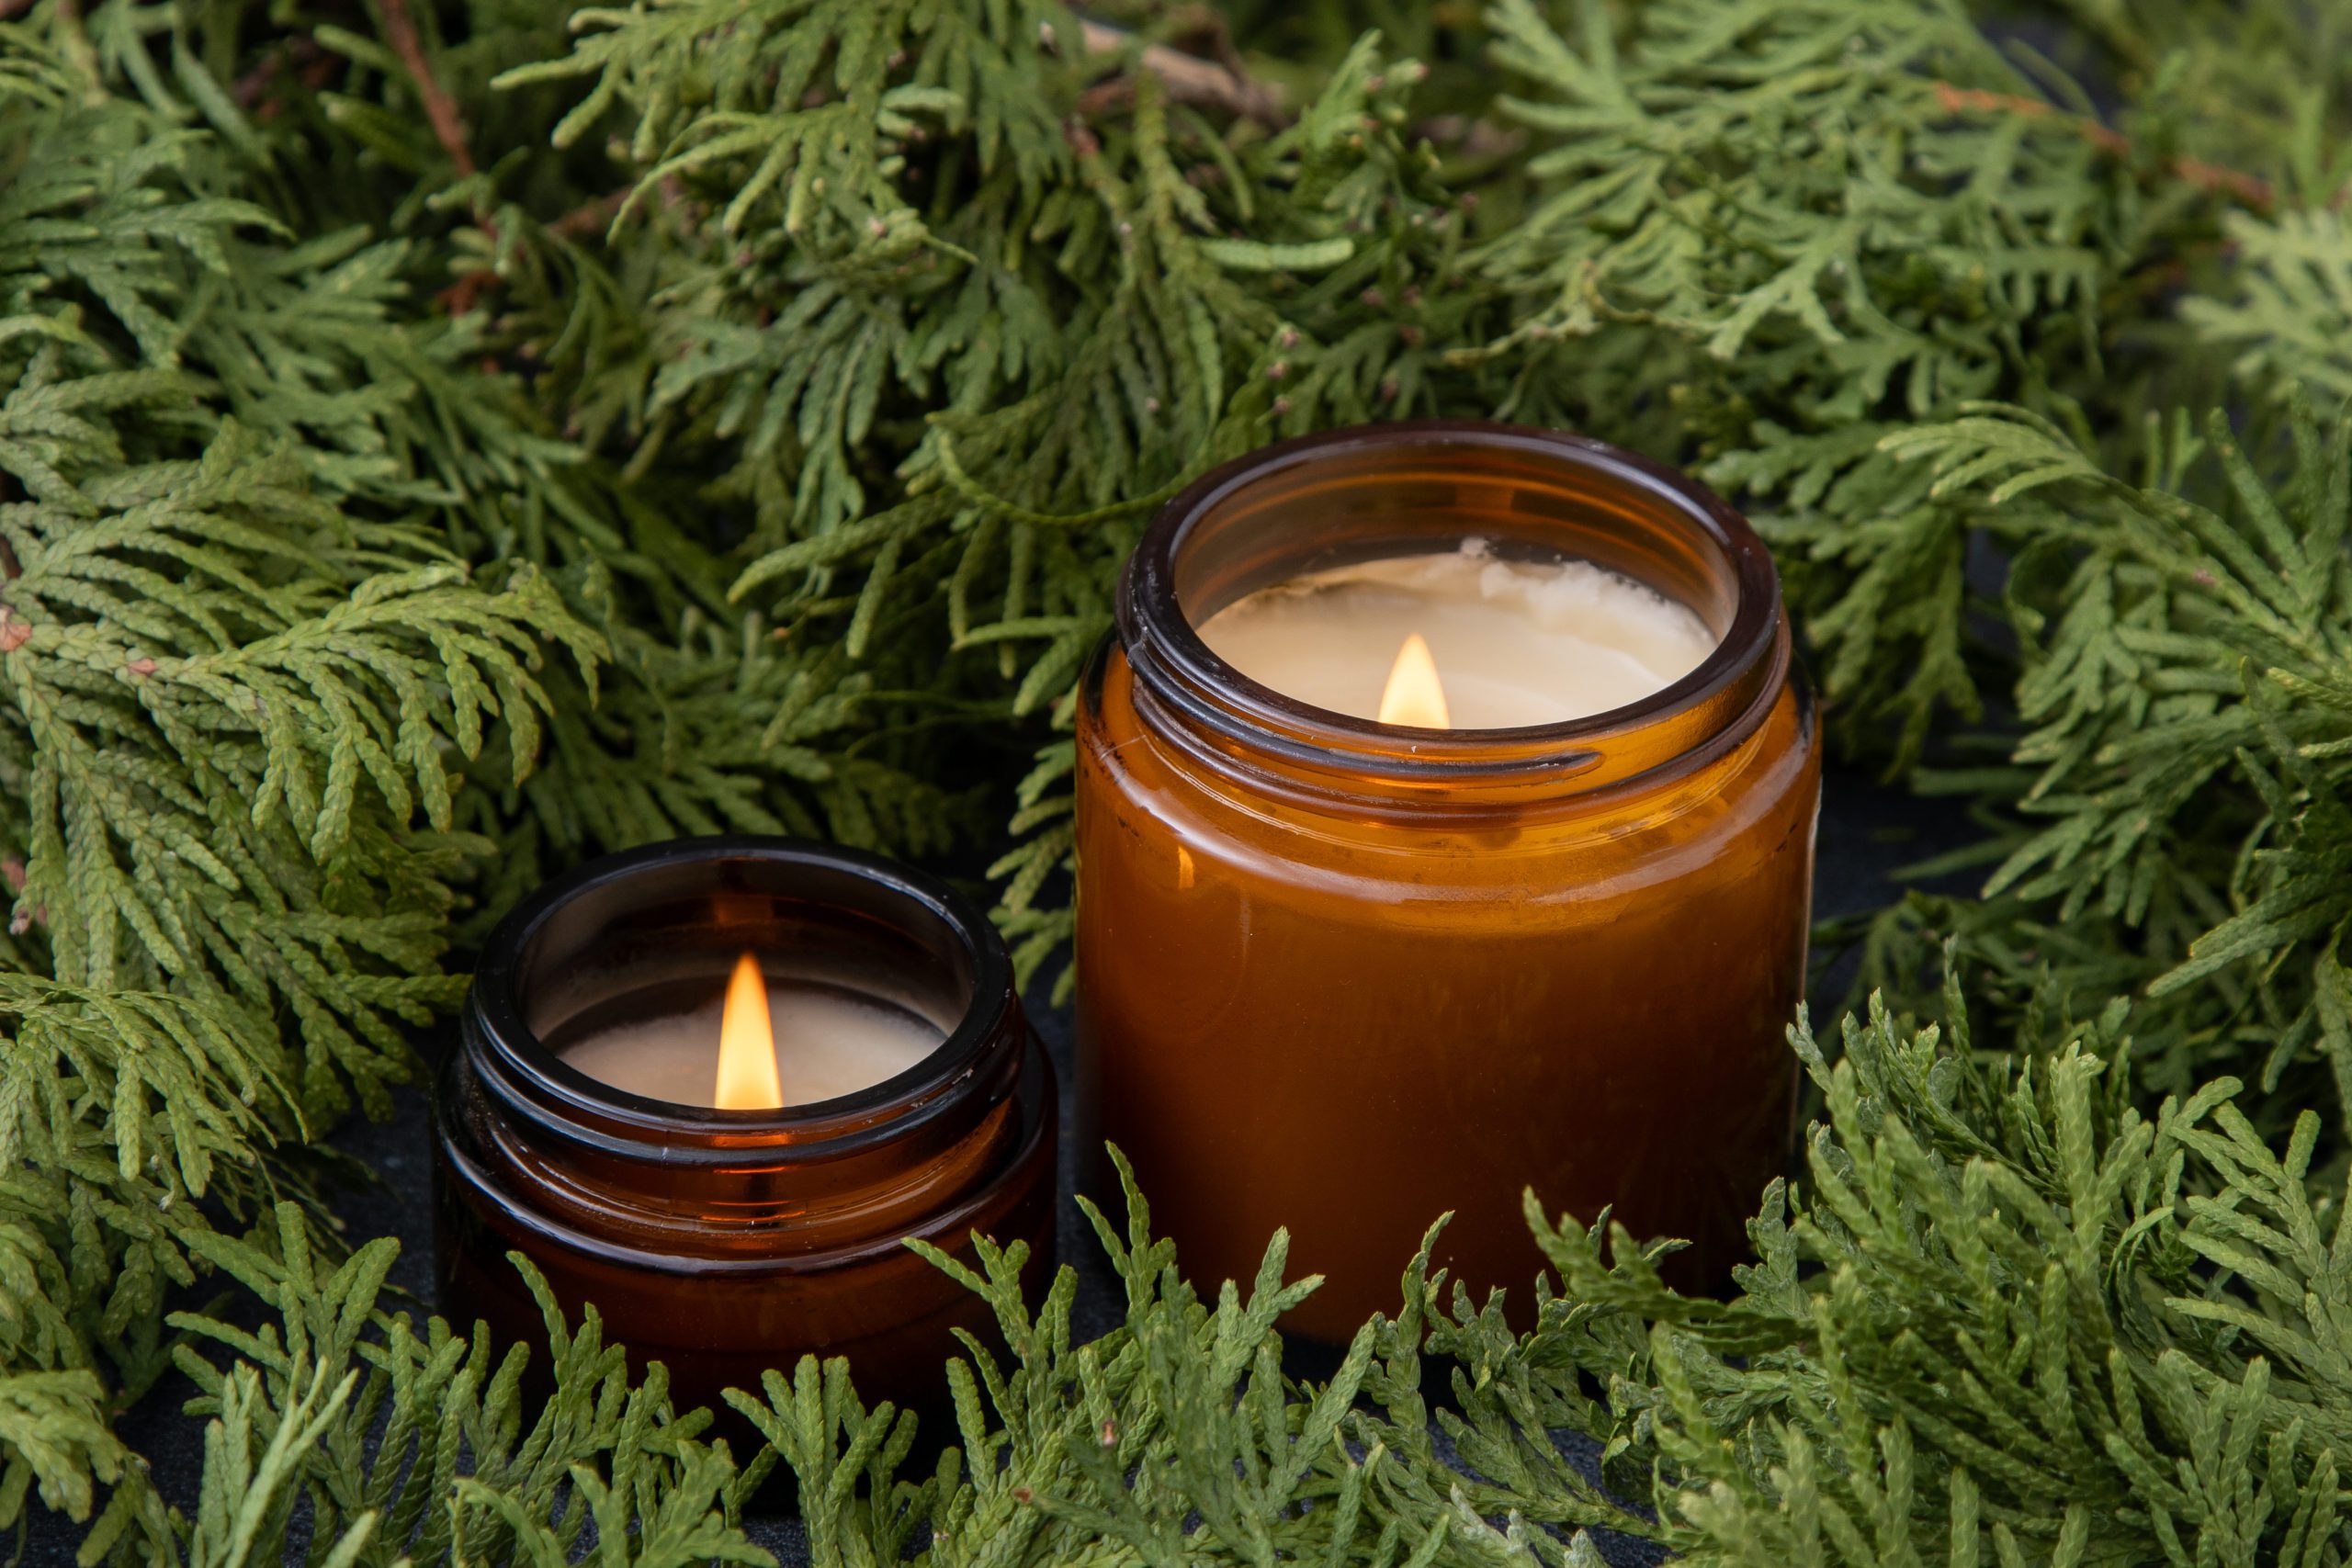
DIY Mosquito Repellent Candle
Making your mosquito-repellent candle can be a fun and effective way to keep those pesky insects at bay during outdoor gatherings. Here’s a simple recipe you can try:
Materials:
- Candle wax (soy wax or beeswax are good choices)
- Wick
- Essential oils (such as citronella, eucalyptus, lavender, lemon, and/or peppermint)
- Candle container (such as a glass jar)
- Double boiler or heat-safe container for melting wax
- Stirring utensil
- Measuring cup
- Optional: dried herbs like rosemary or mint for added potency
Instructions:
- Prepare Your Work Area: Set up your workspace with all your materials. Make sure the area is well-ventilated as melting wax can produce fumes.
- Prepare Your Container: Place the wick in the center of your candle container. You can use a bit of melted wax to adhere the wick to the bottom of the container and keep it centered.
- Melt the Wax: Use a double boiler or a heat-safe container placed in a pot of water to melt the wax. Heat the water to a gentle simmer and place the wax in the top container. Stir occasionally until the wax is completely melted.
- Add Essential Oils: Once the wax is melted, remove it from the heat and let it cool slightly. Then, add your chosen essential oils. Citronella is a popular choice for repelling mosquitoes, but you can also use other oils like eucalyptus, lavender, lemon, and peppermint. Be sure to add enough oil to scent the wax, usually around 30-50 drops per cup of wax, but you can adjust to your preference. Stir the oils into the wax thoroughly.
- Optional: Add Dried Herbs: If you want to boost the potency of your candle, you can add dried herbs like rosemary or mint. Simply stir them into the wax along with the essential oils.
- Pour the Wax: Carefully pour the scented wax into your candle container, making sure not to disturb the wick. Leave a bit of space at the top to avoid overflow.
- Let it Set: Allow the candle to cool and set completely. This can take several hours, depending on the size of your candle.
- Trim the Wick: Once the candle is fully set, trim the wick to about ¼ inch above the wax surface.
Your DIY mosquito repellent candle is now ready to use! When lighting the candle, make sure to place it in a safe location away from flammable materials and never leave it unattended. Enjoy your bug-free outdoor gatherings!
Be a step ahead of the bugs and make your own mosquito repellent candle for your next camping trip to Camp Lakewood Campground.
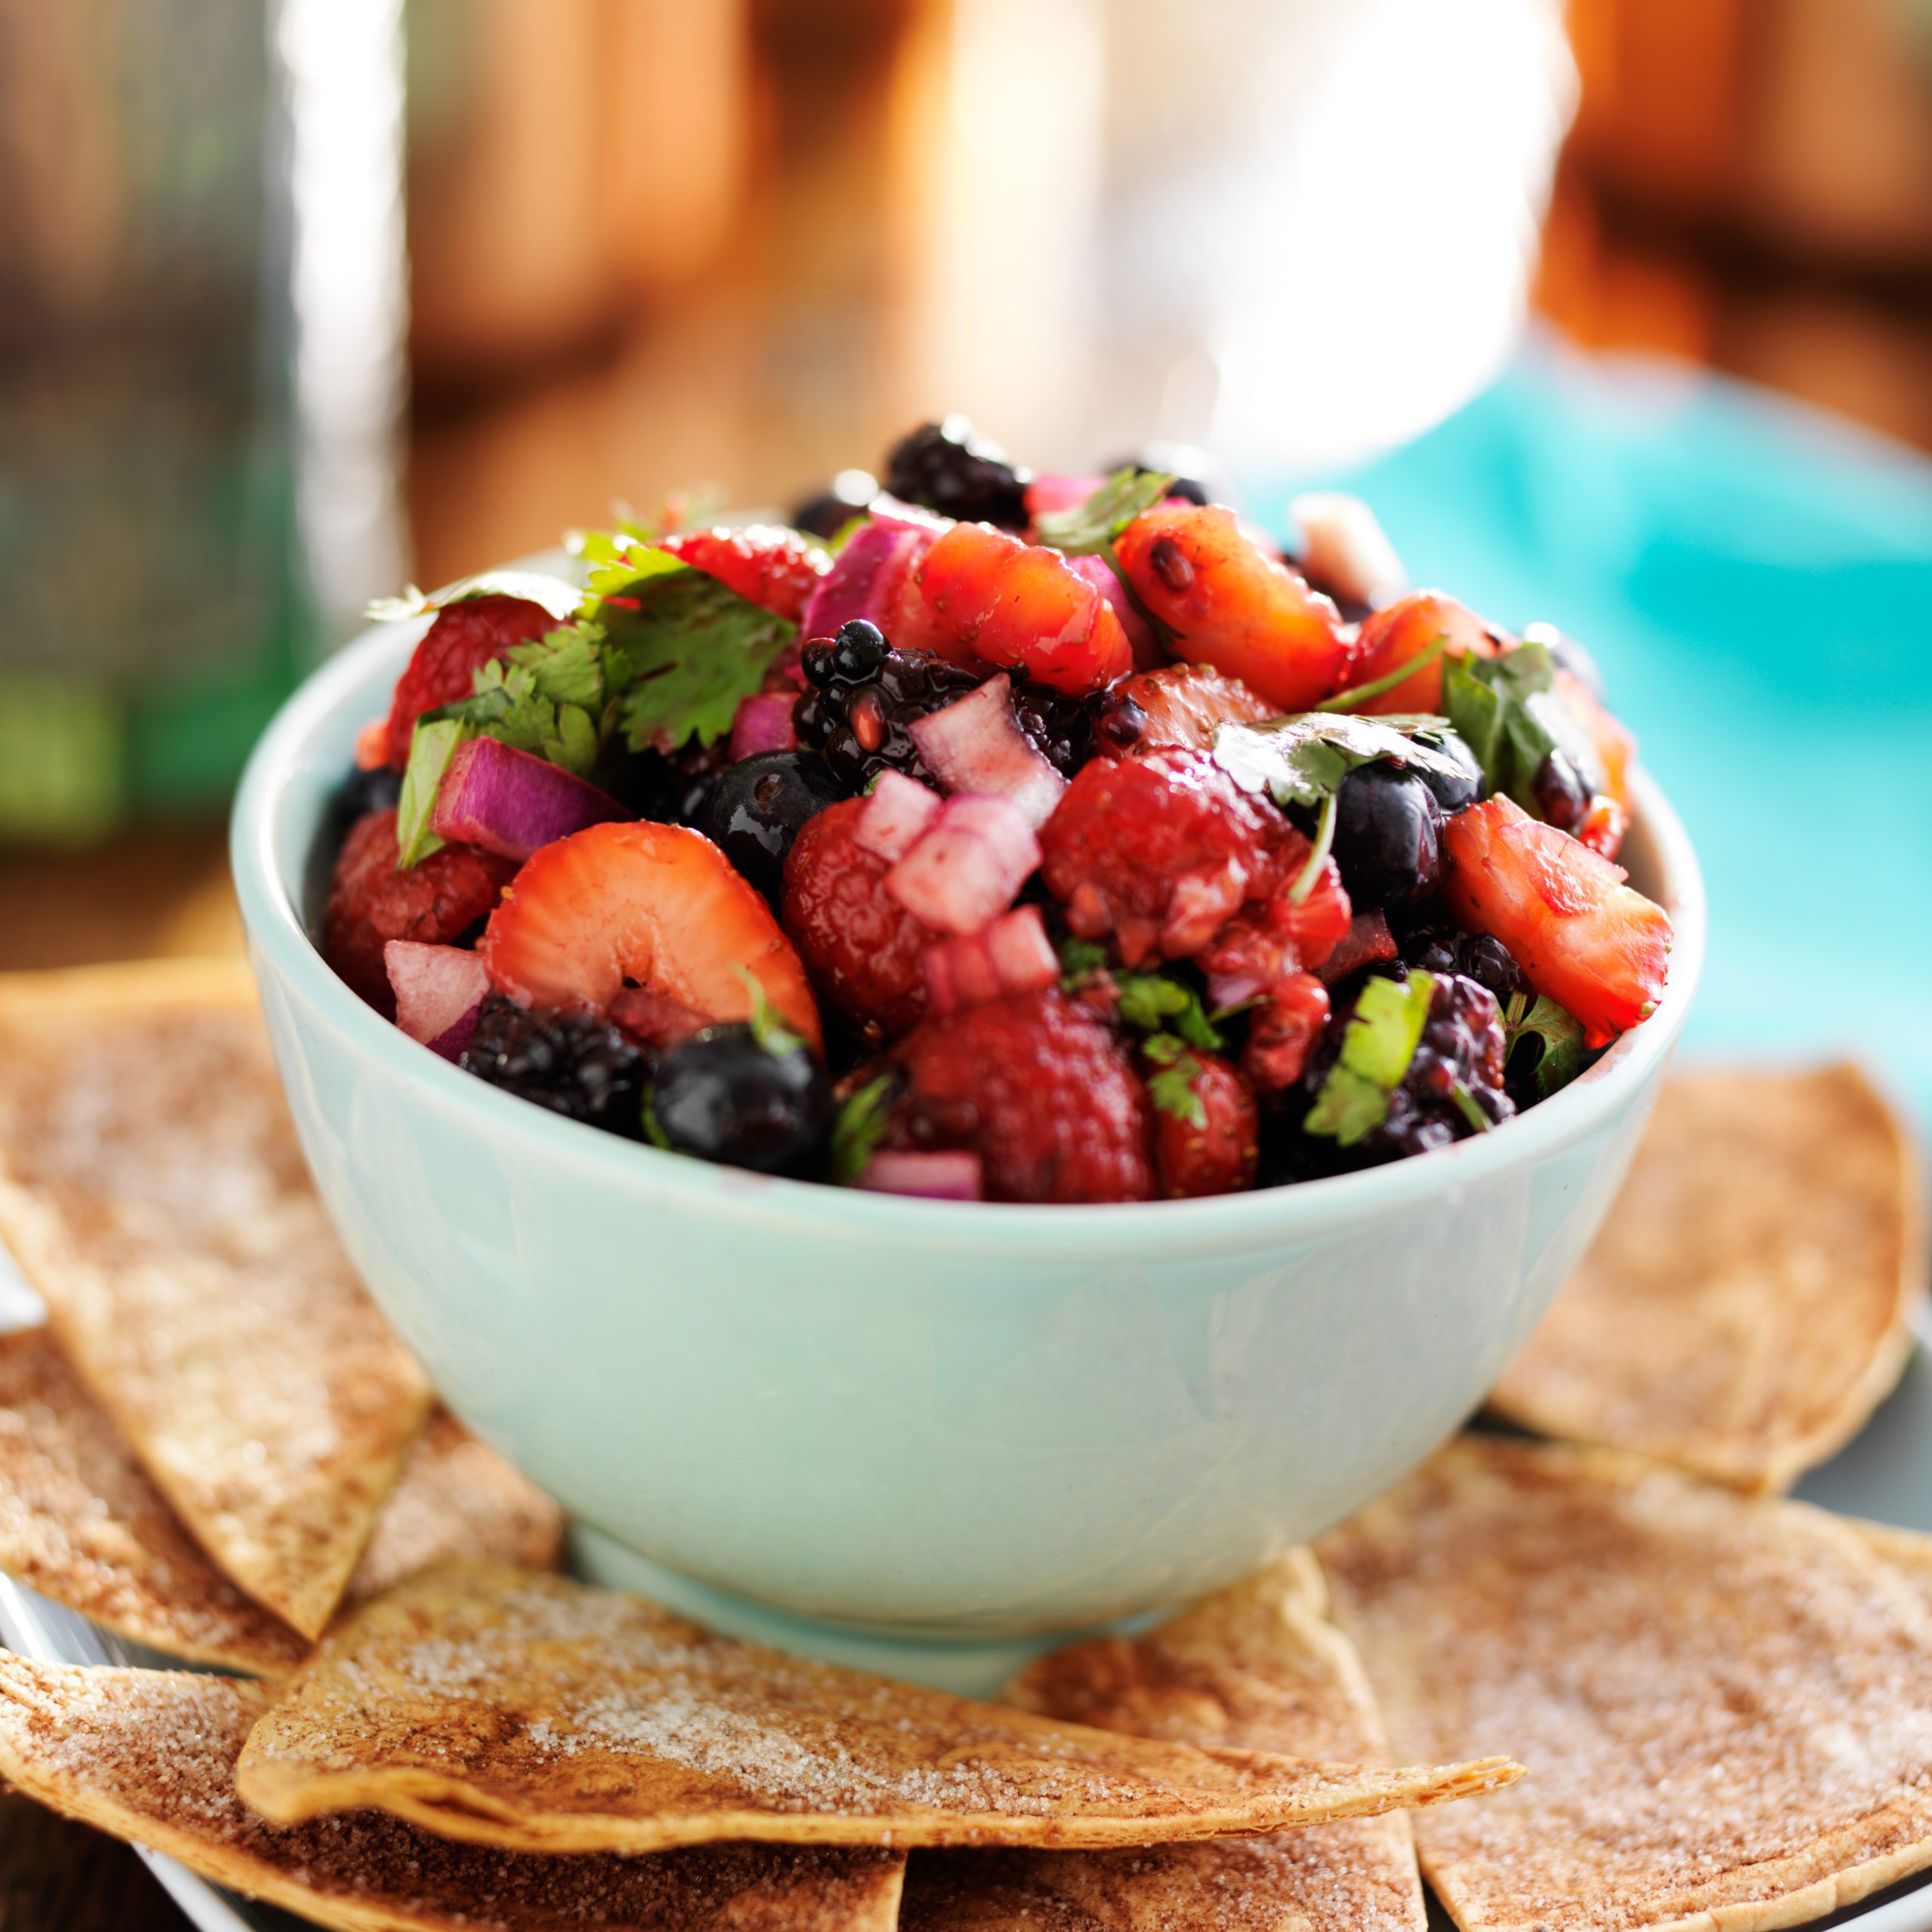
Fruit Salsa with Cinnamon Sugar Tortilla Chips
Fruit salsa with cinnamon sugar tortilla chips is a delightful and refreshing snack or appetizer that combines the freshness of fruit with the crunch of homemade tortilla chips. Here’s a simple recipe for you to enjoy:
Ingredients:
For the fruit salsa:
- 2 cups of diced mixed fruit (such as strawberries, kiwi, mango, pineapple, and/or apple)
- 1 tablespoon of fresh lime juice
- 1 tablespoon of honey or maple syrup (optional, depending on the sweetness of the fruit)
- 1-2 tablespoons of finely chopped fresh mint leaves (optional, for added freshness)
For the cinnamon sugar tortilla chips:
- 4-6 flour tortillas
- 2 tablespoons of melted butter or coconut oil
- 2-3 tablespoons of granulated sugar
- 1 teaspoon of ground cinnamon
Instructions:
- Preheat your oven to 350°F (175°C).
- For the fruit salsa, combine the diced fruit in a mixing bowl. Add lime juice and honey or maple syrup if desired. Gently toss to coat the fruit evenly. Sprinkle with chopped mint leaves, if using. Cover and refrigerate while preparing the tortilla chips.
- For the cinnamon sugar tortilla chips, stack the tortillas on top of each other and use a sharp knife or pizza cutter to cut them into wedges or desired chip shapes.
- In a small bowl, mix together the granulated sugar and ground cinnamon.
- Brush both sides of the tortilla wedges with melted butter or coconut oil, then sprinkle each side generously with the cinnamon sugar mixture.
- Place the coated tortilla wedges on a baking sheet lined with parchment paper, making sure they are in a single layer and not overlapping.
- Bake in the preheated oven for 8-10 minutes, or until the tortilla chips are crisp and lightly golden brown. Keep an eye on them as they can burn quickly.
- Once the tortilla chips are done, remove them from the oven and allow them to cool for a few minutes.
- Serve the cinnamon sugar tortilla chips alongside the chilled fruit salsa. Enjoy!
This fruit salsa with cinnamon sugar tortilla chips is perfect for parties, picnics, or as a healthy snack any time of day. Feel free to customize the fruit salsa with your favorite fruits or add-ins for a unique twist!
The perfect recipe for spring and summer camping. Try this recipe on your next camping trip to Camp Lakewood Campground!

Family owned and operated, Kiefer Campgrounds strive to offer you the best rates for a comfortable location with outstanding service, and spotless facilities. When you stay in one of our parks, you are no longer just a happy camper, but a part of our family! We are most certain you will enjoy your stay with us. Pick your favorite location and book your spot now before it’s too late! You’ll be happy you did!