



Heres Some Camping Tips & Tricks at Your Fingertips
Our Kiefer Campground Blog is the information you need to make your next camping trip even more enjoyable. From RV and camping tips and tricks, to amazing campfire recipes, to advice on planning your next trip... the information below is here to help you. And please, feel free to comment and share your experiences, knowledge and favorite recipes. At Kiefer Campground, we are a family and all here to help each other enjoy the great outdoors to the fullest!
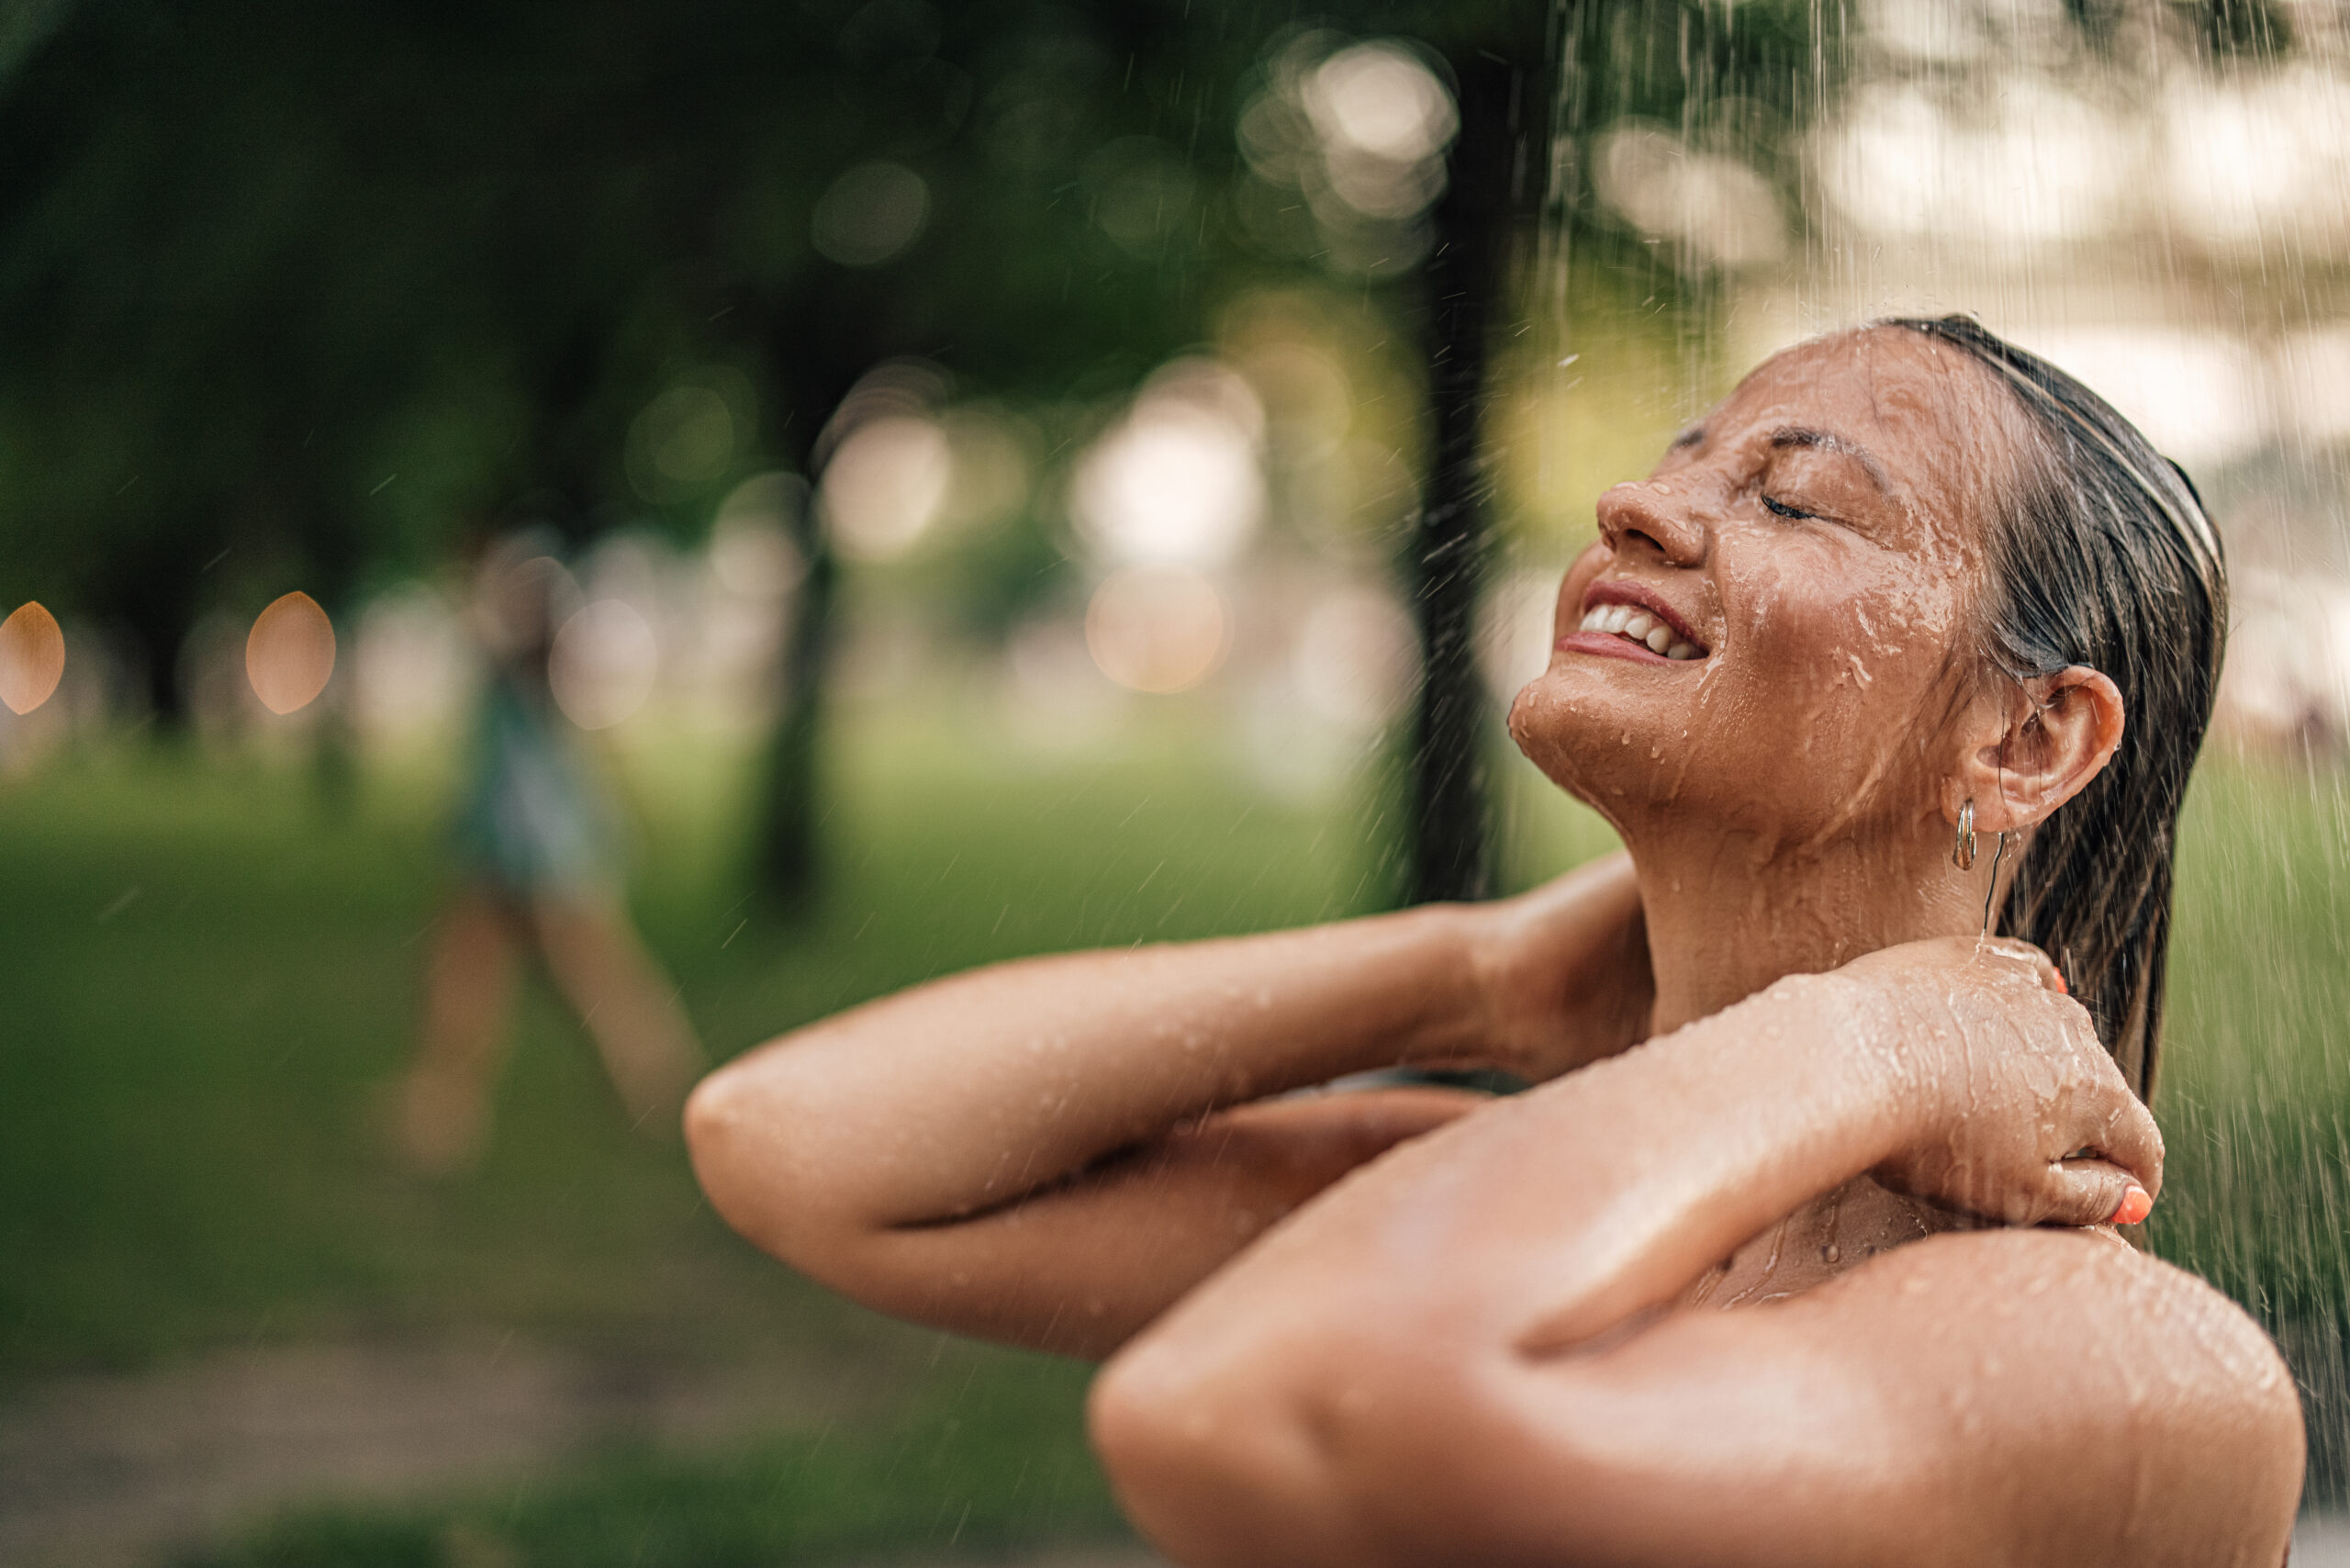
How to Make a Camp Shower
Here’s a simple guide on how to make a camp shower—easy, budget-friendly, and adaptable depending on what supplies you have.
1. Solar Shower Bag (Easiest DIY)
What you need:
- A solar shower bag (or even a sturdy black trash bag)
- Rope or a tree branch for hanging
Steps:
- Fill the bag with water and let it sit in the sun for a few hours (black bags heat water faster).
- Hang it from a tree branch or a sturdy hook.
- Use the attached nozzle or poke a small hole in the bottom for water flow.
2. Gravity-Powered Bucket Shower
What you need:
- 5-gallon bucket with lid
- Drill (or something to poke holes)
- Rope or bungee cords
Steps:
- Drill small holes in the bottom of the bucket (or install a spigot).
- Fill with water, put on the lid, and hoist the bucket onto a branch or a tall stand.
- Stand underneath and lift the lid slightly (or open the spigot) to let water out.
3. Pump Sprayer Shower (Pressurized)
What you need:
- 2-gallon garden pump sprayer (clean, unused)
- Optional: attach a shower head or hose sprayer
Steps:
- Fill with warm water.
- Pump the sprayer to build pressure.
- Use the attached nozzle as your shower head—great for rinsing off after hikes.
4. Simple Privacy Upgrade
- Shower tent or tarp walls → for privacy
- Wooden pallet or rubber mat → to avoid muddy feet
- Quick-dry towel → saves space and dries fast
⚠️ Tips & Safety:
- Use biodegradable soap to protect the environment.
- Always shower at least 200 feet away from natural water sources.
- If heating water on a fire or stove, let it cool before pouring into your shower setup (avoid burns).
Try these shower hacks the next time you need to shower in the wilderness! You don’t need to worry about making your own shower when staying at Camp Lakewood Campground, because we have showers!

🪵 Classic Campfire BBQ Chicken
Here’s a simple and classic Campfire BBQ Chicken recipe you can make right over the fire:
Ingredients:
- 4 bone-in chicken pieces (thighs, drumsticks, or breasts)
- 1 cup BBQ sauce (your favorite kind—sweet, smoky, or spicy)
- 2 tbsp olive oil
- Salt & pepper to taste
- Optional: garlic powder, paprika, or onion powder for extra flavor
Instructions:
- Prep the Fire: Build a good campfire and let it burn down until you have a bed of hot coals. Place a grill grate over the fire.
- Season the Chicken: Rub chicken with olive oil, then season with salt, pepper, and any extra spices.
- Grill the Chicken: Place chicken on the grate (not directly over high flames). Cook slowly, turning often, for 30–40 minutes, until the juices run clear and the internal temp reaches 165°F.
- Add BBQ Sauce: During the last 10 minutes, brush the chicken generously with BBQ sauce. Flip and baste a couple of times so it gets sticky and caramelized without burning.
- Serve & Enjoy: Pair with corn on the cob, campfire potatoes, or coleslaw for the ultimate camp meal! 🍗🔥
👉 Pro Tip: Wrap chicken in foil after saucing if you want it extra juicy and less smoky.
Try this easy entree during your next stay at Camp Lakewood Campground!
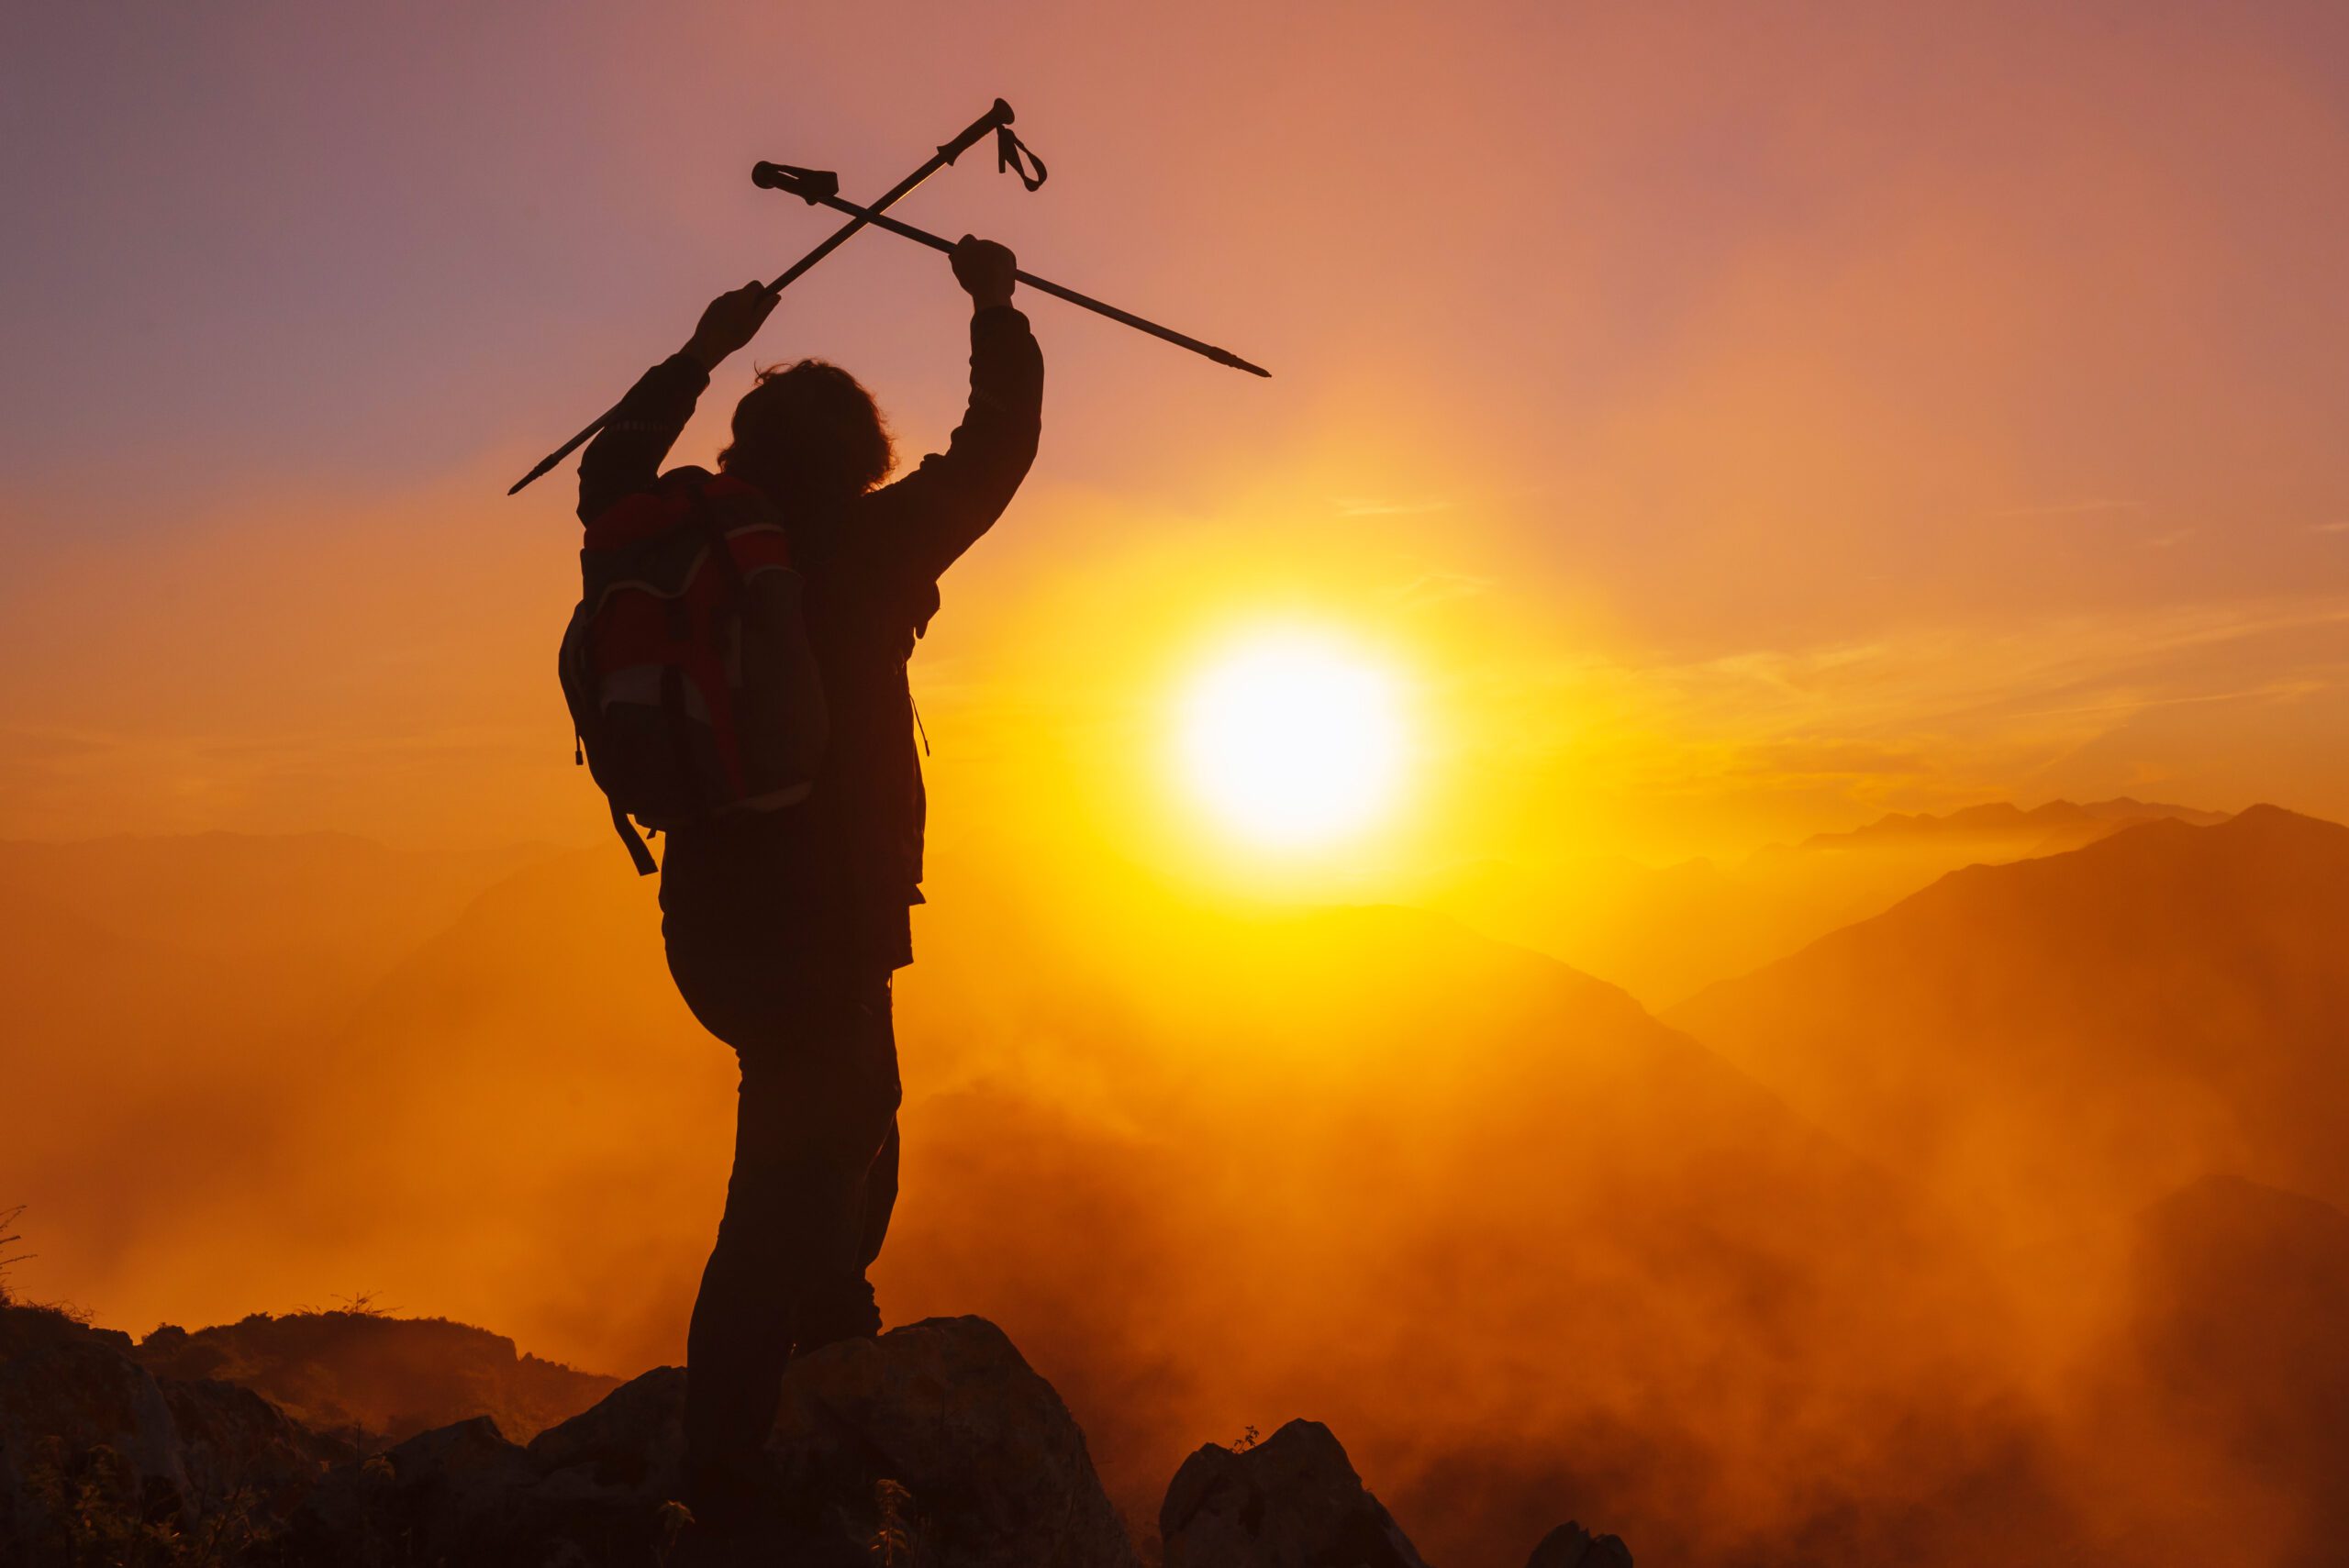
How to Signal for Help in the Wild
Essential Tips for Outdoor Emergency Situations
Getting lost or injured in the wilderness can happen to even the most experienced adventurers. Whether you’re hiking, camping, or exploring off-grid, knowing how to effectively signal for help can be life-saving. Here are key techniques you should know before heading into the wild.
1. Use the Rule of Threes
In survival, the number three is universally recognized as a distress signal. This applies across multiple methods:
- Three loud whistles
- Three flashes of a mirror or flashlight
- Three piles of rocks or logs in a triangle
- Three shouts, bangs, or blasts of an air horn
Repeat the signal at regular intervals to increase your chances of being heard or seen.
2. Visual Signals
Visual cues are crucial when rescuers are searching from the air or across long distances.
🔦 Flashlight or Mirror Signals
- Use a flashlight or mirror to reflect sunlight toward aircraft or distant people.
- Flash in groups of three.
- If using a mirror, angle the reflection so it flashes across your target’s location.
🔥 Smoke and Fire
- Build three fires in a triangle or straight line.
- Use green leaves or moss to create thick smoke during the day.
- Keep a dry fire source ready to reignite in case rescuers pass nearby.
🪵 Ground Symbols
- Use logs, rocks, or gear to form large symbols like:
- SOS (international distress signal)
- X (needs emergency assistance)
- → (points toward your location if moving)
- SOS (international distress signal)
- Make them at least 6 feet wide so they’re visible from the sky.
3. Audio Signals
Sound carries well in forests and open land.
- Whistle: Louder and more piercing than a voice. Always carry one.
- Yelling: Use only when someone is nearby—you can lose your voice quickly.
- Air horn: Excellent for wide-open areas or near trails.
4. Emergency Devices
Modern gear can be a game-changer:
- Personal Locator Beacon (PLB)
- Sends a signal with your location to emergency services.
- Requires no cell service.
- Sends a signal with your location to emergency services.
- Satellite Messengers (e.g., Garmin inReach, SPOT)
- Allow you to text your coordinates or SOS.
- Useful for remote areas with no reception.
- Allow you to text your coordinates or SOS.
- Cell Phones
- Try sending a quick SOS text or using emergency location sharing if you have signal.
- Climb to higher ground to improve reception.
- Try sending a quick SOS text or using emergency location sharing if you have signal.
5. Clothing & Movement Tips
- Wear bright colors or reflective gear.
- Lay out contrasting gear to catch attention.
- If moving, stay visible—open spaces are better than thick brush.
- Avoid unnecessary movement if you’re injured or rescuers may be nearby.
Final Tips
- Always let someone know your route and expected return time before heading into the wild.
- Pack essentials like a whistle, flashlight, mirror, and fire starter in your emergency kit.
- Remain calm and patient—rescue can take time.
Being prepared is your best defense in a wilderness emergency. Learn these signaling techniques, and you’ll be better equipped to stay safe at any campground, especially at Camp Lakewood Campground!
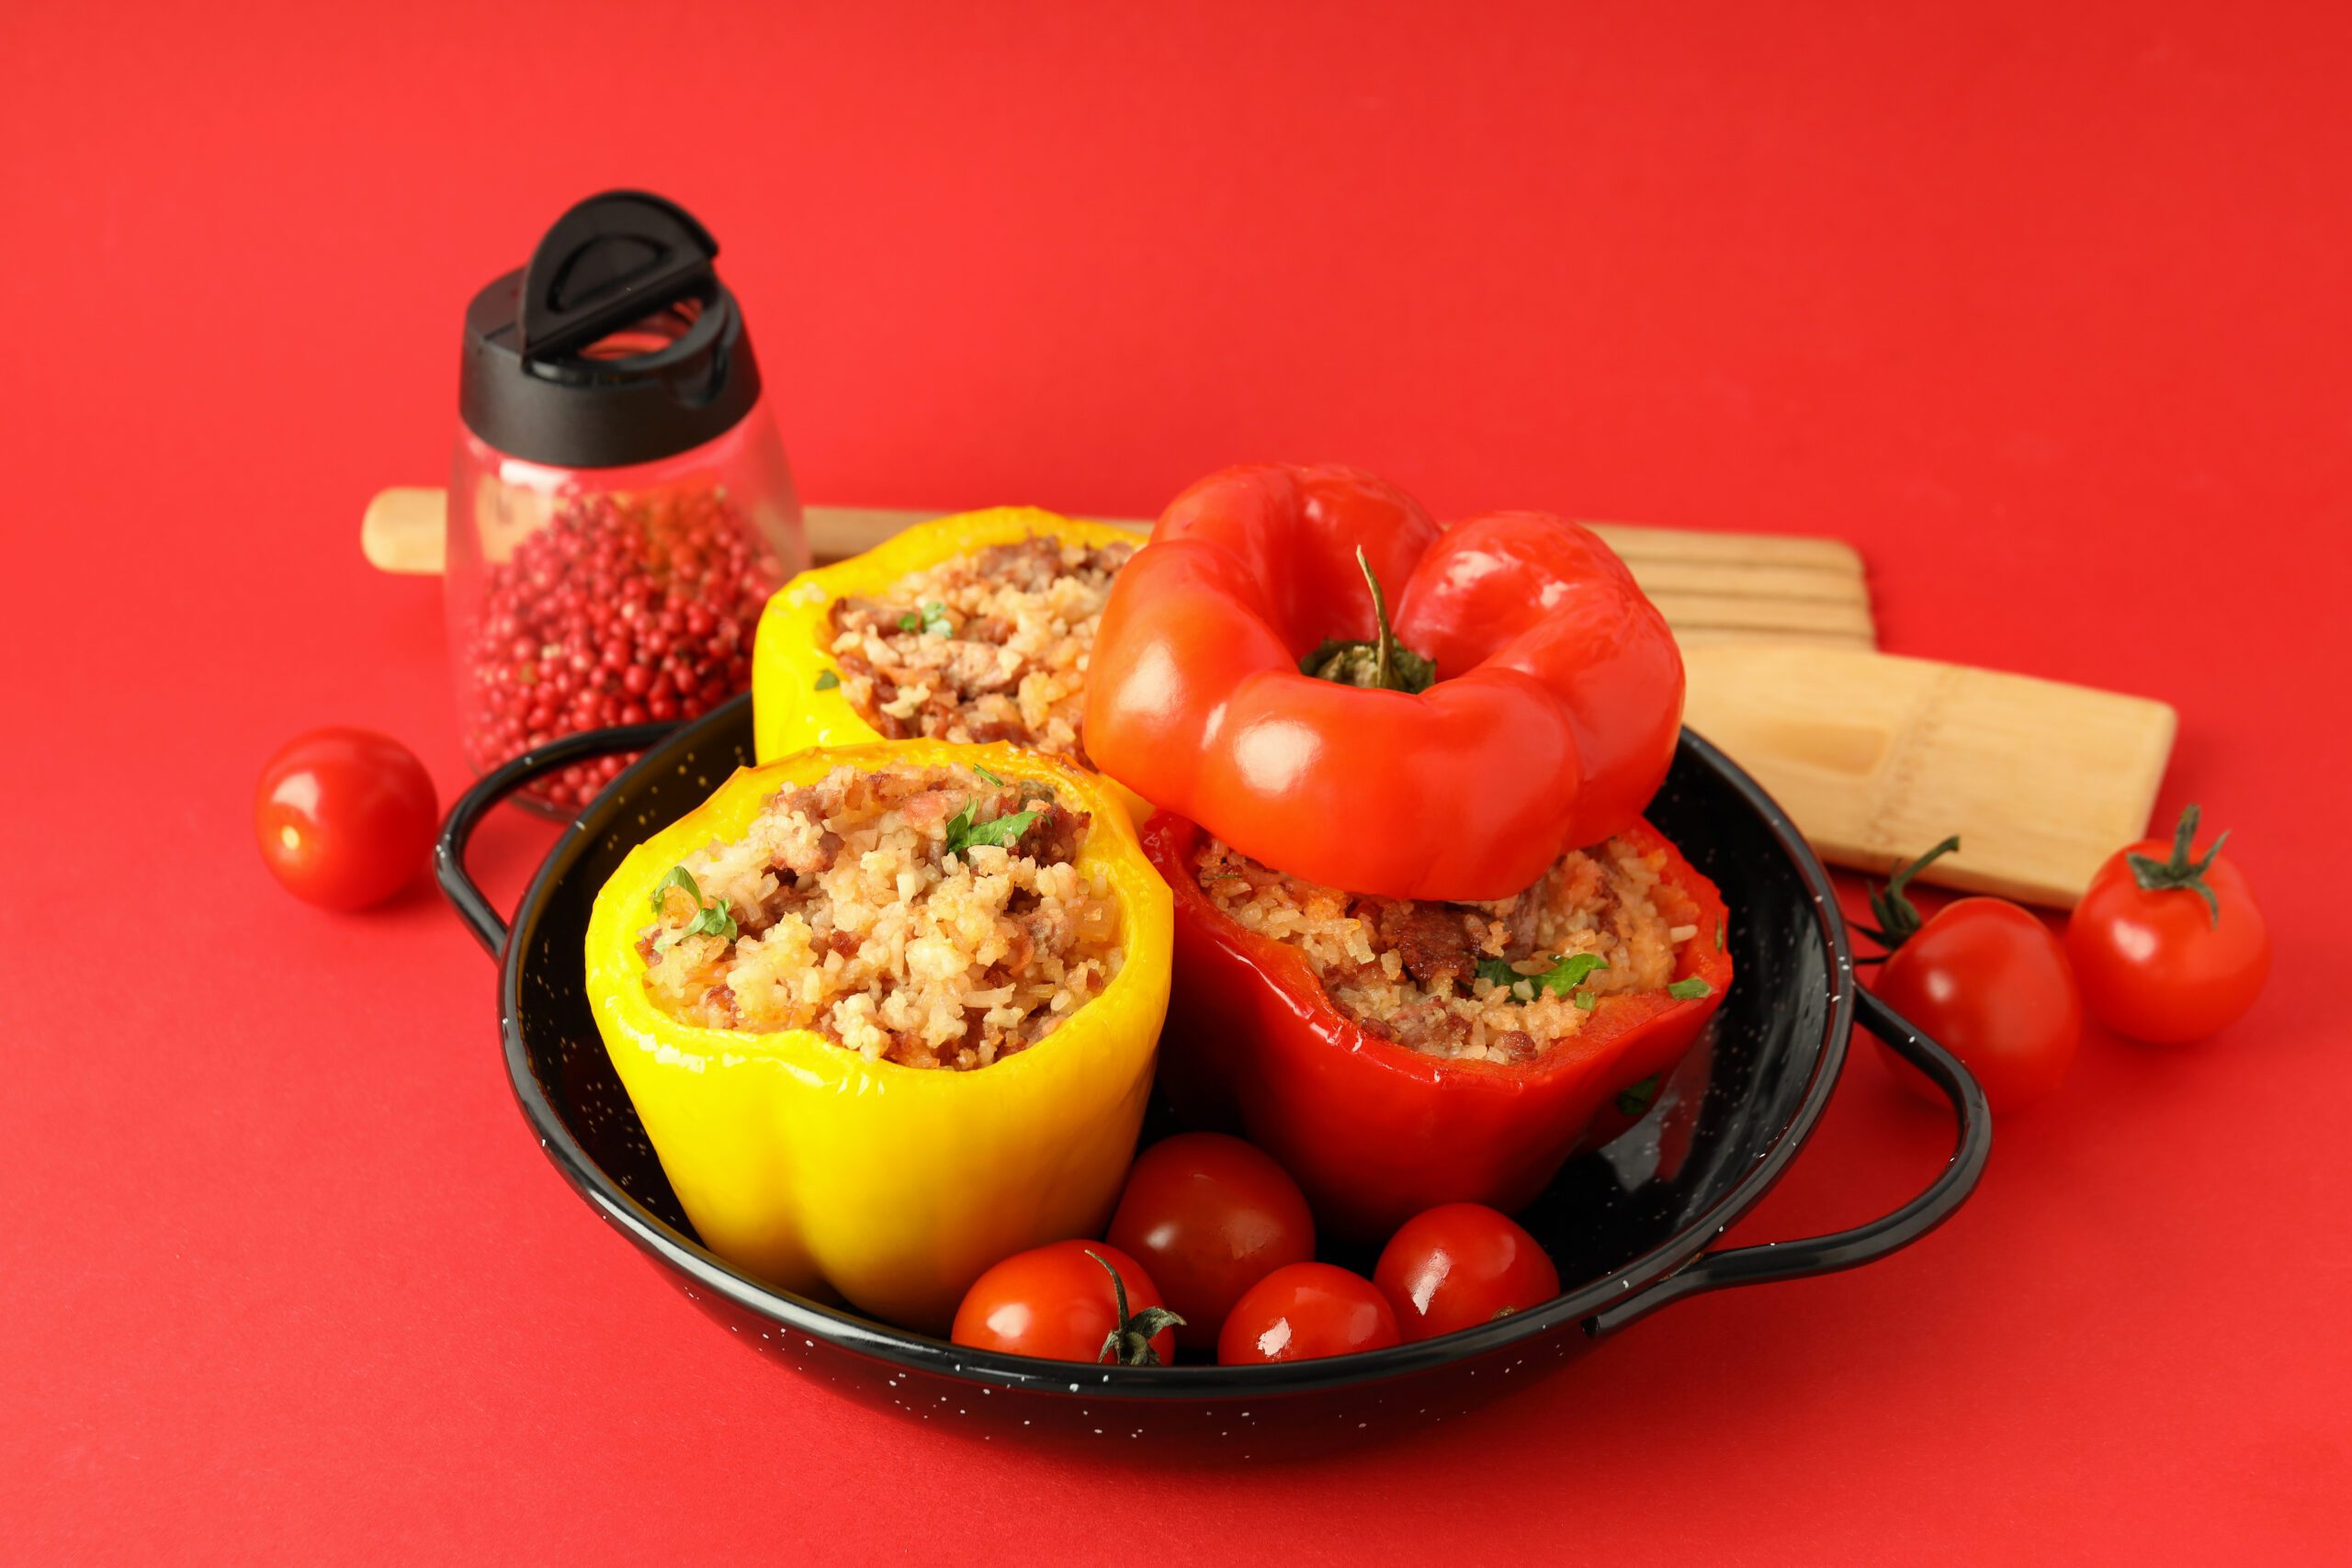
🏕️ Campfire Stuffed Peppers
Here’s an easy and delicious Campfire Stuffed Peppers recipe — perfect for cooking over the fire or grill while camping! 🌶️🔥
Ingredients:
- 4 large bell peppers (any color), tops cut off and seeds removed
- 1 lb ground beef or turkey
- 1 cup cooked rice
- 1 cup shredded cheese (cheddar or Mexican blend)
- 1 small onion, diced
- 1 cup diced tomatoes (fresh or canned)
- 1 tsp garlic powder
- 1 tsp chili powder (optional)
- Salt & pepper to taste
- Aluminum foil
Optional Add-ins: corn, black beans, jalapeños, or salsa
🔥 Instructions:
- Cook the filling: In a skillet or pan over your campfire or camping stove, cook the ground meat with onions until browned. Drain any excess fat.
- Stir in tomatoes, cooked rice, spices, and half the cheese. Let it heat through.
- Stuff the peppers: Fill each bell pepper with the hot mixture and top with remaining cheese.
- Wrap each stuffed pepper in aluminum foil.
- Cook over the fire: Place wrapped peppers on hot coals or a grill grate. Cook for 20–30 minutes, rotating occasionally, until the peppers are tender and cheese is melted.
- Carefully unwrap and enjoy!
Try this recipe the next time you stay at Camp Lakewood Campground!
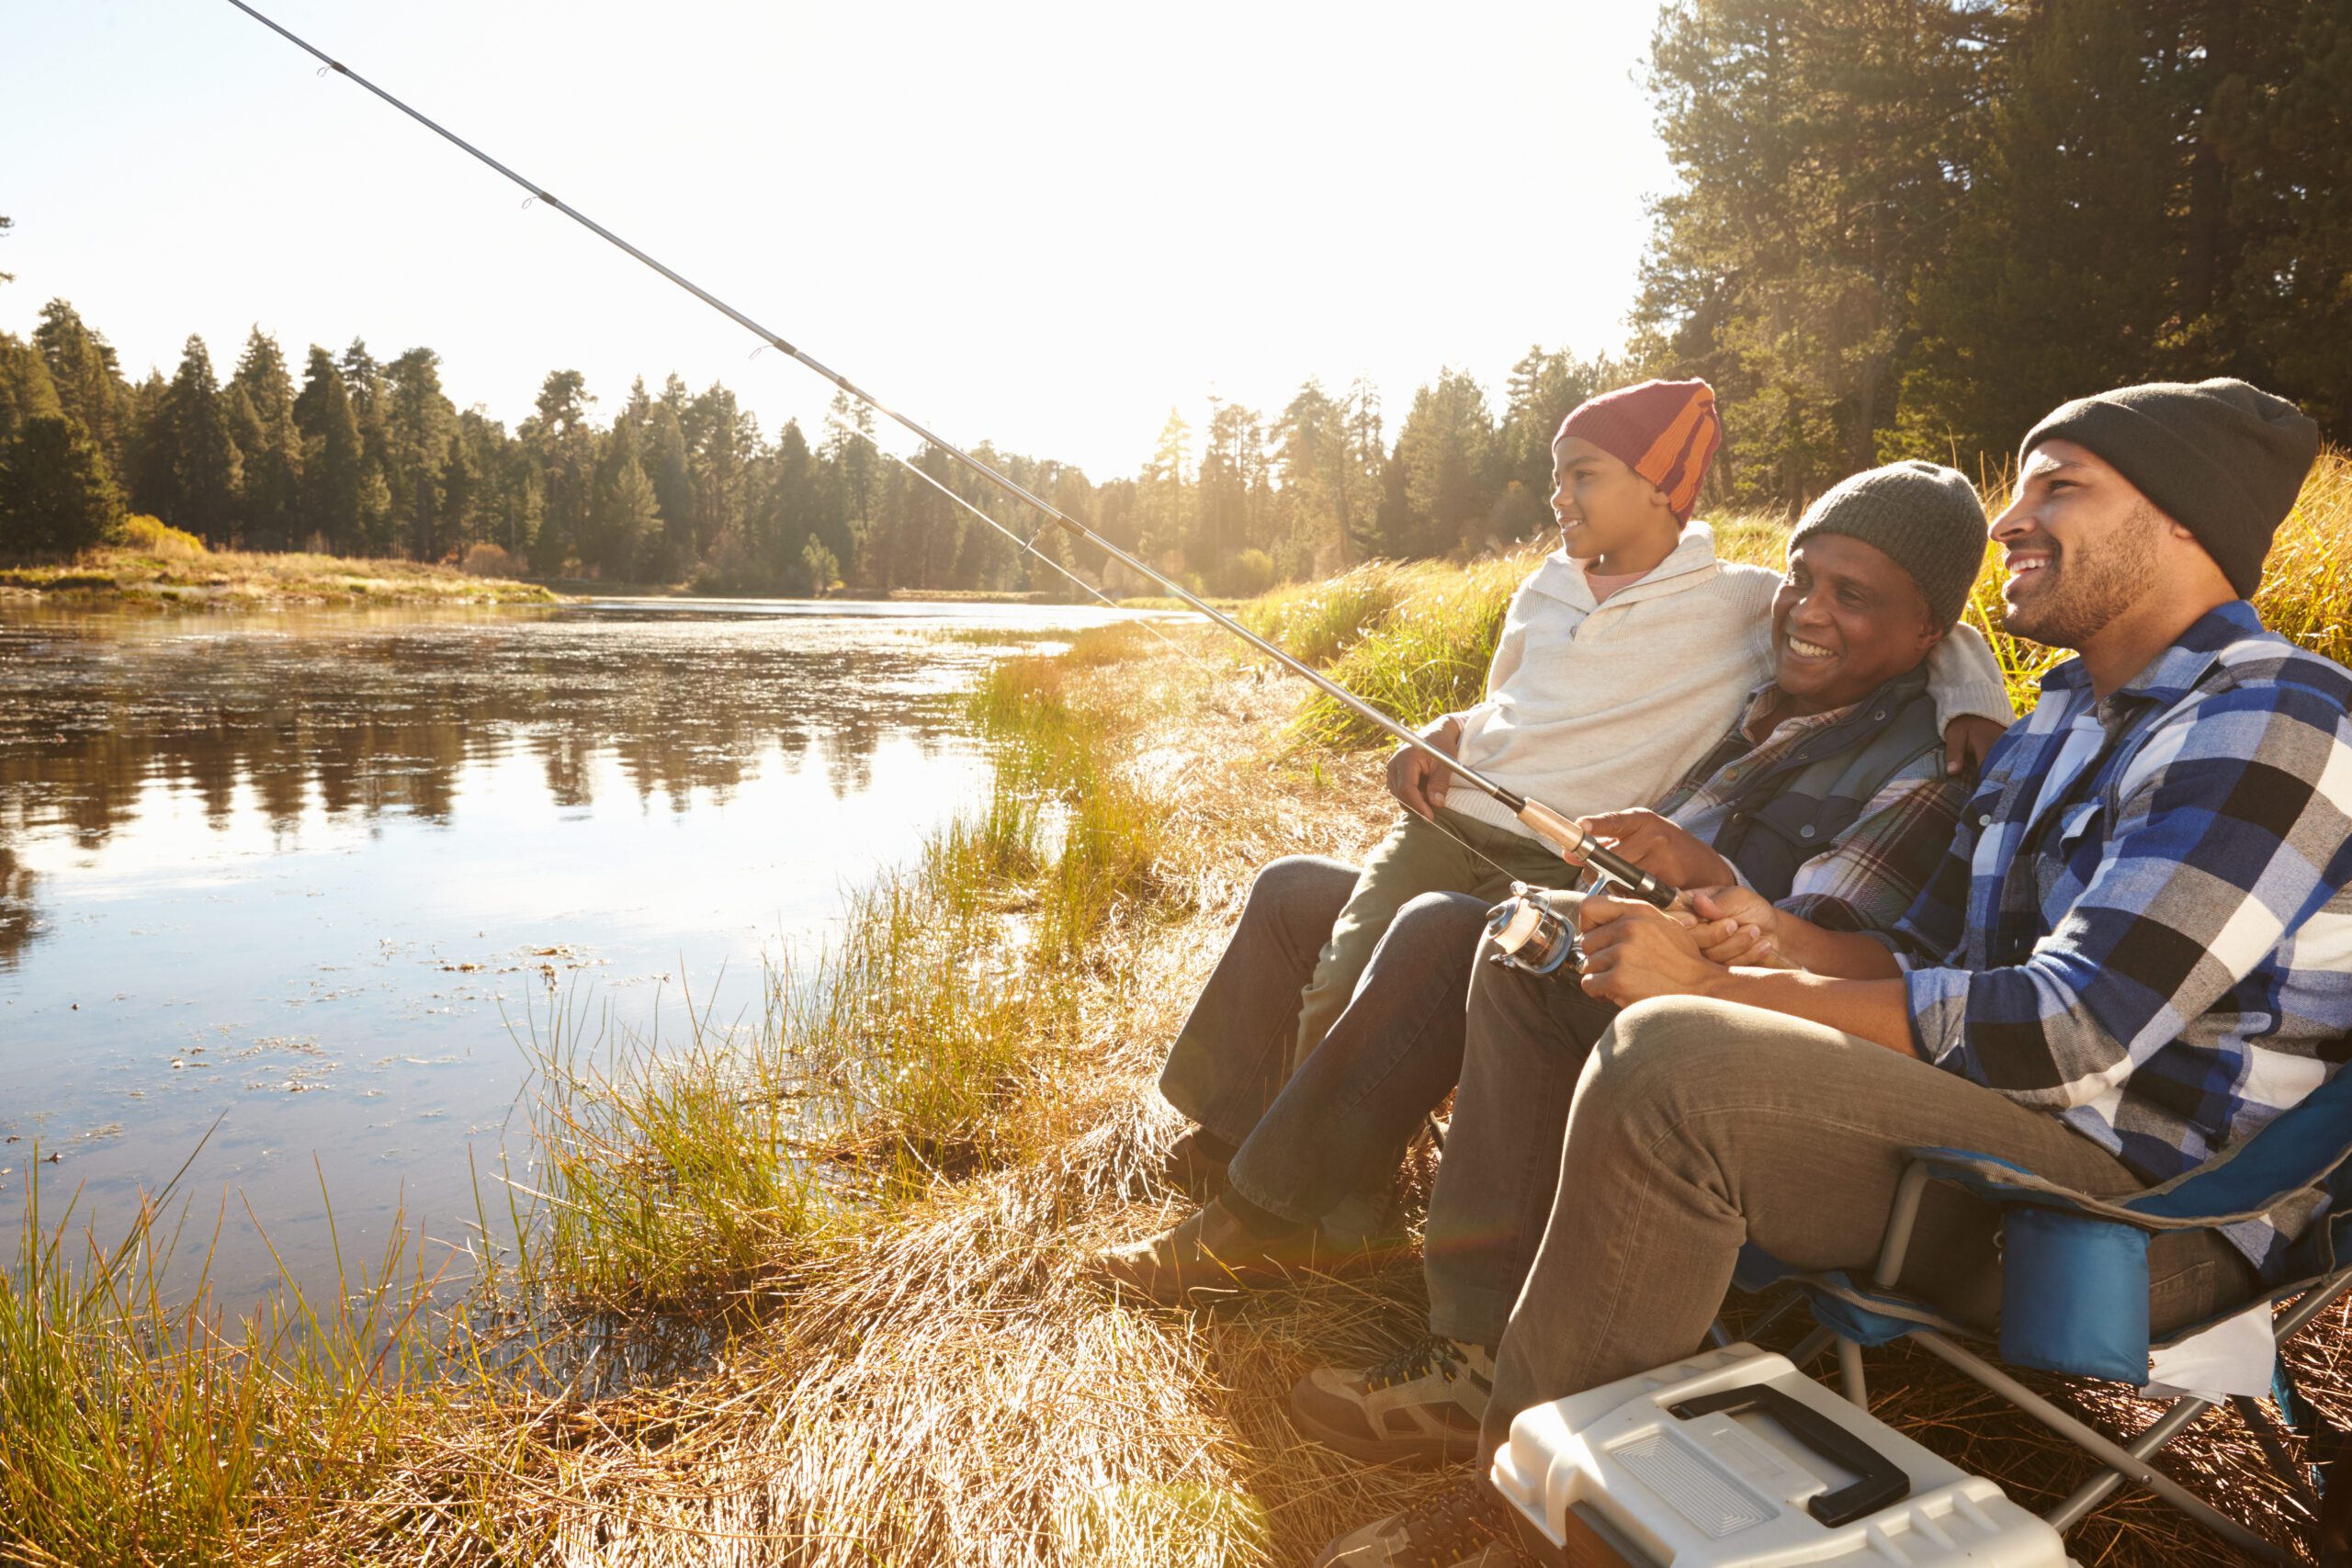
Fishing While Camping: Tips for Beginners
Fishing and camping are a perfect match—peaceful, relaxing, and a great way to enjoy the outdoors. Whether you’re hoping to catch dinner or just want to enjoy the experience, fishing while camping can be both fun and rewarding.
🎣 1. Check the Local Regulations
Before casting your line, make sure you understand the rules. Many areas require a fishing license, even for beginners. Look up the local fishing regulations for the state or park you’re visiting. This includes size limits, daily catch limits, and what types of bait or tackle are allowed.
🪝 2. Use Beginner-Friendly Gear
You don’t need fancy equipment to get started. A basic spinning rod and reel combo is easy to use and perfect for beginners. Most sporting goods stores sell starter kits that include the rod, reel, and some tackle.
Also bring:
- Hooks and sinkers
- Bobbers (to help you see bites)
- Bait (live worms, corn, or artificial lures)
🐟 3. Choose the Right Spot
Look for calm areas near shorelines, docks, or where water flows in and out (like creeks or coves). Fish are often more active around sunrise and sunset, so those are great times to try your luck.
🧃 4. Pack the Essentials
In addition to your fishing gear, bring:
- A small cooler for your catch (if keeping fish)
- Sunscreen and bug spray
- A chair or bucket to sit on
- A tackle box or bag to keep things organized
- Pliers or a multi-tool to remove hooks safely
🎯 5. Practice Patience and Learn as You Go
Fishing is as much about enjoying the moment as it is about catching fish. Don’t get discouraged if you don’t catch anything right away. Use the time to relax, enjoy nature, and learn.
Watch what others are doing, ask questions if you meet friendly anglers, and look up simple tutorials online if needed.
🔥 6. If You Catch Something, Know What to Do
If you’re planning to eat what you catch, make sure it’s a legal size and properly cleaned. If not, gently remove the hook and release the fish back into the water.
Tip: Always wet your hands before handling a fish to protect its slime coating, which helps it stay healthy.
🏕 Final Thoughts
Fishing while camping at Camp Lakewood Campground adds an extra layer of fun to your outdoor adventure. With a little preparation and patience, you can create lasting memories—and maybe even catch dinner!

Mason Jar Desserts
Mason jar desserts are fun, portable, and perfect for camping trips, picnics, or cozy nights in! Here are some delicious and visually appealing ideas to inspire your next sweet treat in a jar:
🍓 1. Strawberry Shortcake Jars
Layers: Crumbled pound cake, fresh strawberries, whipped cream
Tip: Let it chill for an hour so the juices soak in!
🍫 2. No-Bake Chocolate Cheesecake Jars
Layers: Oreo crumb crust, chocolate cheesecake filling, chocolate ganache
Topping: Whipped cream + chocolate shavings
🍌 3. Banana Pudding Jars
Layers: Vanilla pudding, sliced bananas, Nilla wafers, whipped topping
Optional: Drizzle of caramel
🍰 4. Red Velvet Cake Jars
Layers: Red velvet cake chunks, cream cheese frosting
Tip: Add sprinkles or white chocolate chips for a fun texture!
🫐 5. Berry Trifle Jars
Layers: Angel food cake, mixed berries (blueberries, raspberries), vanilla yogurt or pudding
Garnish: Fresh mint leaves
🍏 6. Caramel Apple Pie Jars
Layers: Cinnamon-spiced apples, graham cracker crust, whipped cream
Drizzle: Warm caramel sauce on top
🎃 7. Pumpkin Pie Jars
Layers: Pumpkin pie filling, crushed gingersnaps or graham crackers, whipped cream
Perfect for: Fall parties or Thanksgiving desserts
🍪 8. Cookie Dough Parfait Jars
Layers: Edible cookie dough, chocolate pudding, crushed cookies
Top with: Mini chocolate chips
Try packing these desserts on your next camping trip to Camp Lakewood Campground!
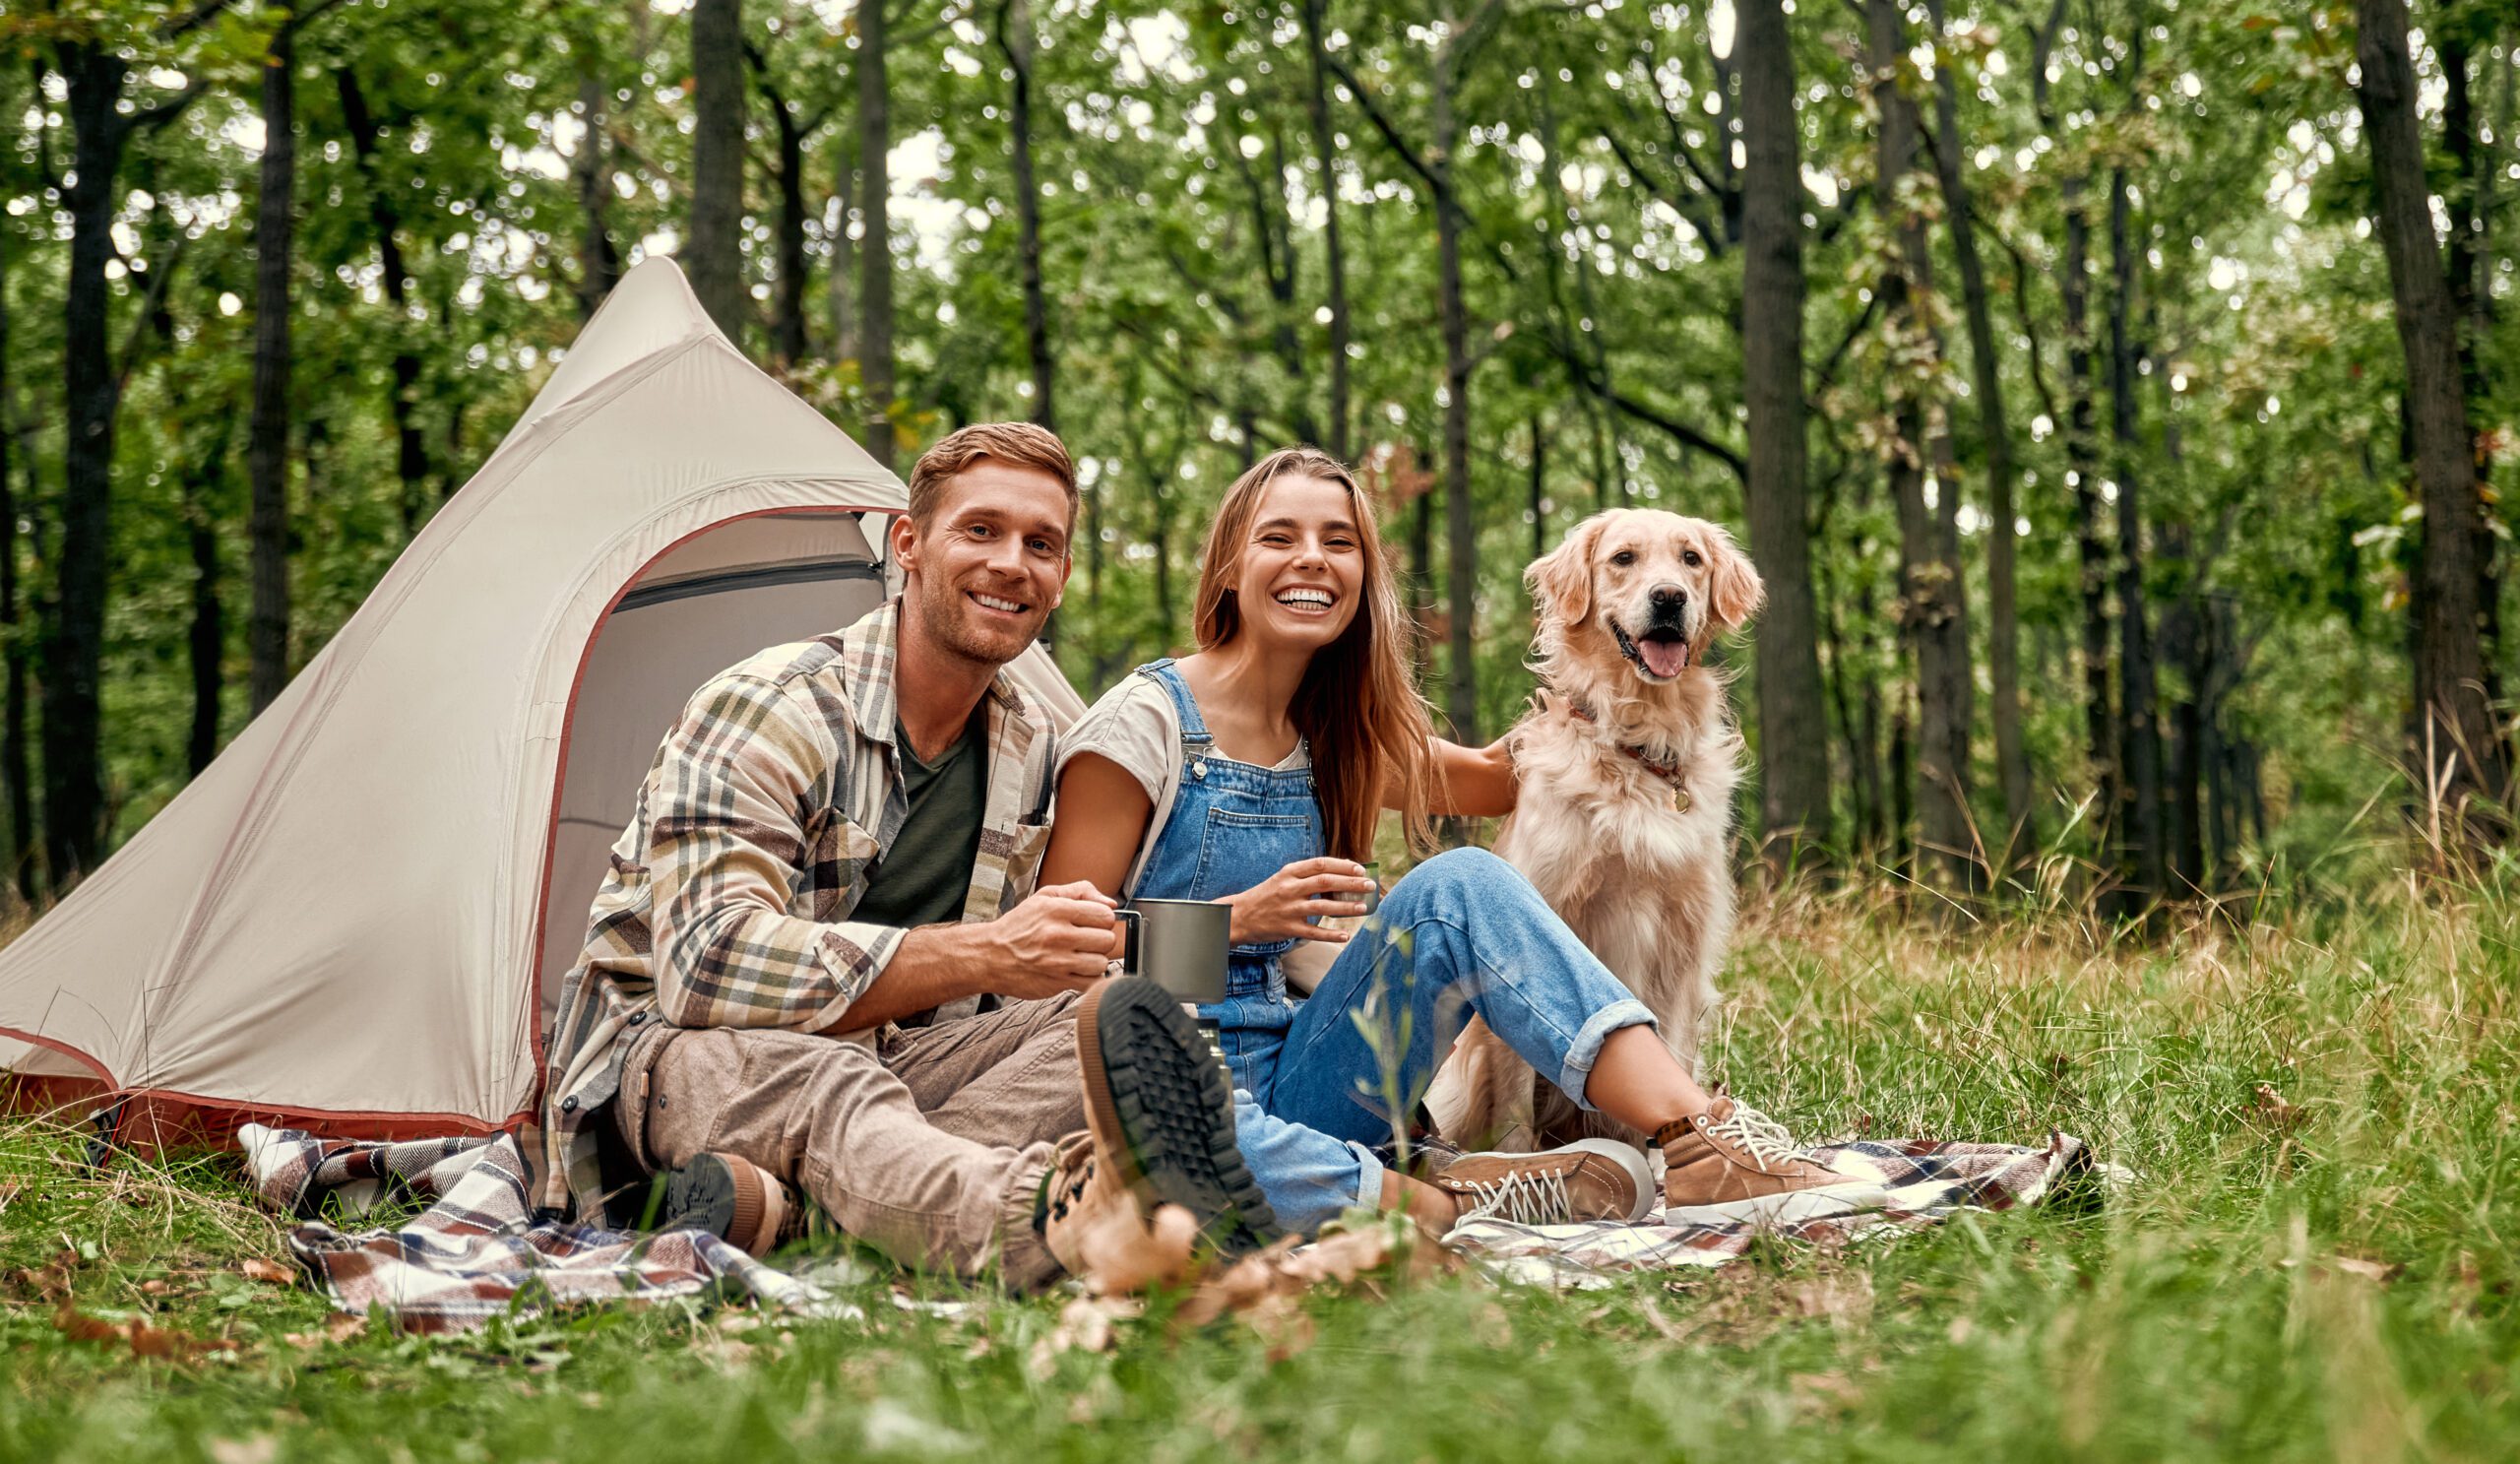
How To Camp With Pets
Camping with pets can be a fun and rewarding experience—if you’re prepared! Here’s a simple guide to help you camp safely and comfortably with your furry friend:
🐾 Before You Go
- Check Pet-Friendly Rules: Make sure your campground allows pets. Some have restrictions on pet size, breed, or number.
- Visit the Vet: Ensure your pet is healthy, vaccinated, and up-to-date on flea/tick prevention.
- Pack Their Essentials:
- Food & water (plus collapsible bowls)
- Leash, harness, and ID tags
- Pet bed or blanket
- Waste bags
- Toys and treats
- Medications
- Food & water (plus collapsible bowls)
🏕️ At the Campground
- Set Up a Pet Zone: Create a shaded, secure area with water and their bed or crate.
- Always Supervise: Never leave your pet alone, especially in a hot tent or car.
- Follow Leash Rules: Use a leash or tie-out to keep them safe and respectful of other campers.
- Be Considerate: Clean up after your pet and limit barking to maintain good campground etiquette.
🐶 Fun and Safety Tips
- Go for Walks or Hikes: Stick to pet-friendly trails and check their paws for burrs or hot spots.
- Watch for Wildlife: Keep your pet close—some animals can pose a danger.
- Night Safety: Use a glow collar or reflective gear for visibility.
- Hydration is Key: Make sure they drink enough, especially on hot days or after hikes.
🧭 Bonus Tips
- First-Time Campers: Try a backyard camp-out or a short overnight trip to ease into the experience.
- Camping in Tents? Introduce your pet to the tent at home so it feels familiar.
- Pet ID: Consider a GPS tag or microchip just in case your pet gets lost.
Camping with pets is all about preparation and awareness. With a little planning, you’ll both have an unforgettable adventure at Camp Lakewood Campground! 🏞️🐕🦺
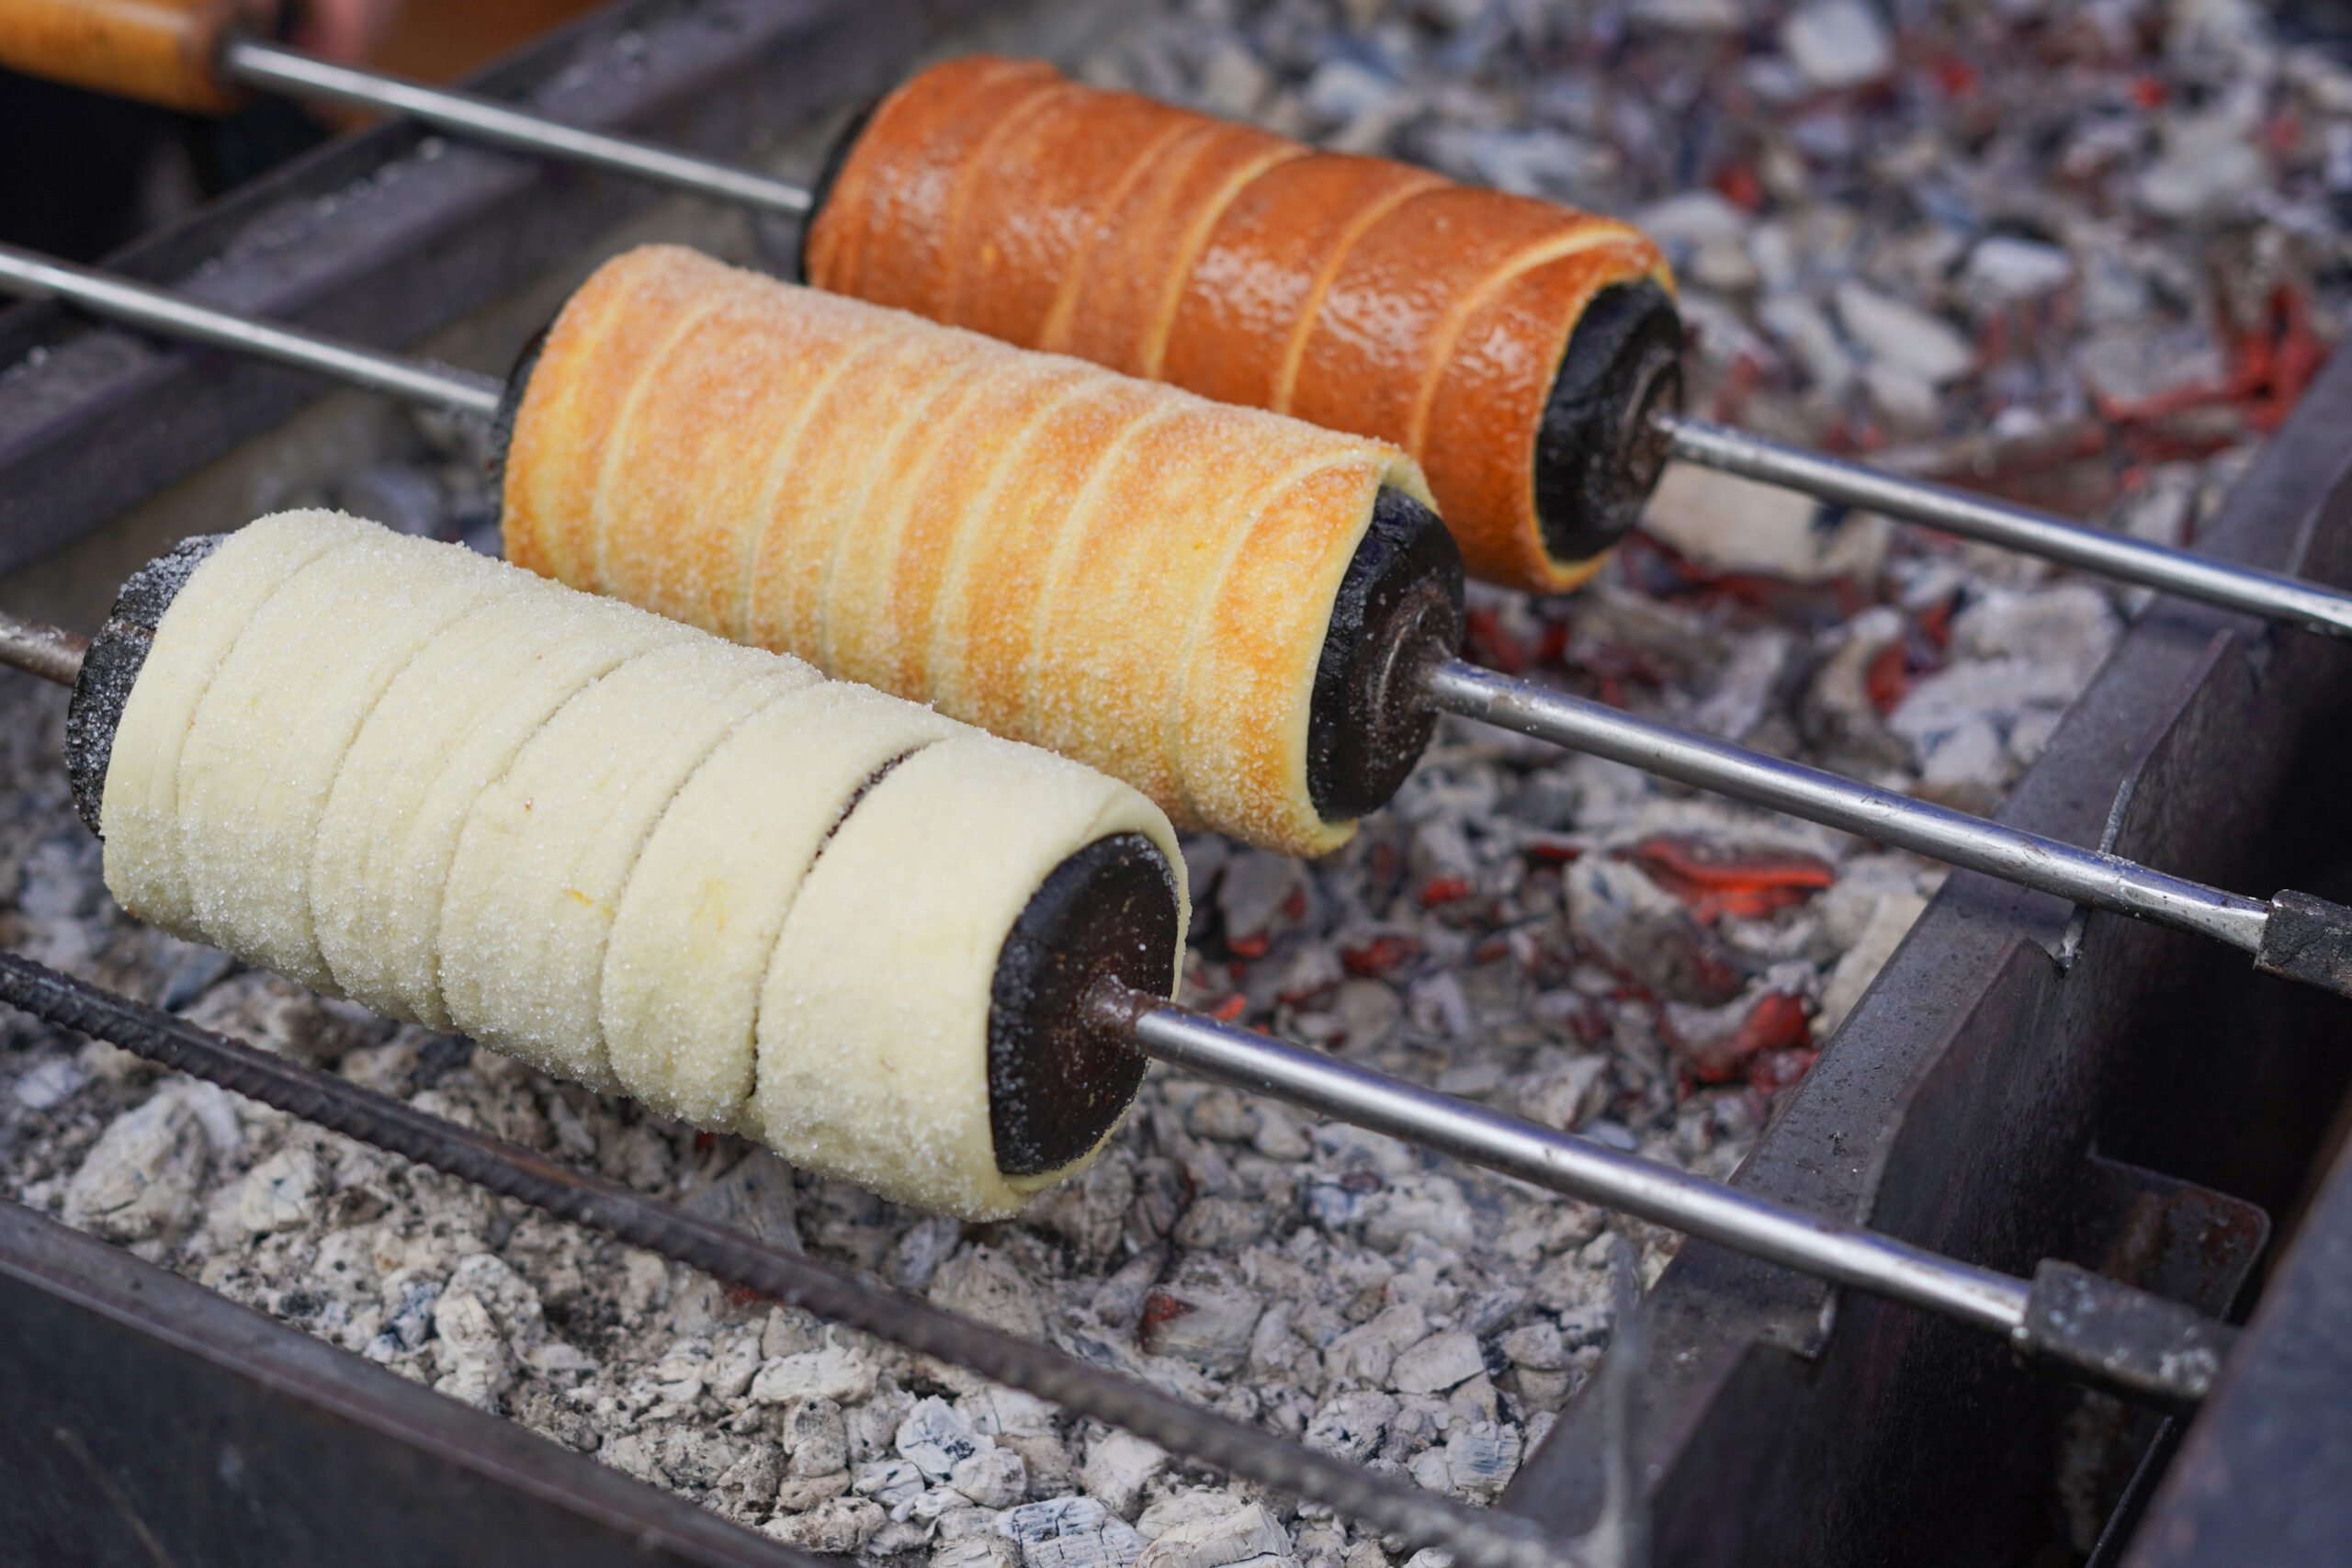
🥖 Campfire Bread Rolls
Here’s a simple and delicious Campfire Bread Rolls recipe that you can make while camping:
(Stick Bread or Skillet Rolls)
Option 1: Stick Bread Rolls (Fun for Kids & Adults)
Ingredients:
- 2 cups all-purpose flour
- 2 tsp baking powder
- ½ tsp salt
- ¾ cup water (or milk)
- 2 tbsp oil or melted butter
- Optional: herbs, shredded cheese, or cinnamon sugar
Instructions:
- Mix Dough: In a bowl, mix the flour, baking powder, and salt. Add water and oil; mix until you get a soft dough. Knead lightly.
- Divide & Shape: Divide into golf ball-sized portions. Roll each into a rope about 12-18 inches long.
- Wrap on Stick: Wrap the dough rope around the end of a clean, thick stick (not too dry or it might burn).
- Cook Over Fire: Hold over hot coals (not direct flames), rotating frequently until golden brown and cooked through (8–15 minutes).
- Optional: Brush with butter, dip in jam, sprinkle with cinnamon sugar, or serve with savory spreads.
Option 2: Skillet Campfire Rolls (For a More Traditional Roll)
Ingredients:
- 1 tube of refrigerated biscuit or crescent dough or make your own simple dough (same as above)
- Butter or oil for greasing
- Cast iron skillet or Dutch oven
- Optional toppings: garlic butter, cheese, herbs
Instructions:
- Prep Skillet: Grease your skillet or Dutch oven well.
- Place Rolls: Arrange dough pieces (store-bought or homemade) with a bit of space between each to allow for rising.
- Cover & Cook: Cover with foil or a lid. Place over hot coals and cook for 10–20 minutes, checking often.
- Rotate & Flip: Rotate the skillet for even cooking. Flip rolls if needed for browning both sides.
- Finish & Serve: Brush with butter, sprinkle herbs or cheese, and serve hot.
🔥 Tips:
- Keep the fire low and steady—too much flame can burn the outside before the inside cooks.
- Make dough ahead at home and store in a cooler.
- These rolls go great with chili, stew, or roasted marshmallows for dessert!
Try these yummy bread rolls next time you stay at Camp Lakewood Campground!

Things To Do When Staying At Camp Lakewood Campground
Here’s a simple checklist of things to do around Camp Lakewood Campground, including local restaurants with a short description for each:
🏕️ At the Campground
- Swim or Paddle on Lake Pauline
Enjoy swimming, kayaking, or fishing right from the shore or dock. - Campfire Time
Roast s’mores, share stories, or try glow stick tag at night. - Watch Wildlife
Look for deer, raccoons, birds, and other local critters. - Stargaze at Night
The sky is clear and dark—great for spotting constellations.
🌆 Nearby Attractions in Effingham
- The Cross at the Crossroads
A giant 198-foot cross—great photo op and landmark. - My Garage Museum
See vintage Corvettes and rare car memorabilia—perfect for car lovers. - TREC Trail
A scenic trail for walking or biking through nature and town. - Effingham Performance Center
Catch live music, comedy shows, or plays if there’s an event during your visit.
🍕 Local Restaurants to Try
- Firefly Grill (Upscale casual)
Farm-to-table dishes with a view of the lake—great for date nights or nicer meals. - Niemerg’s Steakhouse (Family favorite)
Known for hearty Midwestern meals and homemade pies. - Gabby Goat American Pub & Grill (Fun atmosphere)
Burgers, wings, and live music—good for groups or casual nights out. - Joe’s Pizza & Pasta (Local Italian classic)
Big portions, family-friendly, and a local favorite for pizza and pasta.
Whether you’re looking to relax by the lake, explore local attractions, or enjoy classic camping activities, Camp Lakewood Campground and the surrounding Effingham area offer something for every camper!

🍓 Strawberry Shortcake Recipe
Here’s a classic strawberry shortcake recipe that’s simple, delicious, and perfect for spring or summer camping trips!
Servings: 6
Prep Time: 20 minutes
Cook Time: 15 minutes
Total Time: 35 minutes
Ingredients
For the Strawberries:
- 1 lb fresh strawberries, hulled and sliced
- 1/4 cup granulated sugar
For the Shortcakes:
- 2 cups all-purpose flour
- 1/4 cup granulated sugar
- 1 tbsp baking powder
- 1/2 tsp salt
- 1/2 cup cold unsalted butter, cubed
- 2/3 cup whole milk (plus more if needed)
- 1 tsp vanilla extract
- 1 egg (optional, for brushing)
For the Whipped Cream:
- 1 cup heavy whipping cream
- 2 tbsp powdered sugar
- 1 tsp vanilla extract
Directions
- Prepare the Strawberries:
- In a bowl, toss sliced strawberries with 1/4 cup sugar.
- Let sit at room temperature for at least 20 minutes to macerate (juices will form).
- In a bowl, toss sliced strawberries with 1/4 cup sugar.
- Make the Shortcakes:
- Preheat oven to 425°F (220°C). Line a baking sheet with parchment paper.
- In a large bowl, whisk flour, sugar, baking powder, and salt.
- Cut in butter with a pastry cutter or fork until it resembles coarse crumbs.
- Add milk and vanilla. Stir gently just until dough comes together—don’t overmix.
- Drop dough by large spoonfuls (or shape into 6 round biscuits) onto baking sheet.
- Optional: Brush tops with a beaten egg for golden color.
- Bake for 12–15 minutes or until golden brown. Cool slightly.
- Preheat oven to 425°F (220°C). Line a baking sheet with parchment paper.
- Make the Whipped Cream:
- In a chilled bowl, beat cream, powdered sugar, and vanilla until soft peaks form.
- In a chilled bowl, beat cream, powdered sugar, and vanilla until soft peaks form.
- Assemble:
- Slice shortcakes in half horizontally.
- Spoon strawberries over the bottom half, add a generous dollop of whipped cream, then top with the other half of the shortcake.
- Optional: Add more strawberries and cream on top!
- Slice shortcakes in half horizontally.
Bring this refreshing sweet shortcake with you on your next camping trip to Camp Lakewood Campground!

Family owned and operated, Kiefer Campgrounds strive to offer you the best rates for a comfortable location with outstanding service, and spotless facilities. When you stay in one of our parks, you are no longer just a happy camper, but a part of our family! We are most certain you will enjoy your stay with us. Pick your favorite location and book your spot now before it’s too late! You’ll be happy you did!