
Heres Some Camping Tips & Tricks at Your Fingertips
Our Kiefer Campground Blog is the information you need to make your next camping trip even more enjoyable. From RV and camping tips and tricks, to amazing campfire recipes, to advice on planning your next trip... the information below is here to help you. And please, feel free to comment and share your experiences, knowledge and favorite recipes. At Kiefer Campground, we are a family and all here to help each other enjoy the great outdoors to the fullest!
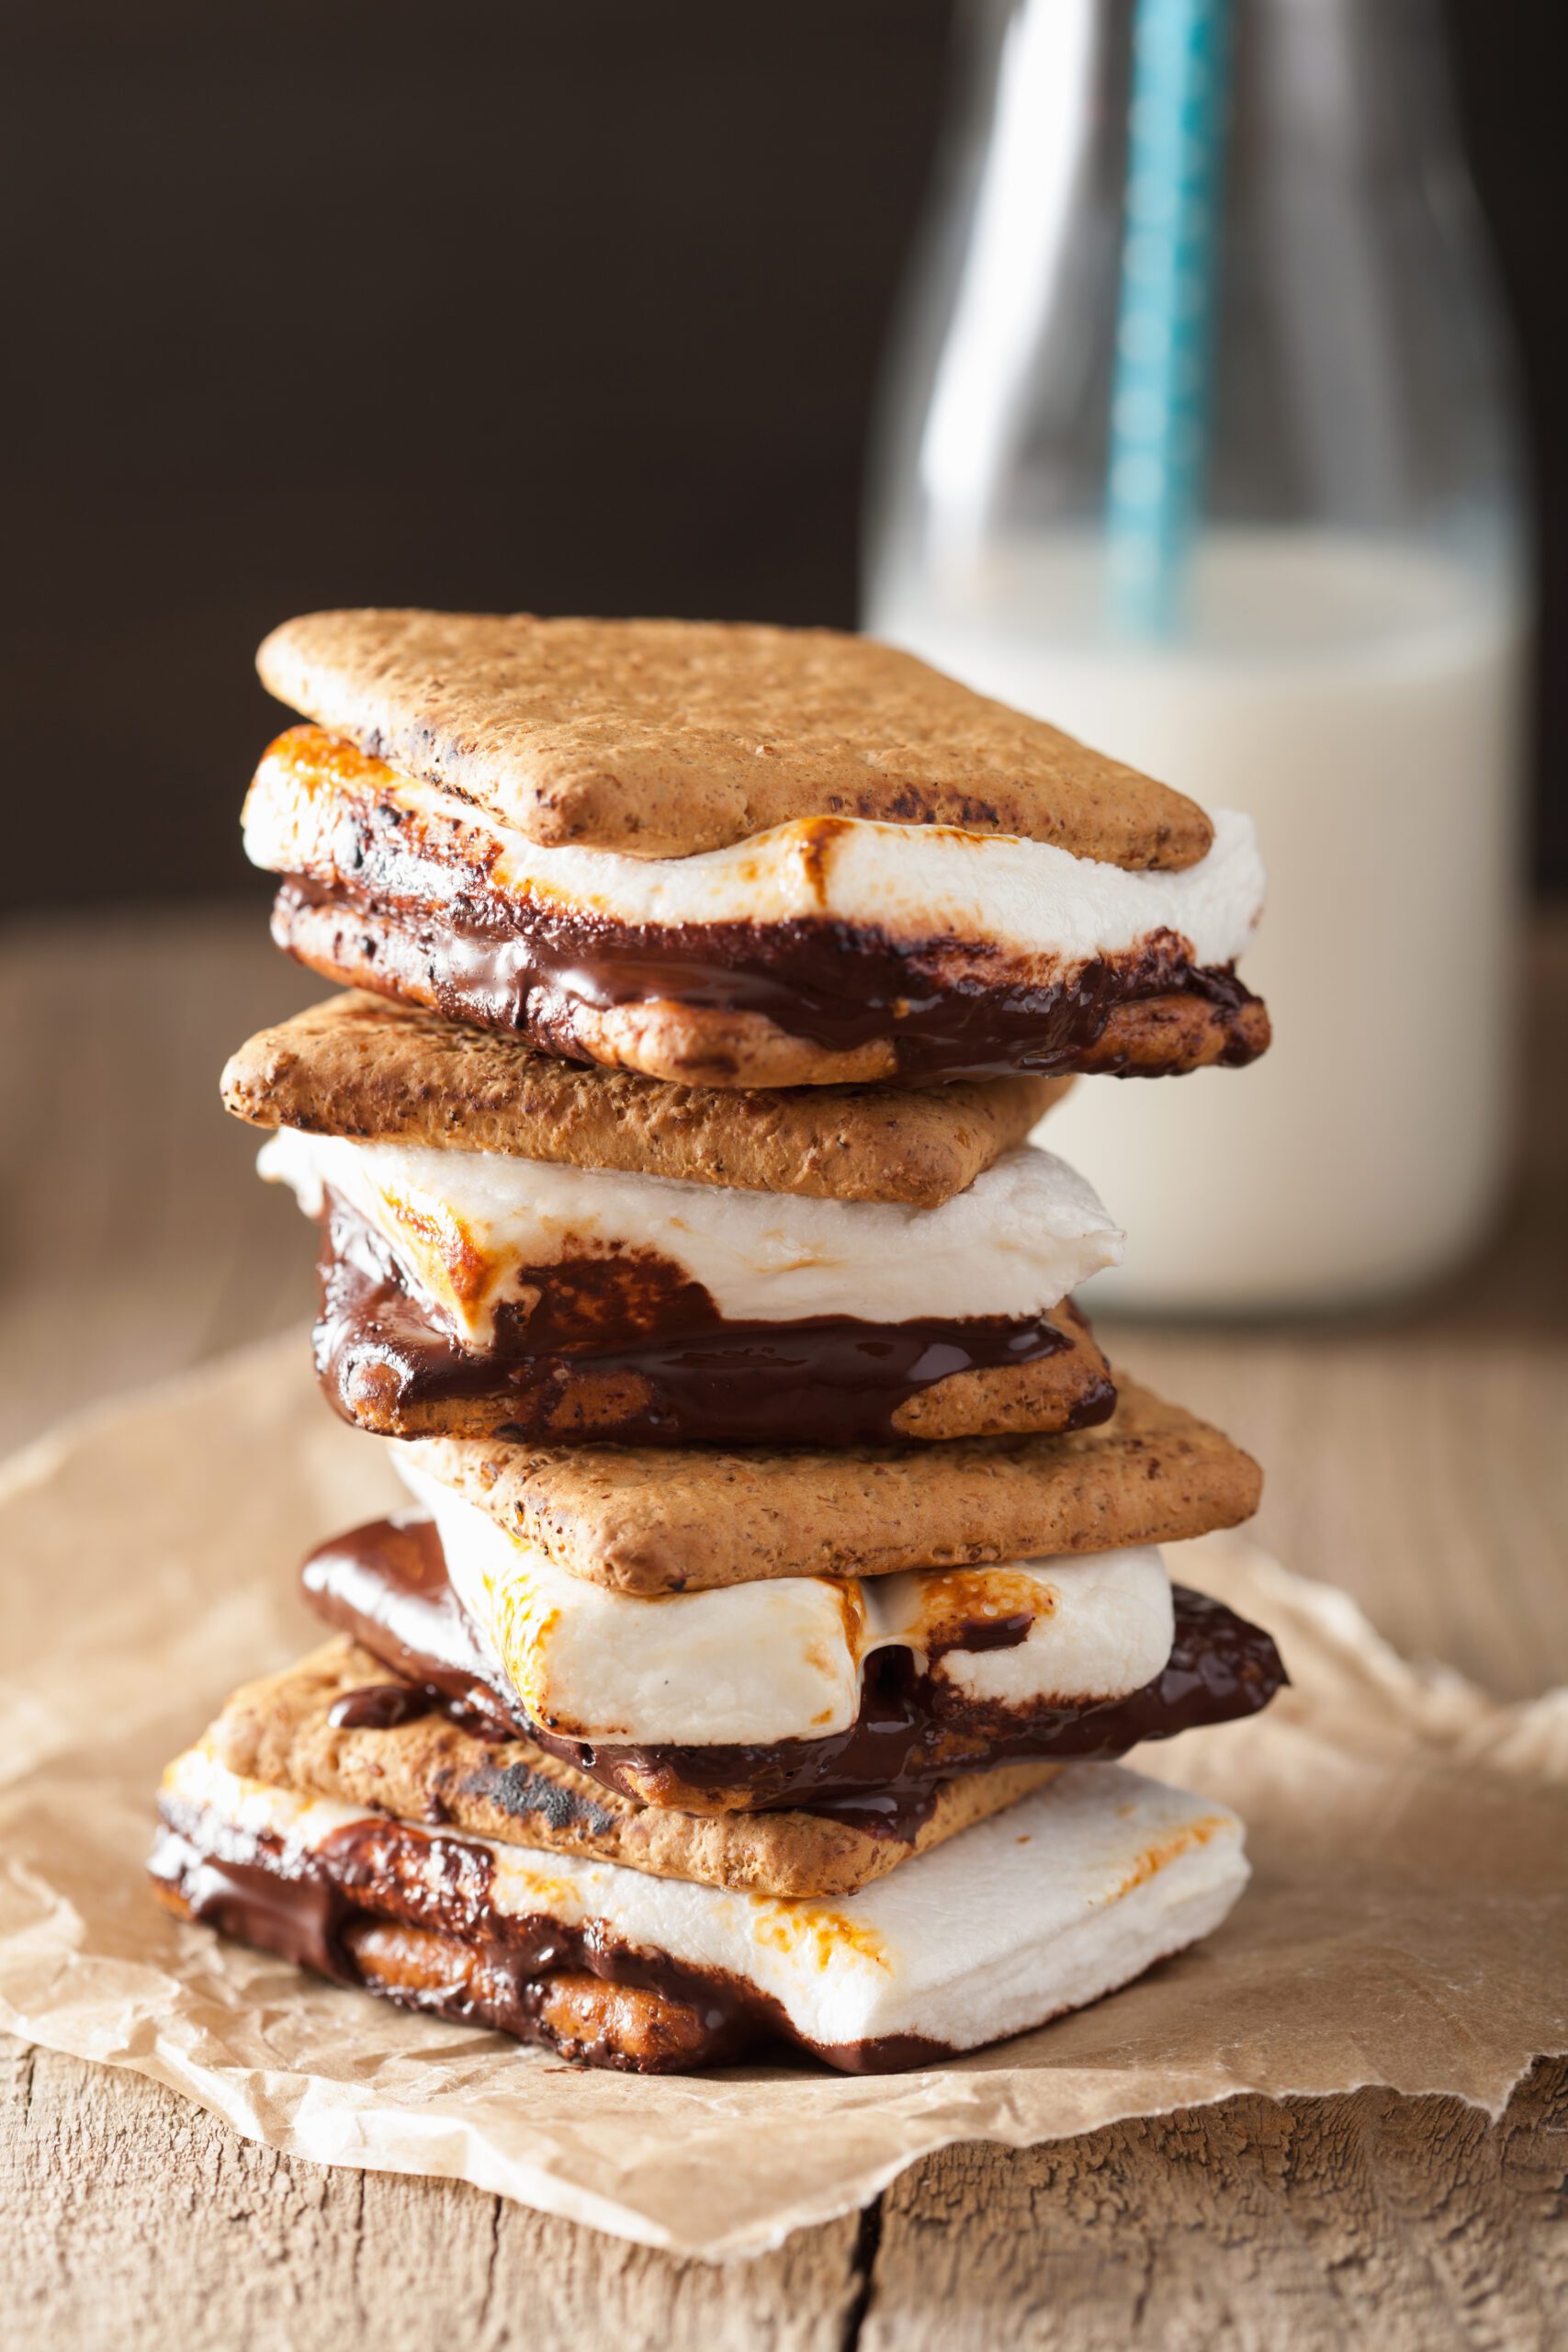
🥜🍫 Peanut Butter Cup S’mores
Need a sweet treat after a long day of camping adventures? Try this recipe!
Ingredients:
- Graham crackers
- Peanut butter cups (regular or mini)
- Marshmallows
Directions:
- Roast a marshmallow over the campfire until golden and gooey.
- Place a peanut butter cup on one half of a graham cracker.
- Add the hot marshmallow on top of the peanut butter cup.
- Top with the second graham cracker and gently press.
- Let it melt for a few seconds… then enjoy by the fire 🔥
Campground Tip:
Wrap the assembled s’more in foil and set it near the fire for 1–2 minutes for extra melty goodness.
Optional Upgrades:
- Use chocolate graham crackers
- Add banana slices
- Swap a marshmallow for a peanut butter–filled marshmallow 🤯
This is the perfect sweet treat to end your camping adventure at Camp Lakewood Campground!

Why Winter Is the Quietest—and Best—Season at the Campground
When most people think of camping, they picture summer sunshine, crowded campgrounds, and packed weekends. But seasoned campers know a secret: winter camping is when campgrounds truly shine. If you’re looking for peace, affordability, and a deeper connection to nature, winter might just be the best season to camp.
Here’s why winter is the quietest—and arguably the best—time to enjoy the campground.
1. Fewer Campers, More Space
Winter naturally brings smaller crowds, which means:
- More privacy at your campsite
- Quieter mornings and evenings
- Less competition for the best spots
Instead of hearing neighboring campers, you’ll hear the wind through the trees, wildlife moving nearby, and the crackle of your campfire. It’s camping the way it was meant to be.
2. Peaceful Winter Scenery
Winter transforms campgrounds into something magical. Snow-dusted trees, frost-covered ground, and misty mornings create postcard-worthy views you won’t see any other time of year.
Photography lovers, nature walkers, and anyone craving calm will appreciate the slower pace and serene beauty winter brings.
3. Better Rates and Availability
With demand lower, winter camping often comes with perks:
- More flexible booking options
- Better availability for longer stays
- A quieter experience without peak-season pricing pressure
It’s a great time to plan a spontaneous getaway or extend your stay without the stress of sold-out weekends.
4. Cozier Camping Experiences
Winter camping is all about comfort and coziness. Think:
- Warm drinks by the fire
- Bundling up under extra blankets
- Cooking hearty meals outdoors
RV campers especially love winter stays, as they can enjoy all the comforts of home while soaking in peaceful campground views.
5. A Slower, More Intentional Escape
Winter camping encourages you to slow down. Without packed schedules or busy amenities, you can:
- Read, relax, and recharge
- Take peaceful walks through the campground
- Spend quality time with family or friends
It’s the perfect reset from everyday life.
6. Ideal for Nature Lovers
Wildlife is often easier to spot in winter, and trails feel more personal without heavy foot traffic. Whether you enjoy birdwatching, hiking, or simply observing nature, winter offers a unique and intimate experience.
Is Winter Camping Right for You?
If you value quiet mornings, open spaces, and cozy nights, winter camping is absolutely worth trying. With the right preparation, it can be one of the most rewarding camping experiences of the year.
So while others wait for summer, consider embracing the calm. Winter might just become your new favorite camping season.
Ready to experience the peaceful side of camping? Winter stays at Camp Lakewood Campground are waiting!
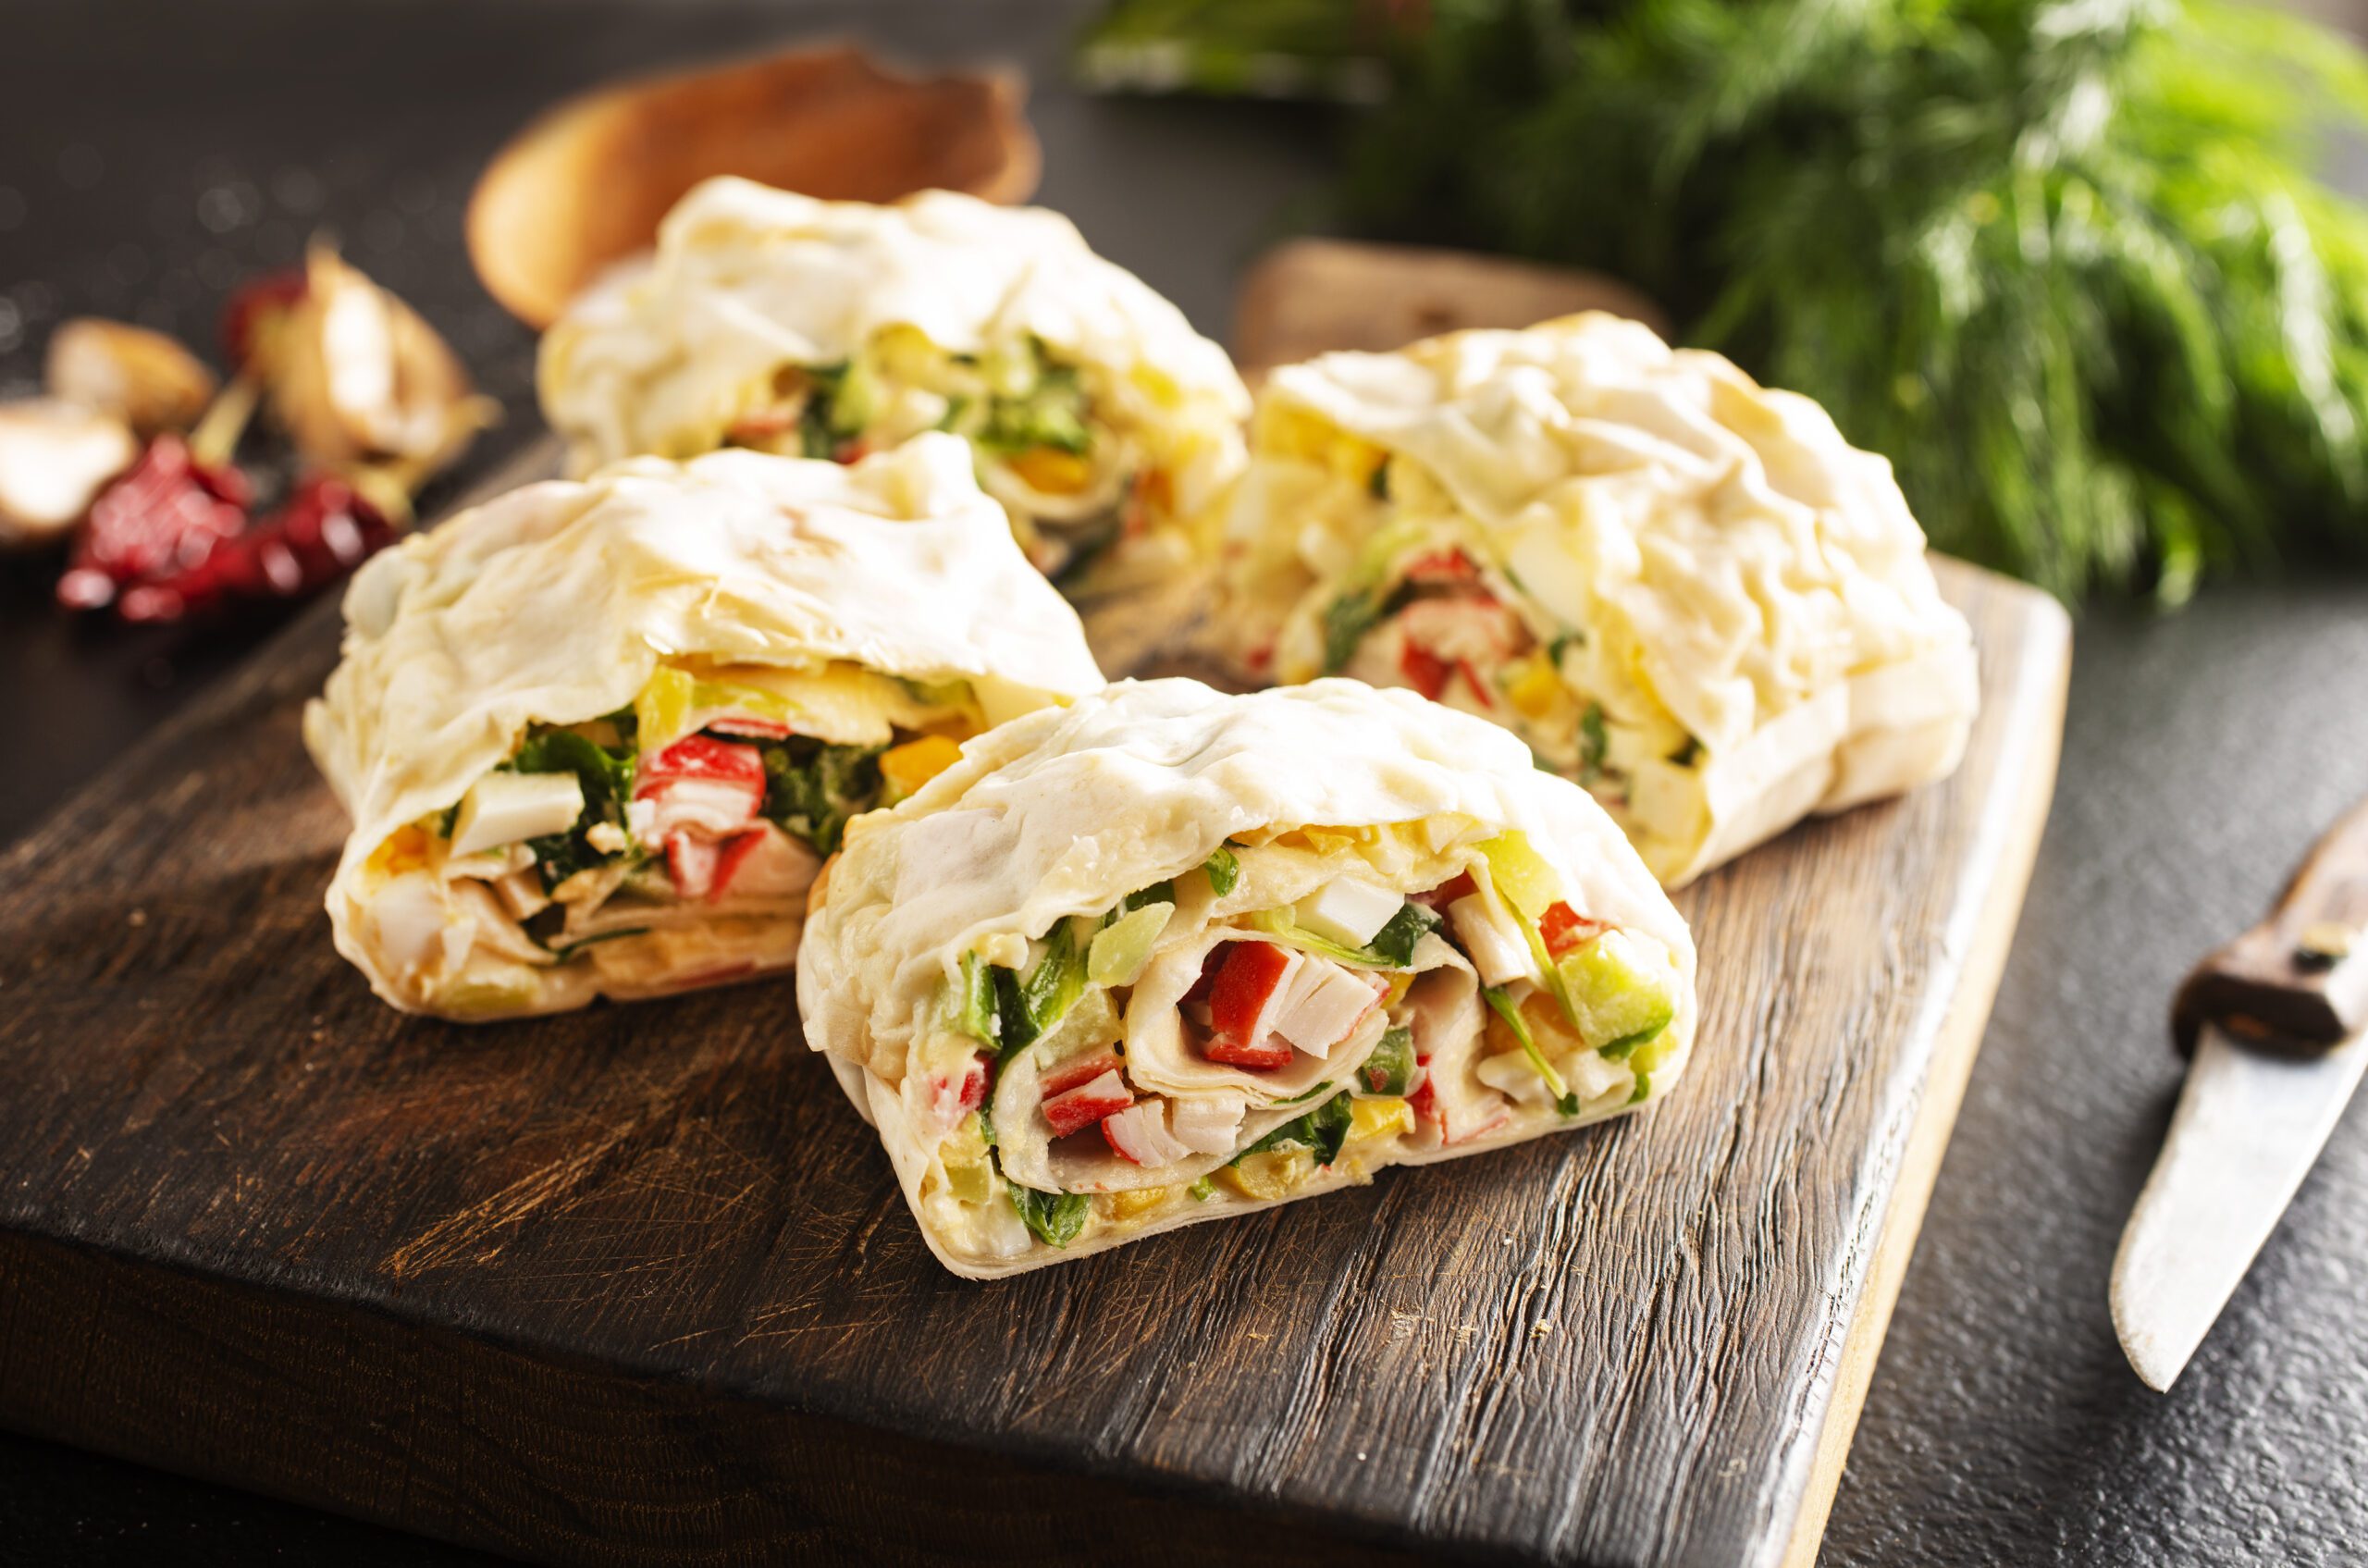
Egg White Wrap Breakfast Sandwich
Here’s a simple, tasty Egg White Wrap Breakfast Sandwich idea—great for a quick morning bite or a healthy grab-and-go option 🥚🌯
Ingredients:
- Egg white wrap (or egg white tortilla)
- 2–3 egg whites, cooked
- Turkey sausage or turkey bacon (optional)
- Fresh spinach or arugula
- Sliced avocado or tomato
- Light cheese (feta, mozzarella, or cheddar)
- Salt & pepper to taste
Instructions:
- Warm the egg white wrap in a skillet for a few seconds per side.
- Scramble or cook egg whites until fluffy.
- Layer egg whites, protein, greens, and cheese onto the wrap.
- Add avocado or tomato, season lightly.
- Fold or roll into a sandwich wrap and enjoy!
Why you’ll love it:
- High protein
- Low carb & lighter than a traditional breakfast sandwich
- Customizable with your favorite fillings
Try this amazing breakfast recipe the next time you stay at Camp Lakewood Campground!
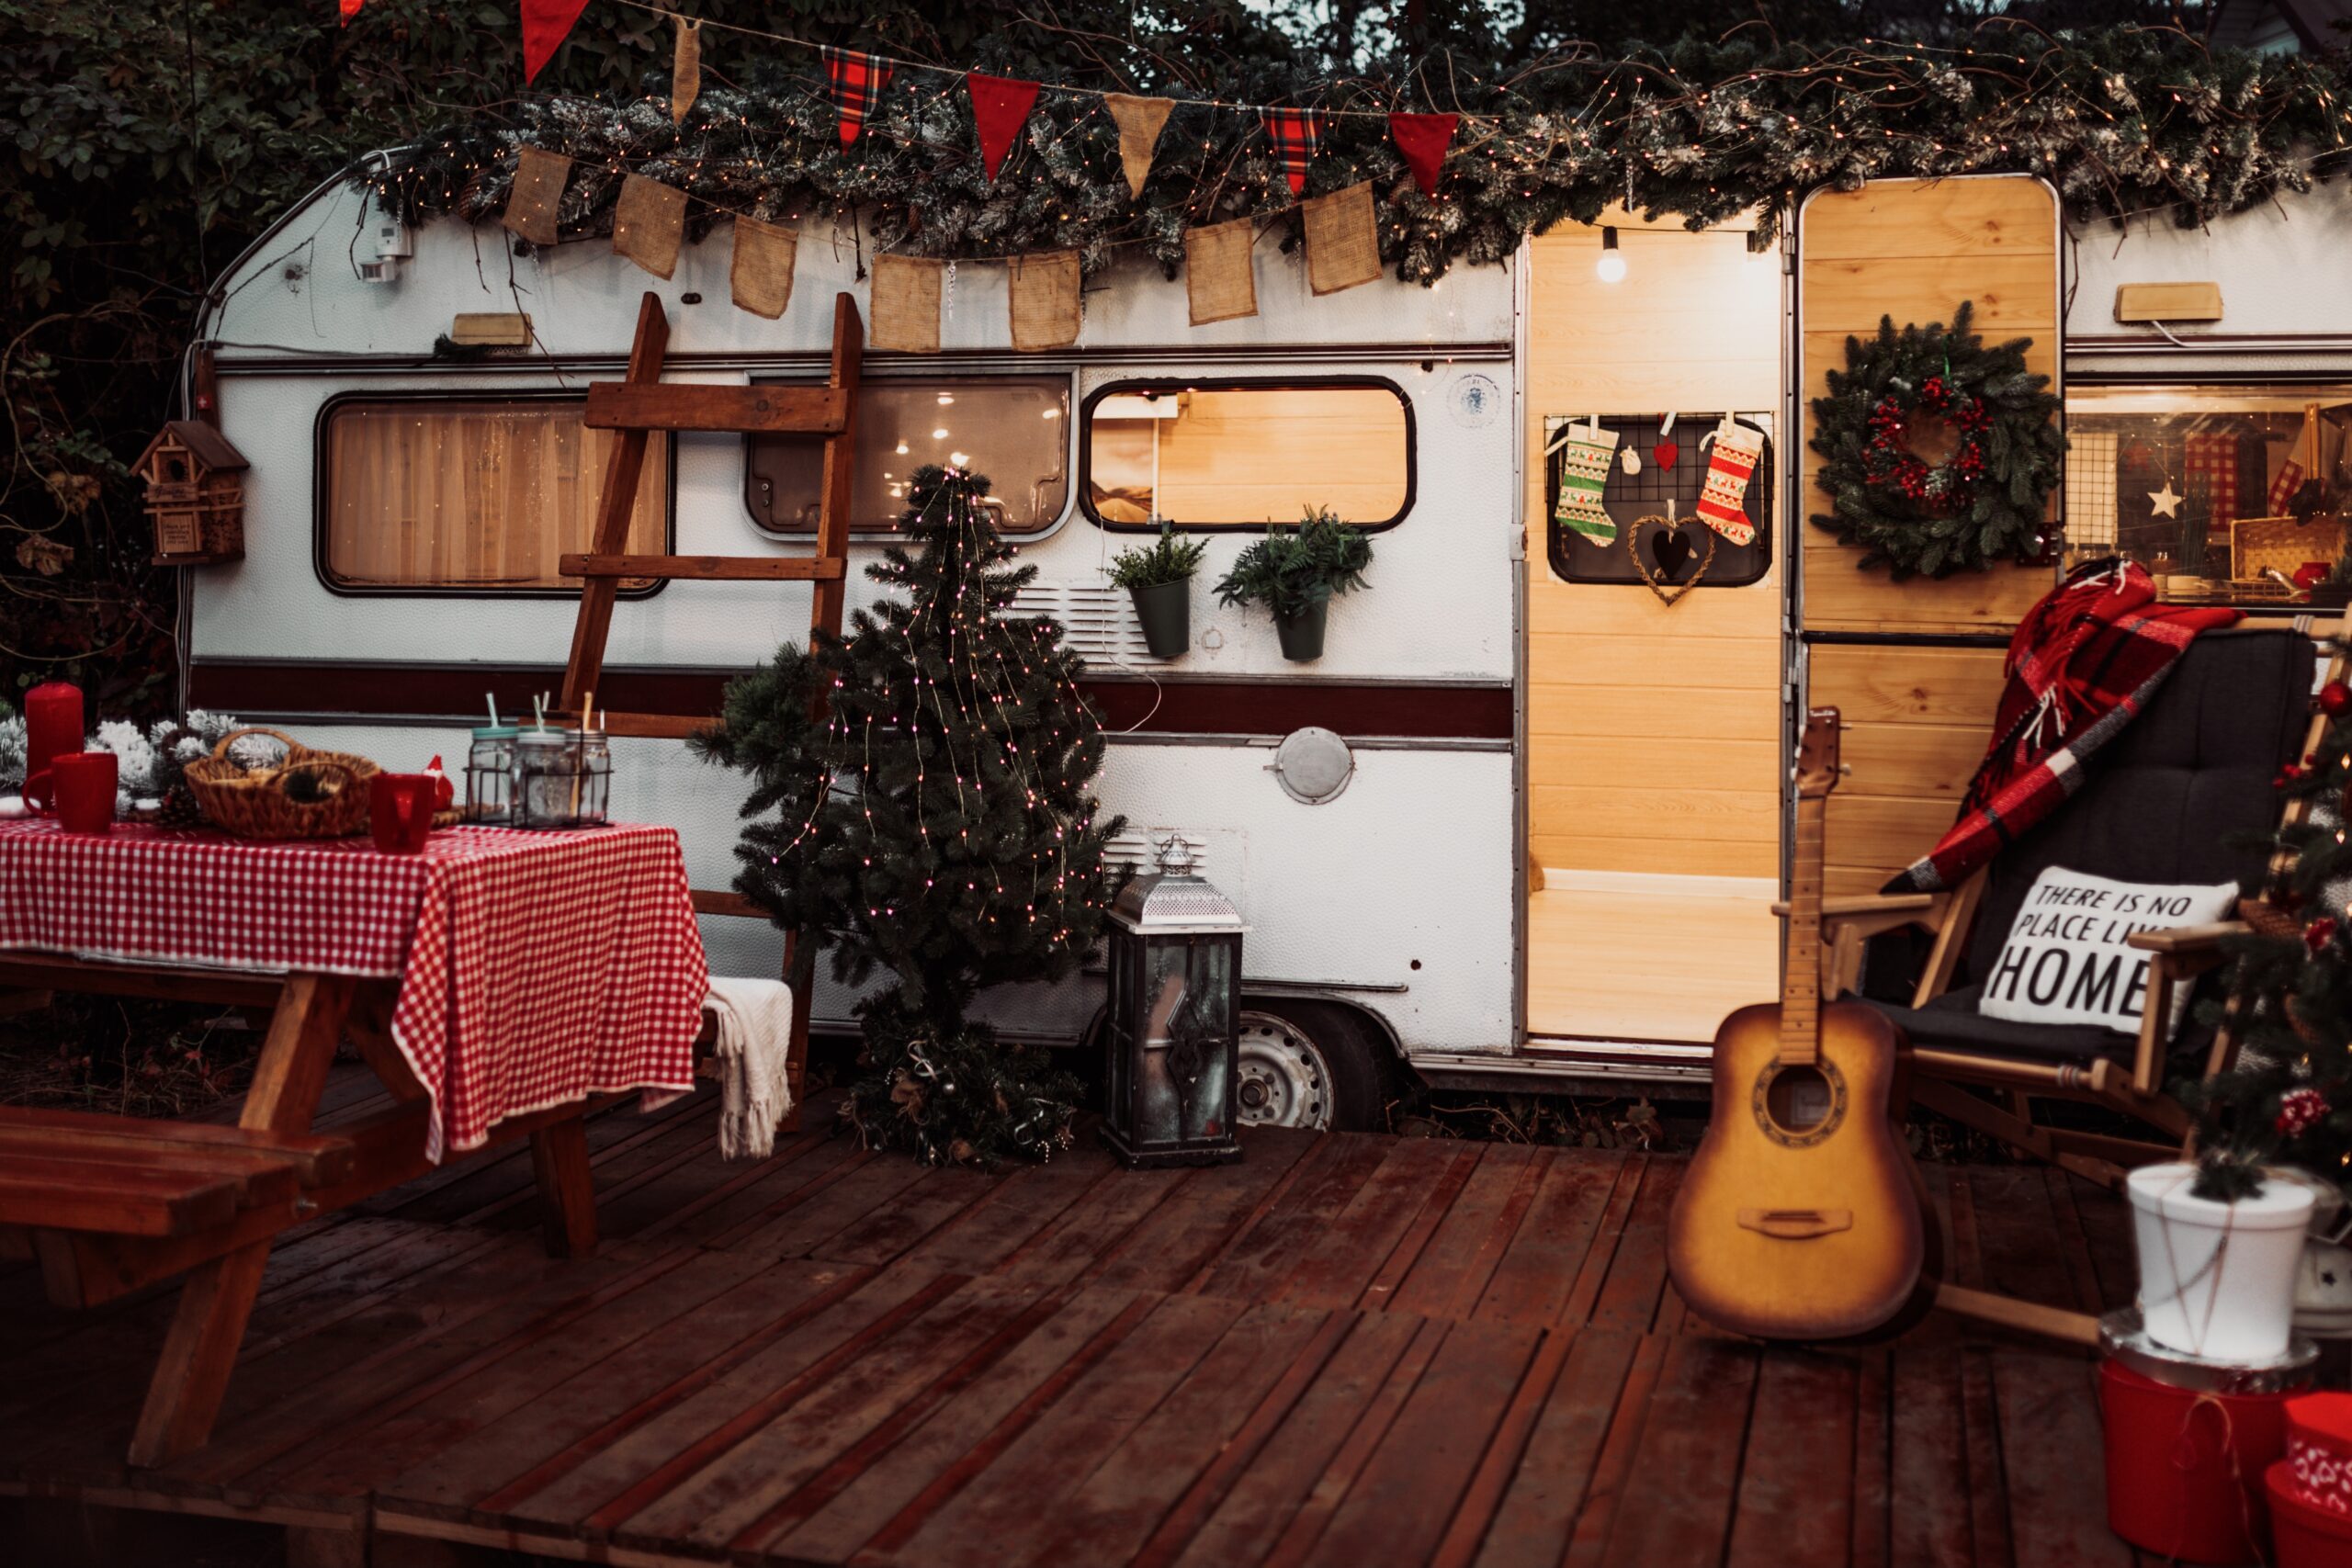
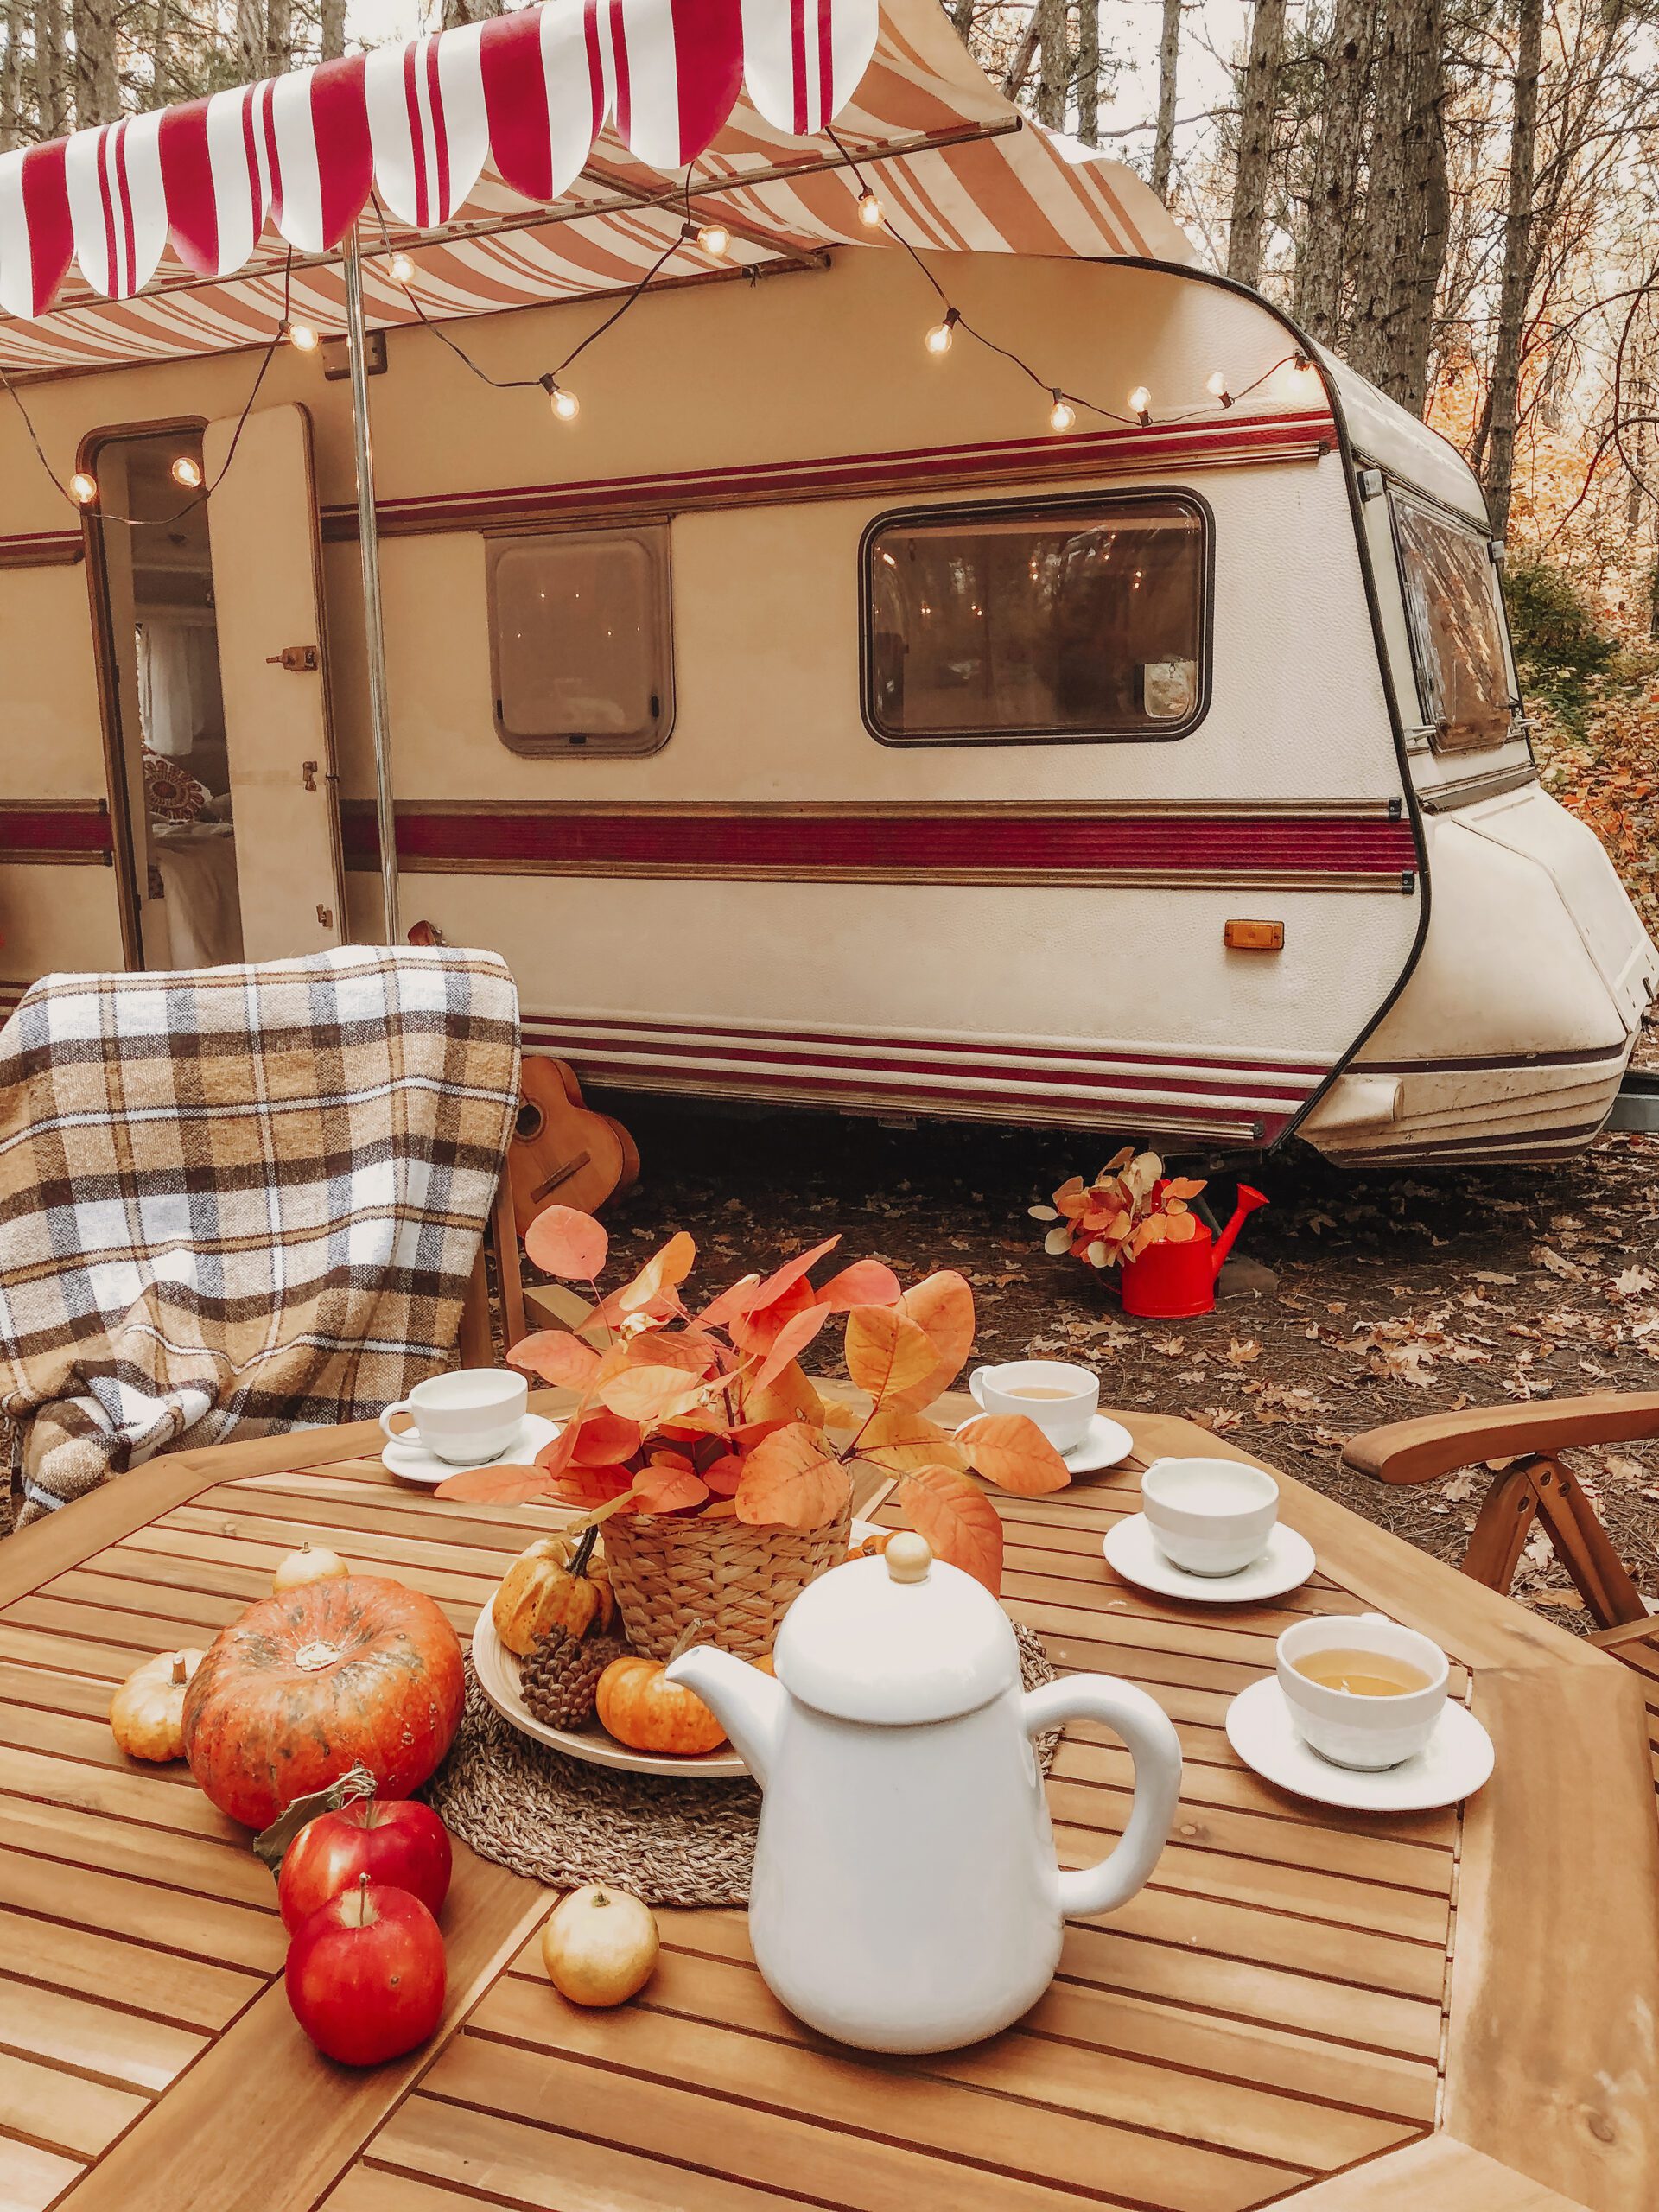
The Coziest Campsite Setup for Holiday Camping
Holiday camping brings together the best of both worlds: the peaceful beauty of the outdoors and the warmth of the season. With the right setup, your campsite can feel just as cozy—if not cozier—than home. Whether you’re camping for a weekend getaway or creating a new holiday tradition, here’s how to build the ultimate cozy campsite for winter adventures.
Start with Warmth as the Foundation
Cold-weather camping is all about layers. Begin with insulated sleeping bags rated for winter temperatures and add extra blankets for comfort. Foam or insulated sleeping pads help block the cold from the ground and make a big difference on chilly nights. Heated blankets or hand warmers (where allowed) can also add an extra layer of comfort.
Light It Up for a Festive Glow
Soft lighting instantly transforms a campsite. String lights around your awning, tent, or picnic area to create a warm holiday glow. Battery-powered lanterns, LED candles, or solar lights are safe, easy options that add ambiance without hassle. Stick to warm white lights for that extra-cozy feel.
Create a Cozy Seating Area
Set up camp chairs with thick blankets, outdoor pillows, or even a rug to define your space. This becomes the perfect spot for sipping hot cocoa, sharing stories, or simply enjoying the crackle of the campfire. A small folding table nearby keeps mugs, snacks, and games within reach.
Bring the Campfire Comforts
The campfire is the heart of any cozy campsite. Stock up on firewood (or confirm availability onsite), and keep roasting sticks, cast iron cookware, or a Dutch oven handy. Warm meals and treats—like chili, foil-packet dinners, or s’mores—make winter camping extra special.
Add Simple Holiday Touches
A little décor goes a long way. Think mini wreaths, festive tablecloths, or subtle holiday accents that are easy to pack and weather-friendly. Keep it simple and secure everything properly so the décor doesn’t interfere with nature or campground rules.
Don’t Forget the Little Comforts
Hot drinks, thick socks, beanies, and gloves are must-haves. Bring a thermos to keep beverages warm and a tote for quick-grab layers. These small details help you stay comfortable and relaxed all day and night.
Make It About the Memories
The coziest campsite isn’t just about what you bring—it’s about how you enjoy it. Slow mornings, quiet evenings by the fire, and time spent together are what truly make holiday camping magical.
With a little planning and a lot of warmth, your holiday campsite at Camp Lakewood Campground can become a winter retreat you’ll want to return to year after year! Cozy up, enjoy the season, and make memories under the winter sky!
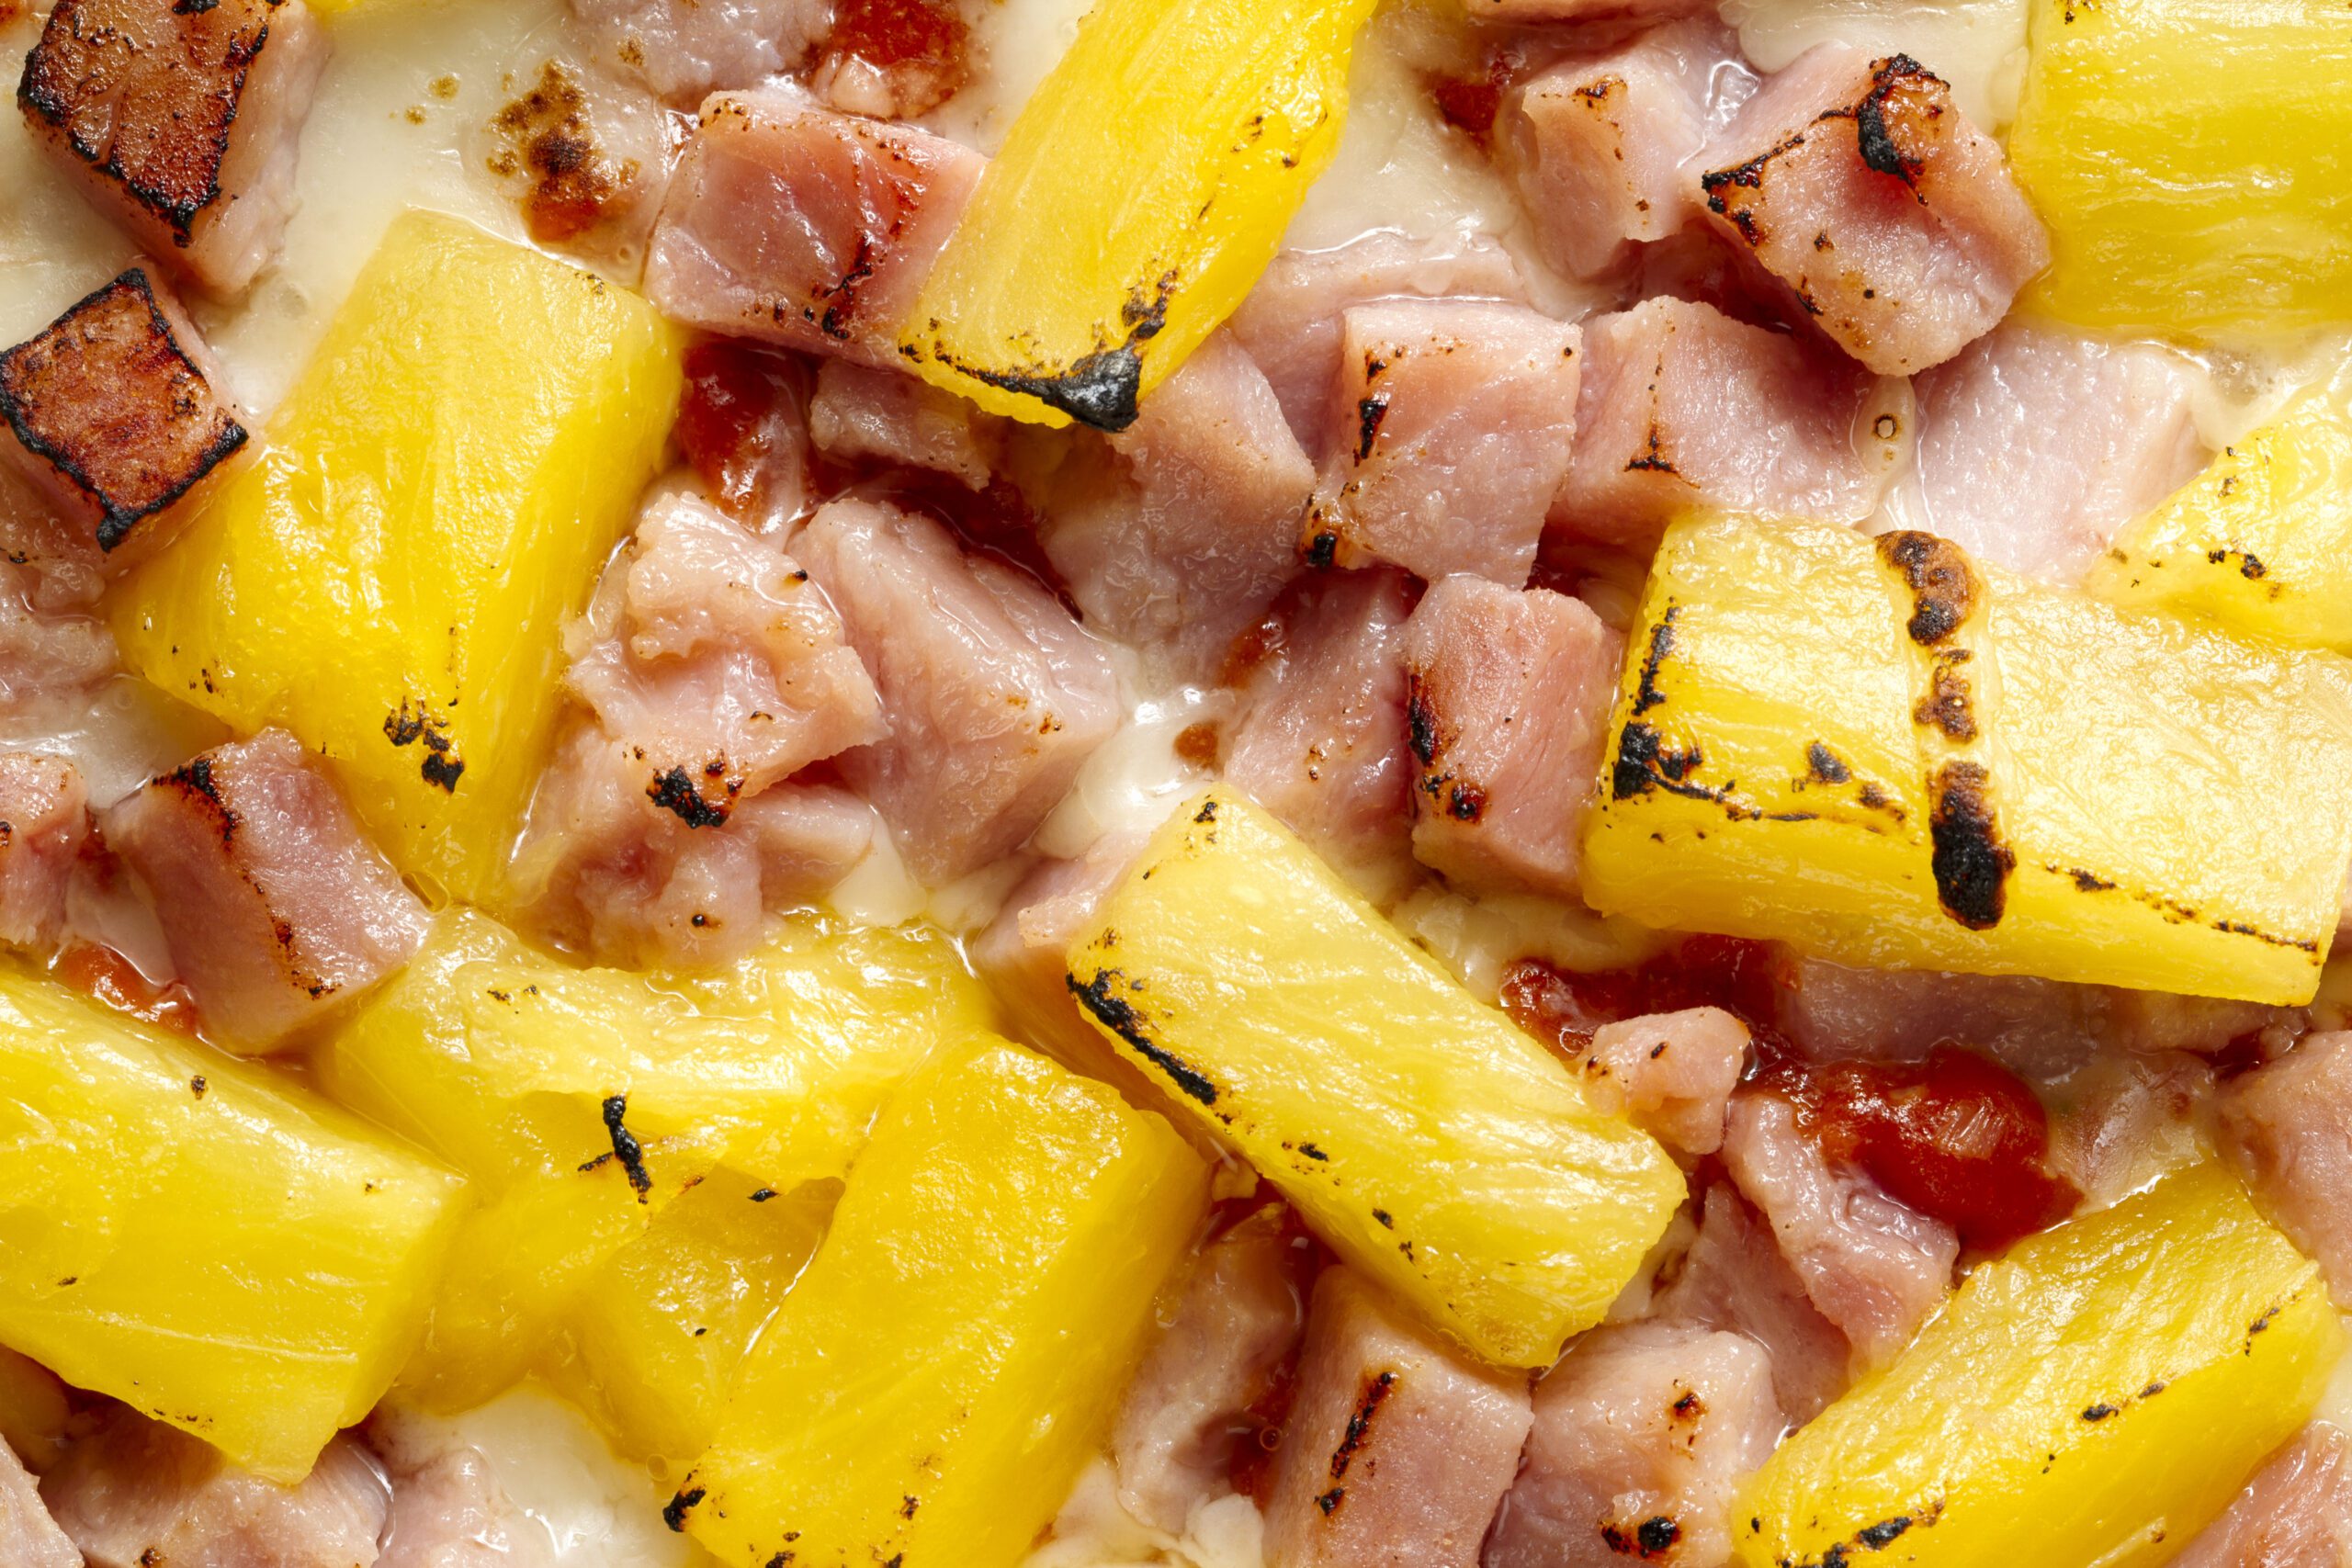
🔥 Campfire Ham Steaks with Pineapple
Sweet, smoky, and ready in minutes—perfect for camping during the holidays!
Ingredients (Serves 2–4)
- 2–4 ham steaks
- 1 can pineapple rings (with juice) or fresh pineapple slices
- 2–3 tbsp brown sugar
- 2 tbsp butter, cut into small pieces
- 1–2 tbsp pineapple juice (optional but adds big flavor!)
- Salt & pepper to taste
- Heavy-duty foil
Instructions
1. Prep your foil packets
Tear off large sheets of heavy-duty foil—one per ham steak.
Lightly spray or butter the center to prevent sticking.
2. Layer the ingredients
Place one ham steak in the center of each foil sheet.
Top with:
- 1–2 pineapple rings
- A few small pats of butter
- A sprinkle of brown sugar
- A splash of pineapple juice (if using)
Season lightly with salt & pepper.
3. Seal the packets
Fold the foil tightly around the ingredients, creating a sealed pouch so the juices stay inside and steam the ham.
4. Cook over the campfire
Place packets on a grate over medium campfire heat or hot coals.
Cook 10–12 minutes, flipping halfway.
They’re done when the ham is heated through and the pineapple begins to caramelize.
5. Serve + enjoy
Open packets carefully (hot steam!) and serve straight from the foil for an easy cleanup meal. The buttery pineapple sauce is amazing drizzled over the top.
Try this festive and heartwarming meal the next time you stay at Camp Lakewood Campground!
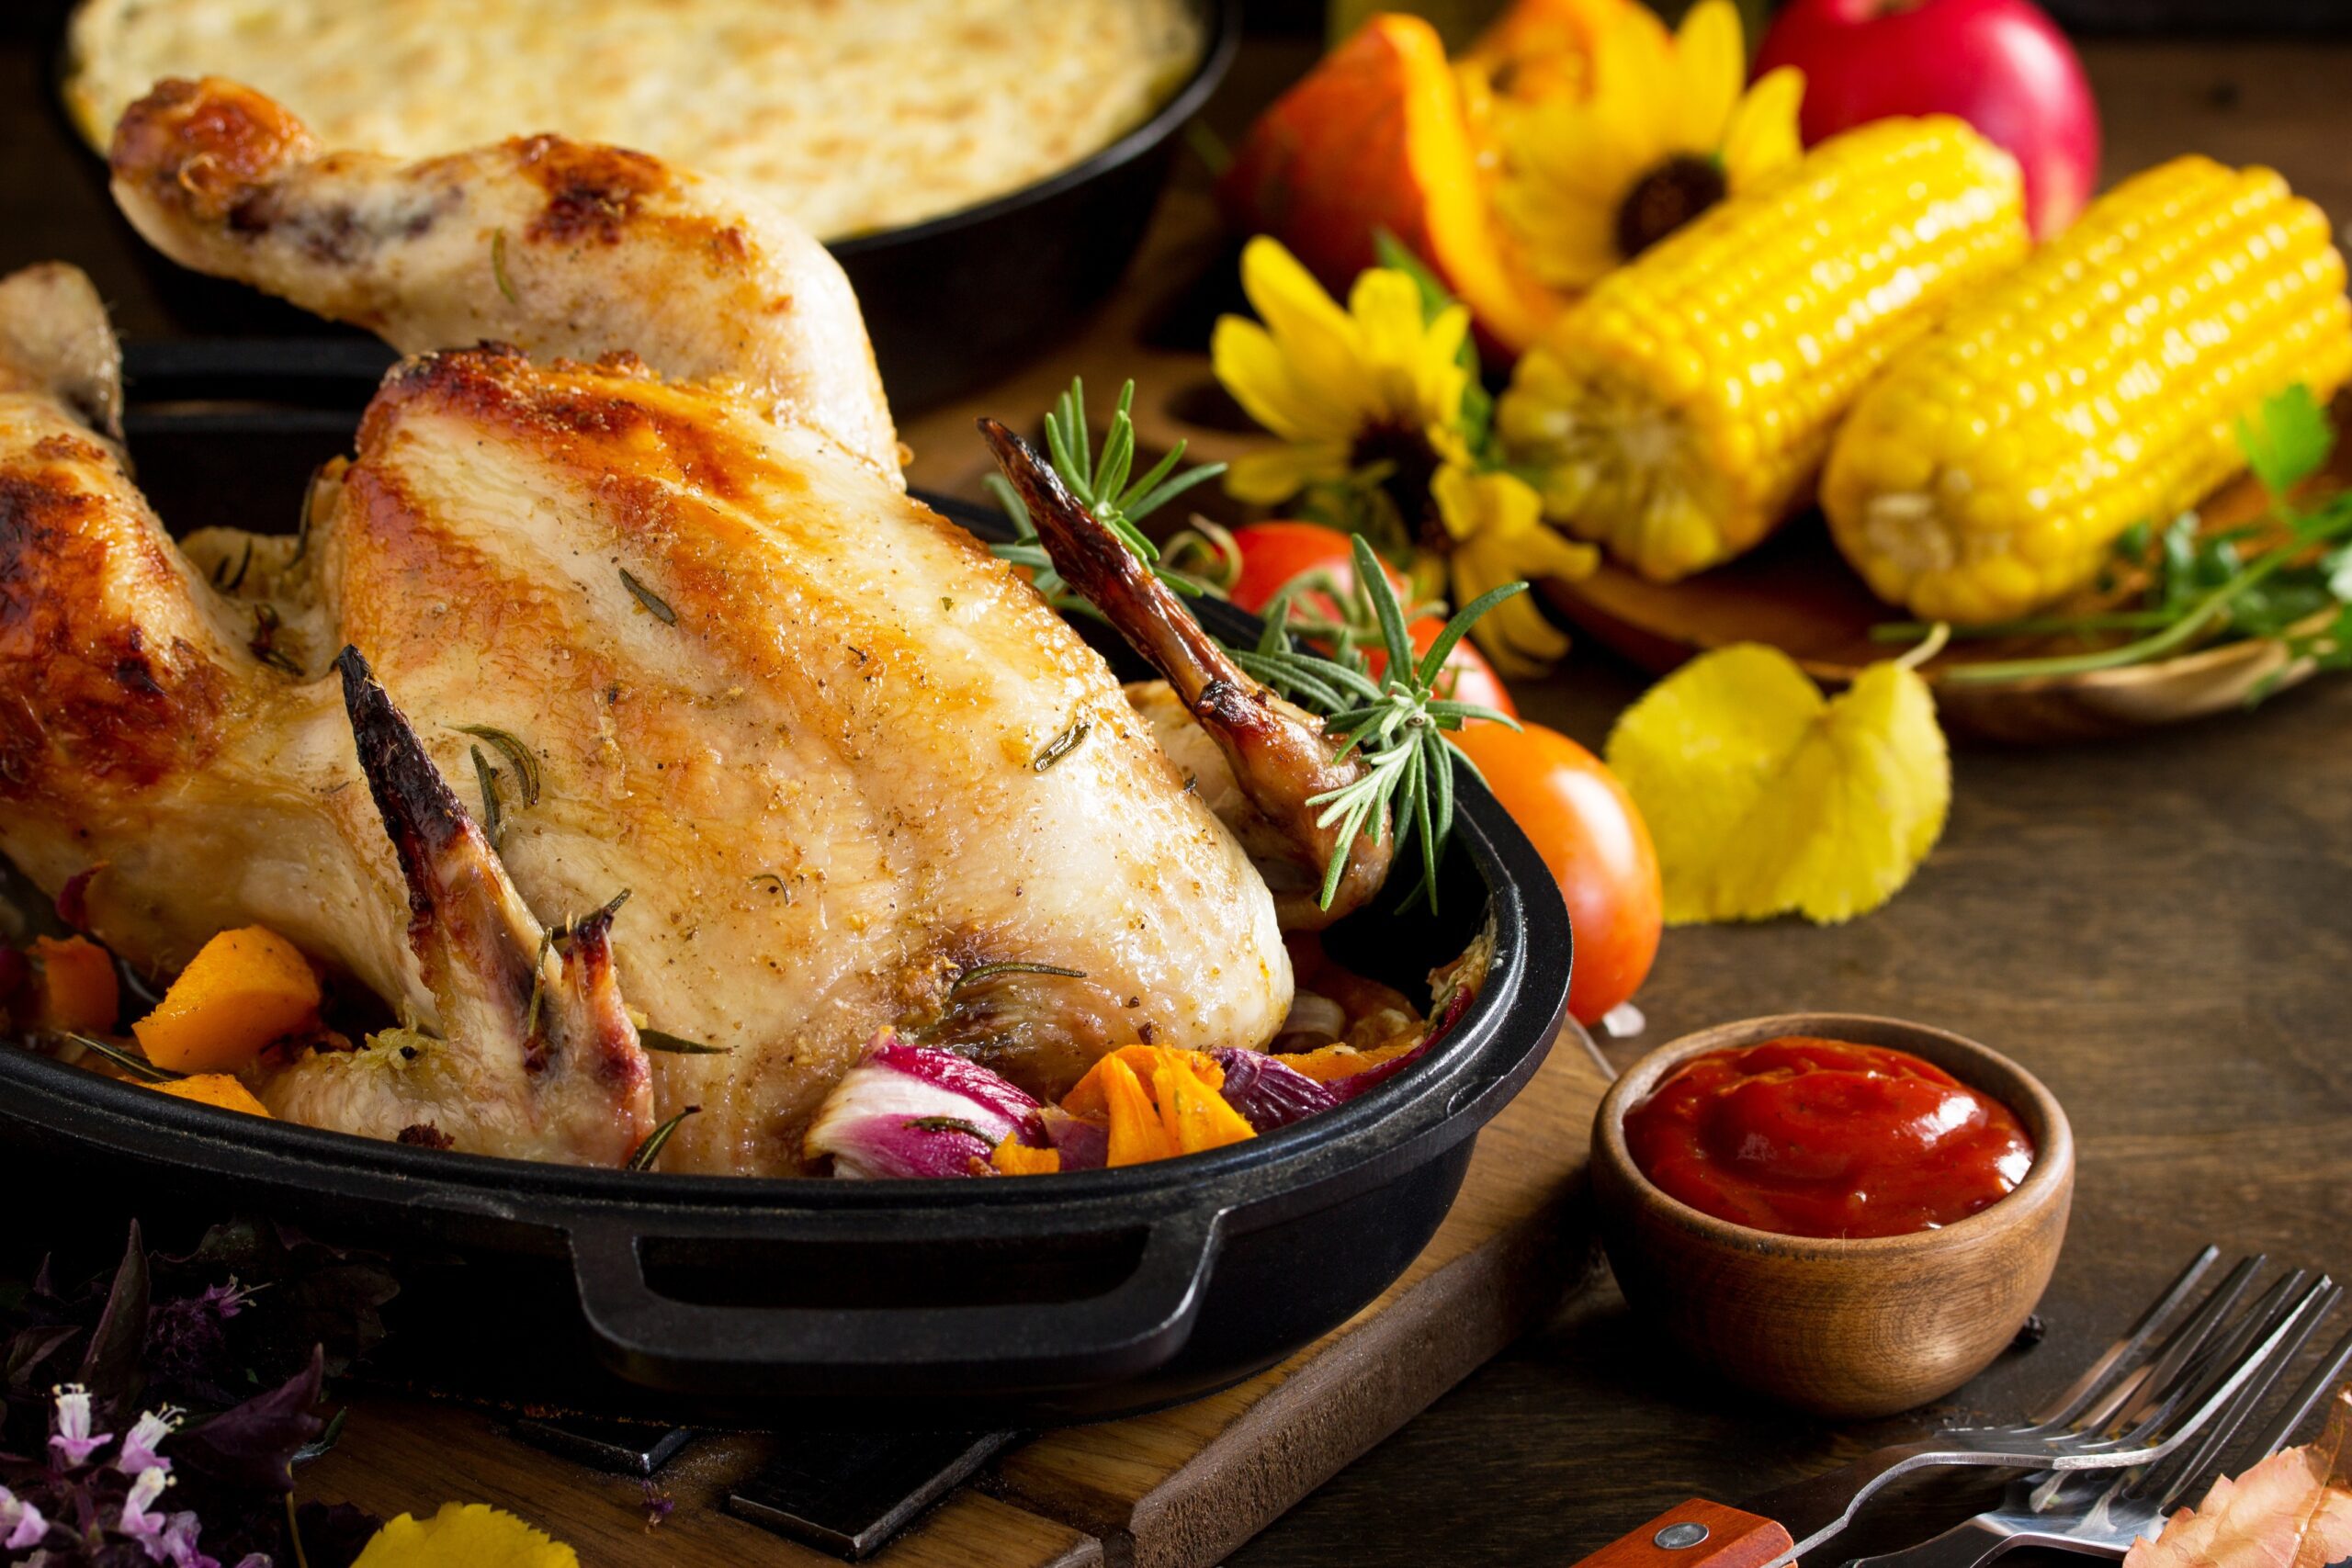
How to Host a Thanksgiving Feast at Your Campsite
There’s something unforgettable about celebrating Thanksgiving outdoors — crisp air, crackling fires, and a feast shared under the open sky. Here’s how to pull it off like a pro.
1. Plan a Simple, Camp-Friendly Menu
Stick to dishes that pack flavor without needing a full kitchen. Think:
- Dutch oven turkey breast or whole roasted turkey legs
- Foil-packet stuffing or campfire stuffing cups
- Cast-iron mashed potatoes
- Cranberry sauce you can prep at home
- Campfire baked apples or skillet pies
A little prep before you leave makes everything smoother onsite.
2. Bring the Right Gear
A successful campsite Thanksgiving depends on smart packing. Don’t forget:
- A sturdy Dutch oven
- Cast-iron skillet
- Heatproof gloves
- Cooler with plenty of ice
- Prep tools (foil, knives, cutting board)
- Folding table for a makeshift “kitchen”
Bonus: Pre-measure spices and ingredients into labeled containers.
3. Prep Ahead at Home
Marinate the turkey, chop veggies, and mix any dry ingredients ahead of time. Not only does this save space at your campsite, but it lets you jump right into cooking — and relaxing.
4. Make the Campfire Your Oven
Your campfire is the star of the holiday.
Use hot coals for:
- Roasting
- Baking
- Slow cooking in a Dutch oven
Use the flames for:
- Searing
- Toasting
- Heating sides
Patience is key — low and slow will give you that perfect holiday flavor.
5. Create a Cozy Thanksgiving Atmosphere
A few thoughtful touches go a long way:
- Battery-powered candles
- Flannel blankets
- Fall-themed tablecloth or reusable décor
- A thermos of hot cider or cocoa
- A speaker for soft holiday music
Turn your site into a warm, welcoming space for sharing gratitude.
6. Enjoy Simple Traditions
Even without the dining room, you can keep the spirit of Thanksgiving alive. Try:
- Sharing what everyone’s grateful for
- Taking a sunset walk
- Playing campsite games
- Stargazing after dinner
It’s the moments, not the walls, that make the holiday special.
7. Don’t Forget Leave No Trace
Pack out food waste, store leftovers properly, and respect your campsite. A clean site keeps the wildlife safe and the campground beautiful for everyone.
Whether you’re camping with family or hosting a Friendsgiving getaway, creating a memorable holiday meal at Camp Lakewood Campground is easier than you might think.
🦃 Dutch Oven Turkey Breast
Here’s a simple and delicious camping recipe for Dutch Oven Turkey Breast, perfect for a cozy campfire meal!
Serves: 4–6
Cook Time: ~1.5–2 hours
Equipment: 10–12 inch Dutch oven, charcoal or campfire coals, tongs, thermometer
Ingredients
- 1 (3–4 lb) boneless turkey breast (skin-on preferred)
- 3 tbsp olive oil or butter
- 1 tbsp garlic powder
- 1 tbsp onion powder
- 1 tsp paprika
- 1 tsp dried thyme or rosemary
- Salt & black pepper to taste
- 1 cup chicken broth
- 1 small onion, quartered
- 2–3 carrots, chopped
- 2–3 small potatoes, quartered
- Optional: lemon slices for garnish
Instructions
- Prep the Fire:
Get about 25–30 hot coals ready. You’ll want an even heat — about 350°F in your Dutch oven (roughly 8 coals underneath, 17 on top). - Season the Turkey:
Rub olive oil or butter all over the turkey breast. Mix the garlic powder, onion powder, paprika, thyme, salt, and pepper together, then coat the turkey evenly with the spice blend. - Layer the Veggies:
In the Dutch oven, add the onions, carrots, and potatoes. Pour in the chicken broth to keep things moist. - Add the Turkey:
Place the seasoned turkey breast on top of the veggies. - Cook:
Cover with the lid. Place the Dutch oven over 8 coals and add 17 to the lid. Cook for about 1.5–2 hours, rotating the lid and oven every 30 minutes to ensure even cooking. - Check for Doneness:
The turkey is ready when the internal temperature reaches 165°F. Let it rest 10 minutes before slicing. - Serve:
Slice and serve with the roasted veggies — and enjoy a camp-style Thanksgiving dinner under the stars! 🌲🔥
Try this recipe during your stay at Camp Lakewood Campground this Thanksgiving season!

🎃 Jack-O’-Lantern Stuffed Peppers 👻
Here’s a fun, Halloween-themed recipe for Jack-O’-Lantern Stuffed Peppers — perfect for camping or a festive Kiefer Campgrounds meal! 🎃
Ingredients (serves 4):
- 4 orange bell peppers
- 1 lb ground beef, turkey, or plant-based substitute
- 1 cup cooked rice (white, brown, or quinoa)
- 1 small onion, finely chopped
- 2 cloves garlic, minced
- 1 cup tomato sauce
- 1 tsp paprika
- 1 tsp chili powder
- Salt & pepper to taste
- Shredded cheese (optional)
- Olive oil
Instructions:
- Preheat & Prep:
Preheat oven to 375°F (190°C). Cut the tops off the bell peppers and remove seeds. Carve a fun jack-o’-lantern face into each pepper. - Cook Filling:
In a skillet, heat a little olive oil over medium heat. Sauté onions and garlic until soft. Add ground meat, cook until browned. Stir in cooked rice, tomato sauce, paprika, chili powder, salt, and pepper. Cook 2–3 minutes until combined. - Stuff Peppers:
Spoon the filling into each carved bell pepper. Top with shredded cheese if desired. - Bake:
Place stuffed peppers upright in a baking dish with a little water at the bottom. Cover with foil and bake for 25–30 minutes. Remove foil for the last 5–10 minutes to melt the cheese and slightly roast the tops. - Serve & Enjoy:
Carefully serve your spooky Jack-O’-Lantern stuffed peppers hot! Perfect for a Halloween campsite dinner.
💡 Pro Tip: You can also use yellow or red peppers for extra color, or make them vegetarian by swapping meat for beans or lentils
Try this flavorful meal the next time you stay at Camp Lakewood Campground!
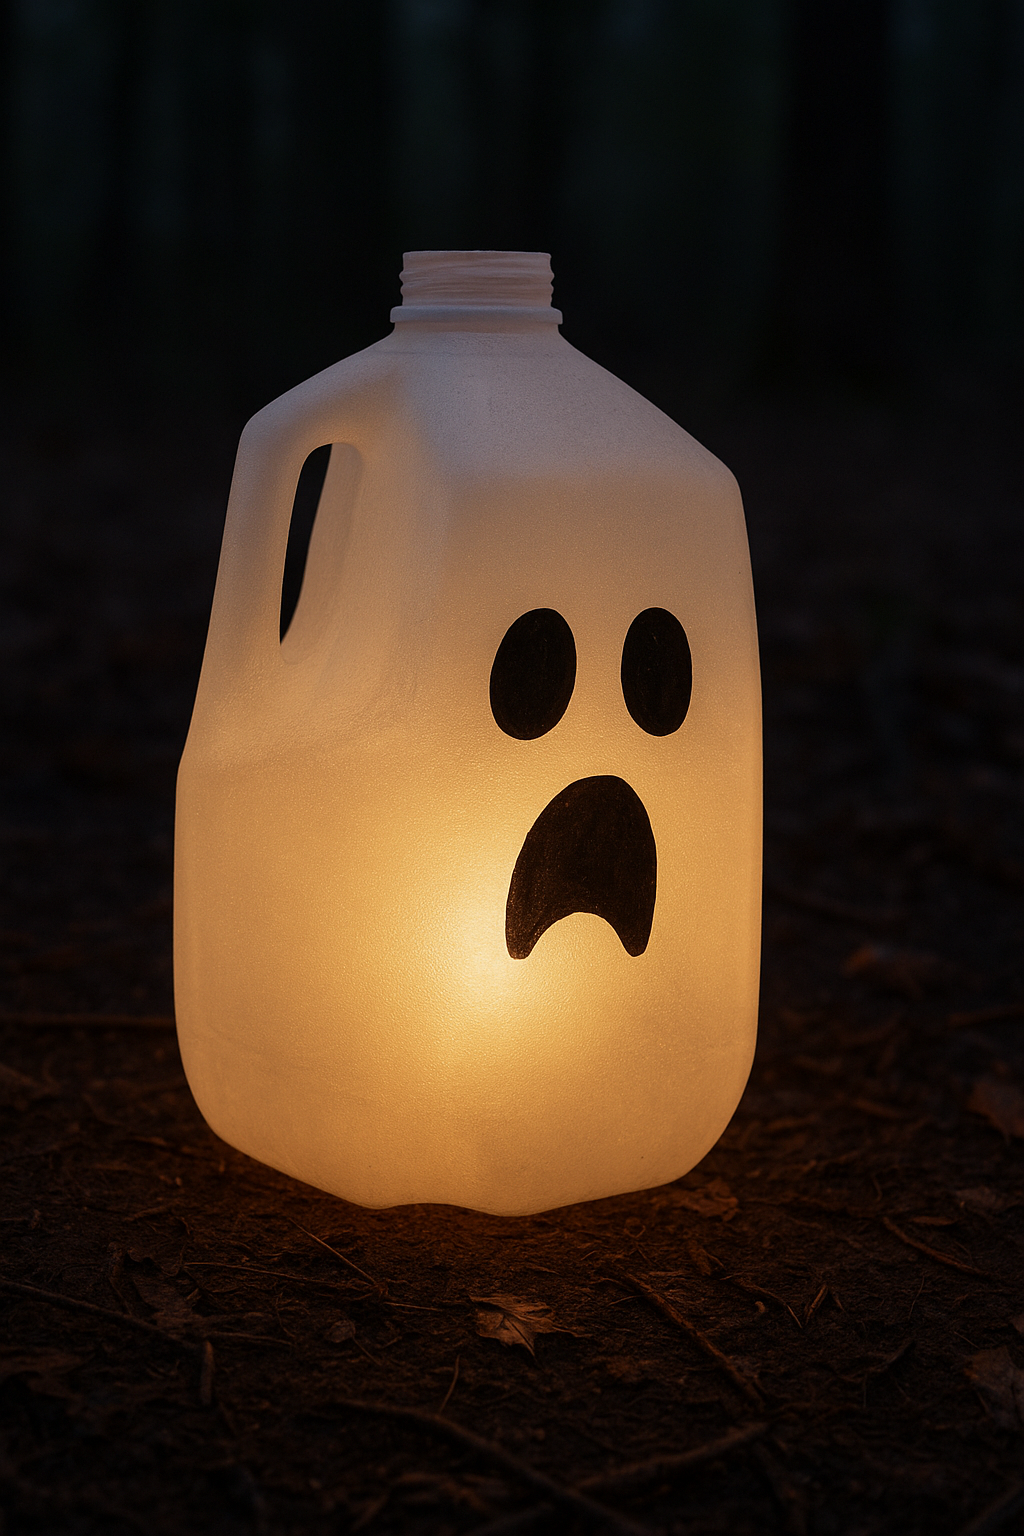
🎃 DIY Ghost Lanterns for Camping
Here’s a simple guide to making Ghost Lanterns that you can take camping for a spooky glow around your campsite:
Supplies You’ll Need:
- Empty plastic milk jugs or large clear bottles
- White spray paint (optional, for an extra ghostly look)
- Black permanent marker or black craft paint
- String lights, battery-powered candles, or glow sticks (safe for camping!)
- Scissors or a craft knife
Step-by-Step Instructions:
- Clean & Dry Jugs
- Rinse out milk jugs or bottles and let them fully dry.
- Rinse out milk jugs or bottles and let them fully dry.
- Make the Ghost Face
- Use a permanent marker or black paint to draw spooky ghost faces — you can make them scary, silly, or cute.
- Use a permanent marker or black paint to draw spooky ghost faces — you can make them scary, silly, or cute.
- Add the Light Source
- Cut a small hole in the back of the jug (near the bottom) and insert string lights, a glow stick, or a battery-powered tea light.
- Avoid real candles since they’re a fire hazard in plastic.
- Cut a small hole in the back of the jug (near the bottom) and insert string lights, a glow stick, or a battery-powered tea light.
- Optional: Spray Paint White
- If your jug isn’t already white or foggy, lightly spray with white paint to give it a misty, ghostly effect.
- If your jug isn’t already white or foggy, lightly spray with white paint to give it a misty, ghostly effect.
- Set Them Around Your Campsite
- Place them along pathways, near your tent, or around the campfire circle. They’ll glow at night and look like floating little ghosts.
- Place them along pathways, near your tent, or around the campfire circle. They’ll glow at night and look like floating little ghosts.
✨ Tip: If you bring multiple, you can line them up to create a spooky “ghost trail” leading to your campsite!
Try this adding this festive decor to your campsite the next time you stay at Camp Lakewood Campground during the Halloween Season!

🥔 Deviled Egg Potato Salad
Why choose between deviled eggs and classic potato salad when you can have both? This flavorful recipe combines the creamy, tangy goodness of deviled eggs with the hearty comfort of potato salad—all in one delicious dish!
Ingredients:
- 6 medium potatoes (Yukon Gold or Russet), peeled and cubed
- 6 hard-boiled eggs (4 chopped, 2 sliced for garnish)
- 1 cup mayonnaise
- 2 tbsp yellow mustard (or Dijon for a twist)
- 2 tbsp sweet pickle relish (or dill if you prefer)
- 1 tbsp apple cider vinegar
- 1 tsp sugar
- ½ tsp paprika (plus more for garnish)
- ½ tsp garlic powder
- Salt & pepper to taste
- 2–3 green onions or fresh chives, chopped (optional)
- Celery (2 stalks, finely diced – optional for crunch)
Instructions:
- Cook the potatoes: Place cubed potatoes in a pot of salted water. Boil until fork-tender (about 10–12 minutes). Drain and let cool slightly.
- Prepare the eggs: Peel and chop 4 hard-boiled eggs. Slice the other 2 for topping.
- Make the dressing: In a large bowl, whisk together mayonnaise, mustard, relish, vinegar, sugar, garlic powder, paprika, salt, and pepper. Adjust to taste.
- Combine: Gently fold in potatoes, chopped eggs, celery, and green onions until well coated.
- Chill: Cover and refrigerate for at least 1 hour to let the flavors blend.
- Garnish & serve: Top with sliced eggs, a sprinkle of paprika, and extra chives before serving.
✨ Perfect for cookouts, camping trips, or family dinners!
Try this recipe during your next stay at Camp Lakewood Campground!

Family owned and operated, Kiefer Campgrounds strive to offer you the best rates for a comfortable location with outstanding service, and spotless facilities. When you stay in one of our parks, you are no longer just a happy camper, but a part of our family! We are most certain you will enjoy your stay with us. Pick your favorite location and book your spot now before it’s too late! You’ll be happy you did!